

Table of Contents
3D Text Effect in Photoshop
One of the most exciting techniques in Photoshop is creating captivating 3D tube effects. With the power of this versatile software, you can transform ordinary flat designs into stunning three-dimensional masterpieces. Whether you want to add depth and dimension to text, logos, or graphic elements, the 3D tube effect in Photoshop offers a visually captivating result that adds a dynamic touch to your designs.
Using Photoshop’s array of tools and features, you can manipulate shapes, apply lighting and shading effects, and even customize the texture of the tubes. The ability to create intricate and realistic 3D tube effects opens up new avenues for creating eye-catching graphics, advertising materials, and visual branding elements.
By leveraging the potential of 3D tubes in Photoshop, you can breathe life into your designs, making them visually engaging and captivating to your audience. Whether you’re designing logos, headlines, or promotional materials, the 3D tube effect adds a modern and futuristic touch that grabs attention and elevates your design aesthetic.
Moreover, Photoshop provides flexibility when it comes to editing and refining your 3D tube designs. You can adjust lighting and shading, experiment with different color schemes, and even apply texture overlays to create unique visual effects. This level of customization ensures that your 3D tube designs align with your creative vision and project requirements.
Incorporating 3D tubes into your Photoshop workflow is not limited to specific industries or design purposes. Whether you’re a graphic designer, illustrator, marketer, or hobbyist, the 3D tube effect offers a versatile toolset that can be applied to various design projects. From futuristic branding materials to visually striking digital artwork, the 3D tube effect in Photoshop unleashes your creativity and pushes the boundaries of your design capabilities.
The 3D tube effect in Photoshop opens up a world of possibilities for designers and creatives. With its ability to add depth, dimension, and visual impact, the 3D tube effect revolutionizes your designs and captivates your audience. By exploring the tools, techniques, and endless creative potential in Photoshop, you can transform your flat designs into dynamic and visually stunning works of art.
In this tutorial, you will be creating a 3D Tube Text Effect in Photoshop. We will use the Ellipse Tool, a Layer Style, a Path, and the Mixer Brush Tool. The Mixer Brush Tool in Photoshop is not so often used by designers. This 3D text effect in Photoshop is an eye-catching effect. This typography effect can be used while designing a poster or a flyer.

Launch Adobe Photoshop and create a new document. Now follow the below-mentioned easy to create steps to create a 3D Tube Text effect in Photoshop.
Step 1
Select the Ellipse Tool and draw a small circle.

Step 2
Let the Ellipse Shape Layer be selected, and click on Layer in the Menu Bar. Hover the cursor on Layer Style and select Gradient Overlay.

In the Gradient Overlay Layer Style dialogue box, create a radial style gradient.


Step 3
Before hitting OK to apply the Gradient Overlay, click and drag the cursor over the circle to reposition the gradient.

Click OK to apply Gradient Overlay Layer Style.
Step 4
Now click on Layer in the Menu Bar. Then place the cursor on Rasterize and select Layer Style.

Step 5
Now select the Mixer Brush Tool from the Tool Panel and set the values in the Options Bar.
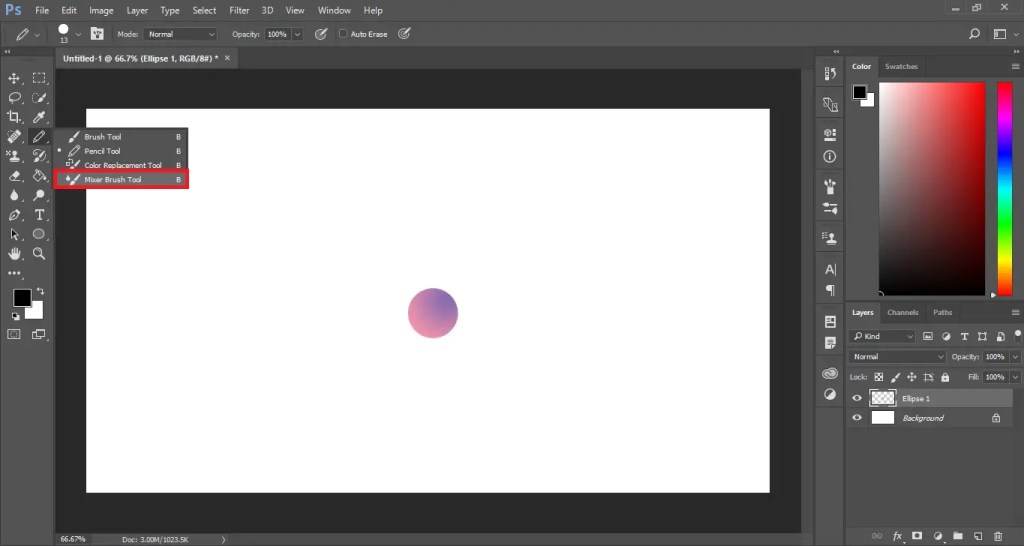

With the Mixer Brush Tool still active, place the cursor over the circle. Press and hold the Alt key and click once to sample the portion of the circle.


Step 6
Select the Pen Tool from the Tool Panel and draw your text. Make sure that the Tool Mode is selected as Path.
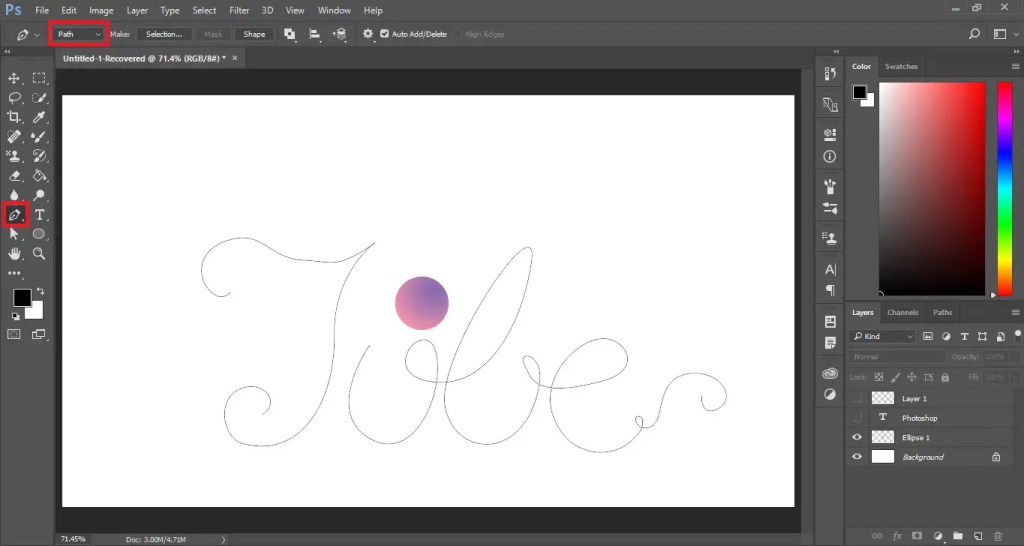
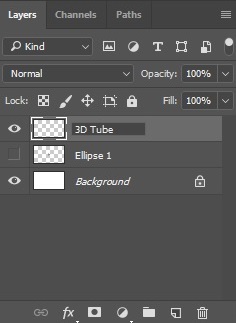
Turn off the visibility of the Ellipse Layer and create a new layer. Rename the new layer as 3D Tube.
Step 7
Go to the Path window and right-click on the Work Path layer. Then select Stroke-Path from the options list.

In the Stroke Path Window, select Mixer Brush Tool and click OK.


So, this is how you can create a 3D Tube Text Effect in Photoshop.
Practice this Text Effect Photoshop Tutorial and share your views in the comment section. Also, share this tutorial with others.
