

Table of Contents
Realistic Glass Ball Effect in Photoshop
If you’re looking to add a touch of magic and enchantment to your designs, the crystal effect is an excellent choice. In this step-by-step guide, we will explore how to create stunning crystal effects in Photoshop, including the popular crystal ball effect.
Photoshop offers a myriad of possibilities when it comes to creating stunning crystal effects. By following the step-by-step guide outlined above, you can confidently experiment with different techniques and unleash your creativity to produce captivating crystal effects. Whether you’re aiming for a crystal ball effect or a general crystal appearance, Photoshop’s powerful tools and filters allow you to transform your images into mystical and enchanting works of art. So dive into Photoshop, harness its potential, and create your own magical crystal effects.
In today’s tutorial, we will create a Crystal Ball Effect in Photoshop. In just a few easy steps, you will make a Spherical Glass Ball Effect in Photoshop. We will use the Ellipse Tool, Photoshop filters, and Layer Styles to create Crystal Ball in Photoshop.

Select an image for making the Surreal Glass Ball Effect in Photoshop. Then follow the below-mentioned step-by-step process.
Step 1
Open an image in Photoshop as a new document.

Step 2
Select the Ellipse Tool from the Tool Panel. Then draw an ellipse covering the part of the image which you want in your crystal ball.

Step 3
Select the Image Layer (Background Layer) and press Ctrl + J to create duplicate copy of the layer. Then place the layer above the Ellipse Layer.


Make sure that the Background Copy Layer is selected. Then go to Filter > Distort > Spherize .


Step 4
Go to Layer > Create Clipping Mask.


Press Ctrl + T to transform the size of the image clipped. Press and hold Shift + Alt and reduce the size of the clipped image.

Step 5
Now select the Ellipse Layer and press Ctrl + H to hide the black line. Then click on the fx icon in the Layers Panel to apply few Layer Styles to the Ellipse. This will help in creating a Crystal Ball Effect in Photoshop. Select Inner Shadow from the options list.


Step 6
Now we will apply Gradient Overlay Layer Style to the Ellipse.


Step 7
Select the Background Layer and press Ctrl + J to create a duplicate layer.

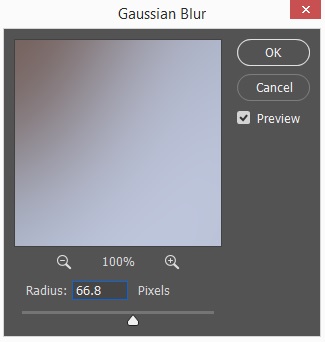
Go to Filter > Blur > Gaussian Blur.

Now set the Radius to blur the background. Then click OK to apply the Gaussian Blur.
Step 8
Now we will create shadow for our Crystal Ball. Select the Ellipse Tool and draw a black color filled ellipse below the Crystal Ball. (See the image below)

Apply Gaussian Blur filter to the ellipse to give it an effect of a shadow.

So, this is how you can create Cyrstal Ball Effect in Photoshop. Practice this Photoshop tutorial and share your views in the comment section. Also share this Crysal Ball Effect Photoshop Tutorial with others.
To receive latest post through emails, subscribe to our website.

