

Table of Contents
Two ways to Create Duotone Effect in Photoshop
Duotone effects are a popular technique in graphic design and photography that involve using two contrasting colors to create visually striking and impactful images. With the powerful capabilities of Adobe Photoshop, you can easily create stunning duotone effects to enhance your designs and evoke a specific mood or style.
Photoshop provides a wide range of tools and features to help you achieve captivating duotone effects. By manipulating the colors and tones of an image, you can create a unique visual style that captures attention and conveys your artistic vision. Whether you want to achieve a vintage, futuristic, or high-contrast look, Photoshop offers the flexibility to experiment and bring your ideas to life.
Understanding the basics of duotone effects is essential to master this technique. Photoshop allows you to selectively map the highlights and shadows of an image to two different colors, creating a harmonious blend that adds depth and interest. By experimenting with different color combinations and adjusting the tonal range, you can achieve the desired effect and create a captivating visual experience.
Learning from tutorials and online resources can greatly enhance your skills in creating duotone effects. These resources provide step-by-step guidance, tips, and inspiration to help you navigate the various tools and techniques available in Photoshop. By following along with tutorials, you can gain hands-on experience and develop a deeper understanding of how to create stunning duotone effects.
In addition to tutorials, exploring the work of experienced designers and photographers can inspire new ideas and approaches. Analyzing duotone effects in various contexts, such as advertising, branding, or editorial design, can provide insights into how to effectively use this technique to communicate a specific message or evoke an emotional response.
Photoshop’s versatility and non-destructive editing capabilities allow you to experiment freely with duotone effects. You can easily adjust the colors, tones, and overall look of your duotone images without compromising the original image quality. This flexibility enables you to refine your duotone effects until you achieve the desired visual impact.
Mastering duotone effects in Photoshop opens up a world of creative possibilities. By understanding the fundamentals, following tutorials, and seeking inspiration from others, you can develop the skills to create captivating duotone images that stand out and leave a lasting impression. With Photoshop’s powerful tools and your creative vision, you can elevate your designs and bring your ideas to life with stunning duotone effects.
In this tutorial, you will learn two ways to create Duotone Effect in Photoshop. Both the ways are easy and quick to create. Duotone images are images that use two hue colors, one for highlights and another for shadows. Print media uses Duotone images as it requires only two colors while printing.

Before beginning with the tutorial, select a colorful and good light effect photograph for creating the Duotone Photoshop Effect. Then launch Adobe Photoshop and open the selected image as a new document.
Method 1
In this first method, we will use Gradient Map Tool for creating Duotone Effect in Photoshop. Now follow the below-mentioned step-by-step process:
Step 1
After opening the image, press Ctrl + J to create copy of the original image. It is advisable to work on the copied layer so that you can get back to the original image layer whenever required.

Step 2
Select the copied image layer in the Layers Panel and click on the Image in the Menu Bar. Place the cursor on Adjustment and select Gradient Map.

On selecting the Gradient Map, a Gradient Map dialogue box will appear. By default, the image will get converted into black and white color gradient.

Step 3
In the Gradient Map dialogue box, click on the gradient swatch to open the Gradient Editor. Then in the Gradient Editor, select a color stop and click on Color swatch to open the Color Picker.

Now in the Color Picker dialogue box, select the color which you want to fill in the white color space (the highlighted area of the image). Then click OK.

Step 4
Now select black color stop to edit its color and open the color picker. Select a new color for gradient and click OK.

With the help of the Gradient Map Adjustment Tool, we have applied a duotone gradient on the image.

Click OK to apply all the changes.

You can also create a Level Adjustment Layer to adjust the midtones, highlights and shadows of the image.

This is how you can create a Duotone Effect in Photoshop using Gradient Map Tool. Now let’s move on to second method of creating a Duotone Photoshop Image.
Method 2
In this method, we will use Duotone Mode of Photoshop to create a Duotone Image. Let’s open a new image in the Photoshop as a new document and start creating Duotone Effect.
Step 1
Create a copy of the original image by pressing Ctrl + J.
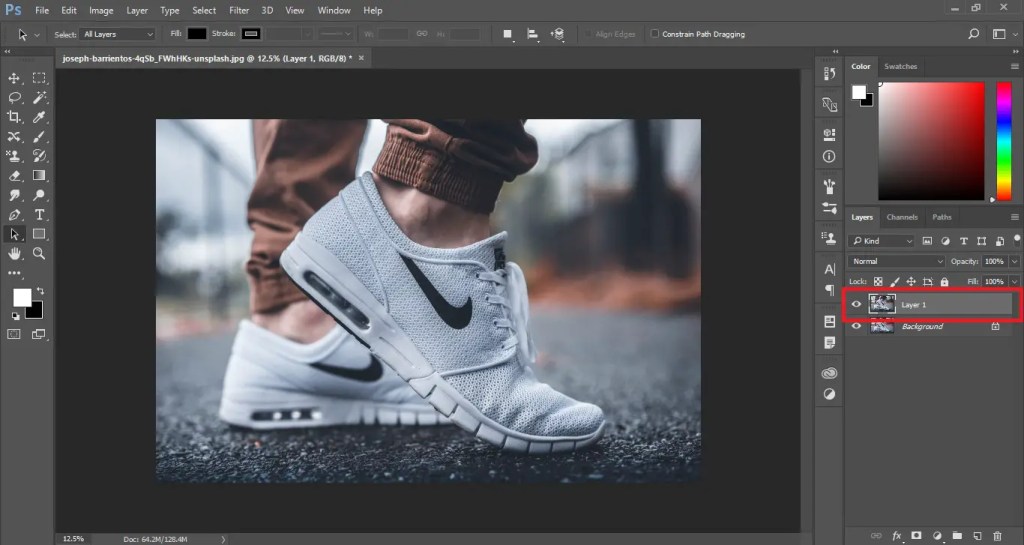
Step 2
In this step, we will convert the colorful image into 8 Bits Grayscale image.
Select the copied image layer. Then click on Image in the Menu Bar and place the cursor on Mode. Select the Grayscale mode and 8 Bits/Channel.

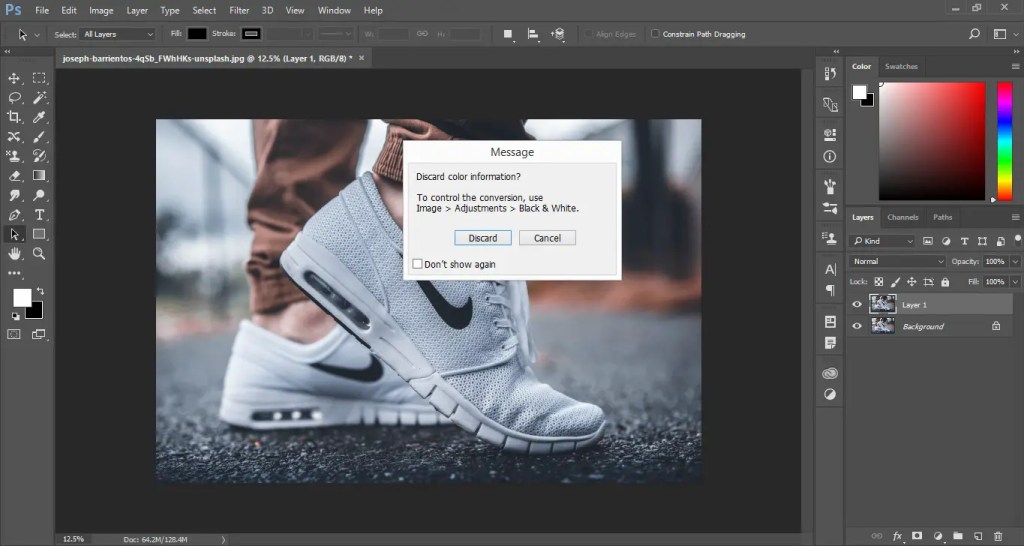
After selecting the Grayscale mode, a pop-up will appear asking you to Flatten the image before mode change. Select Flatten in that pop-up.

On selecting Flatten, a new message will appear asking you to Discard Color Information. Select Discard and the image will get converted into Grayscale Mode.

Step 3
Again select Image in the Menu Bar. Then place the cursor on Mode and select Duotone.

A Duotone Options dialogue box will appear. In that dialogue box, select Type as Duotone.

Step 4
In the Duotone Options dialogue box, you can change the Ink colors by clicking on the color swatches. You can pick any two color of your choice to create a Duotone Effect on the image. Also, give a name to the selected ink colors.

After selecting the Duotone Colors, click on the Duotone Curve to adjust the colors.

Click OK to apply the changes.

So, this is how you can create Duotone Effect using the Duotone Mode in Photoshop.
In this article, you have learned two ways of creating Duotone Effect in Photoshop. Pratice this Duotone Effect Photoshop Tutorial and share your views in the comment section. Also, share this tutorial with others.
