

Although bending a photo is not a good practice, it’s a fun effect that gives your social media posts, designs, and creative projects a new twist. It adds movement and gets the attention of whoever views it.
Below, we’ll discuss how to get this done in Photoshop with its tools and provide steps for the simplest one!
Table of Contents
Methods For Bending a Photo In Photoshop
There’s more than one way to curve an image using Photoshop, and it all depends on how much control you want.
Method 1: Wrap Transform Tool
The Wrap Transform tool lays a grid over your picture so you can move its points to create a curve. The tool also has “Arc, Arch, Lower Arc, Upper Arc, and Flag presets that you can use to get the effect.
Method 2: Puppet Wrap Tool
The Puppet Wrap is another tool in Photoshop that can pin down parts of your photo and move them to bend it. But there is one big flaw! It takes a lot of time to place those sticky pins, and if you mess up even one, it affects the whole picture.
Steps to Curve an Image Using Photoshop
We will go over the steps for the Wrap Transform Tool method?below. It’s the easiest one for bending a photo in Photoshop, and you don’t have to work with multiple sticky pins to get the effect just right!
Step 1: Create a Document and Place Your Image
First, open your Photoshop app and create a new document by clicking “New File.”
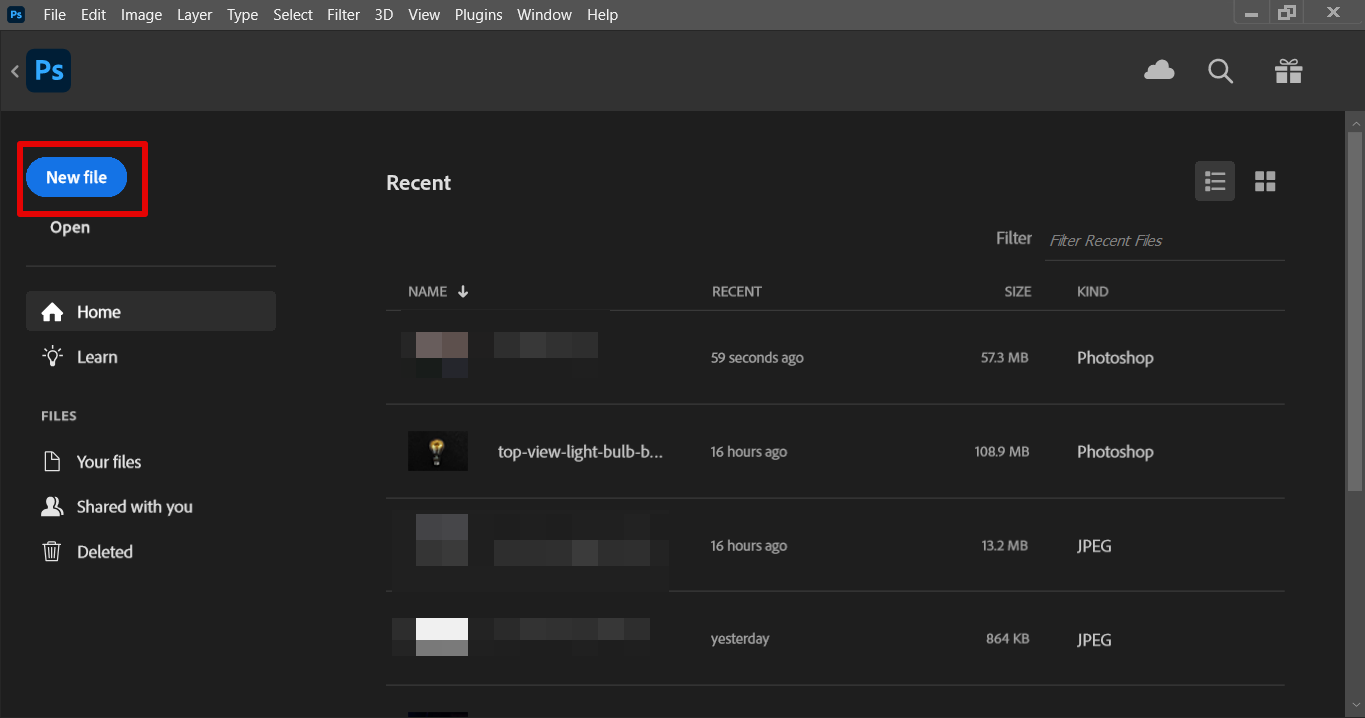
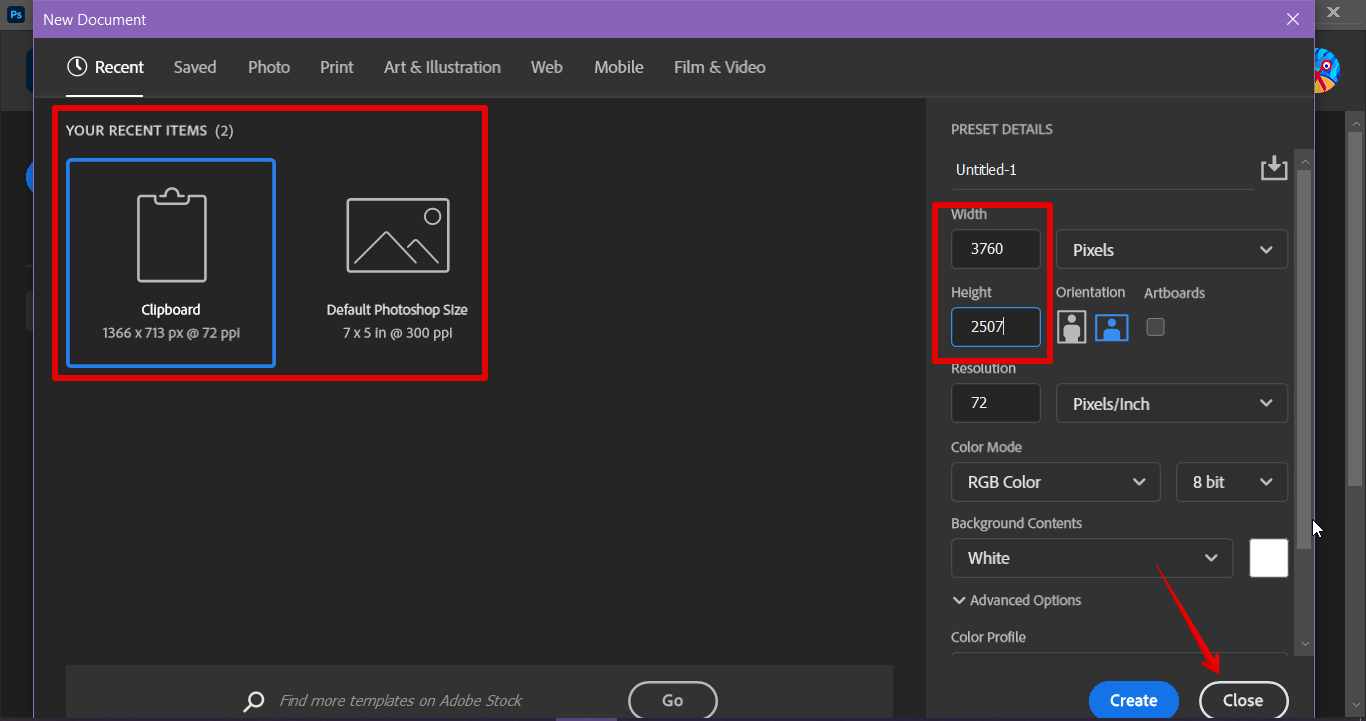
Pick a canvas size or type in your own that fits the picture you are going to upload, and click “Create” to open the editing interface.
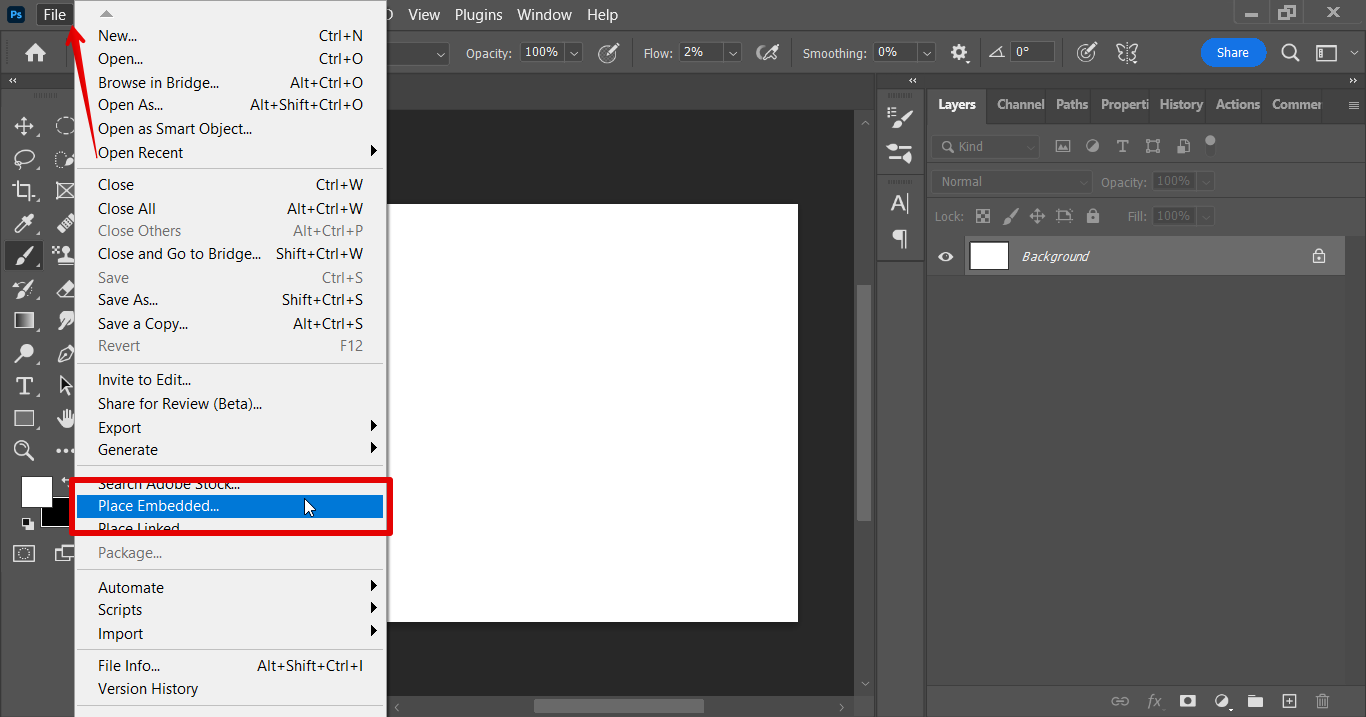
Now, it’s time to get your image into Photoshop’s editing interface. To do this, click “File” in the top left and choose “Place Embedded.” A new window will pop up on the screen. Here, look for the photo you want to bend, select it, and hit “Place.”
Step 2: Curve the Image
Next, you’ve to curve up your picture. For this, select your image in the “Layers” panel, then hit “Edit” at the top, go to “Transform,” and click “Wrap.”
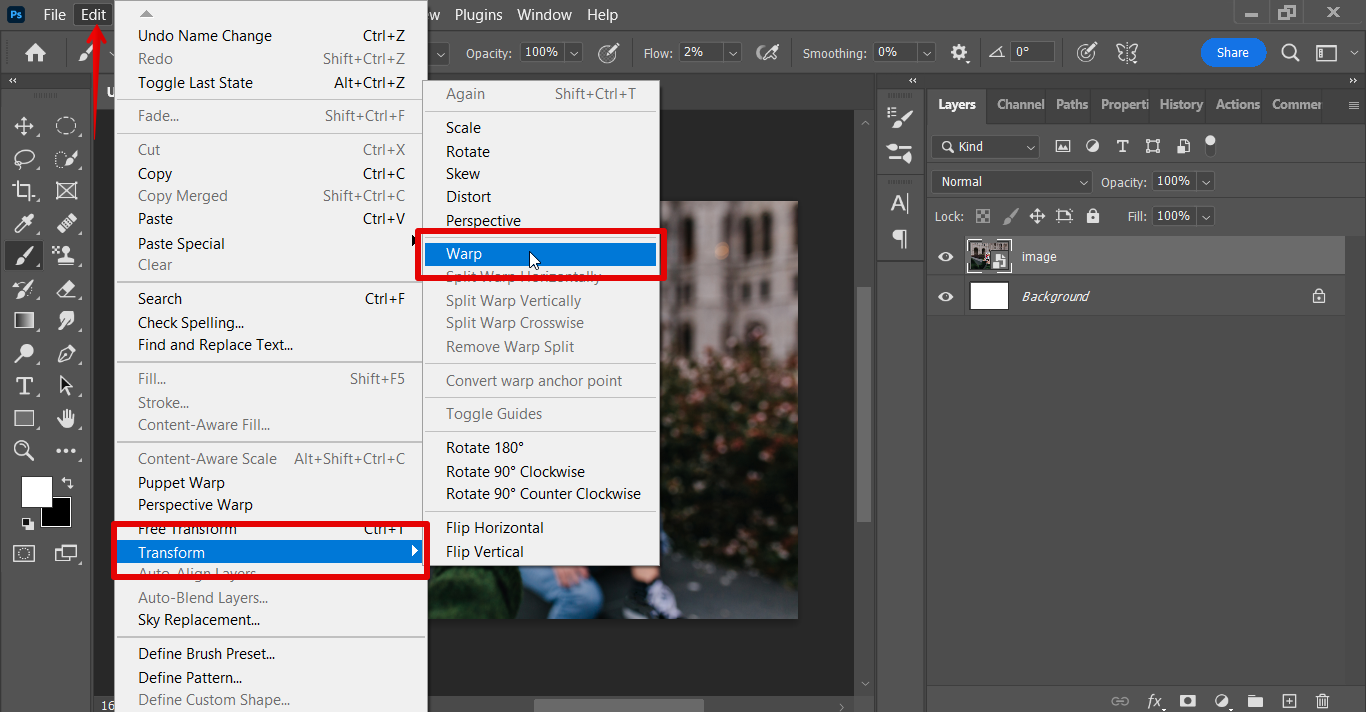
Now, you’ve got two options! You can either use those little blue grid pins and move them up or down (even left & right) to bend your photo or just click “Custom” next to “Wrap” at the top and pick “Arc” to curve it up automatically.

Play around until it looks just right! When you’re happy with the bend, press “Enter” to apply your changes.
Here’s a pro tip: If you want a transparent backdrop, just click the little eye before the Background layer to hide it. That way, your curved photo will stand alone with no white or black bars behind it!
Step 3: Export Your Image
You can now export your image to your device. In the menu, click “File,” then select “Export” > “Export As” (or just use the keyboard?shortcut Shift + Option/Alt + Command/Ctrl + W).
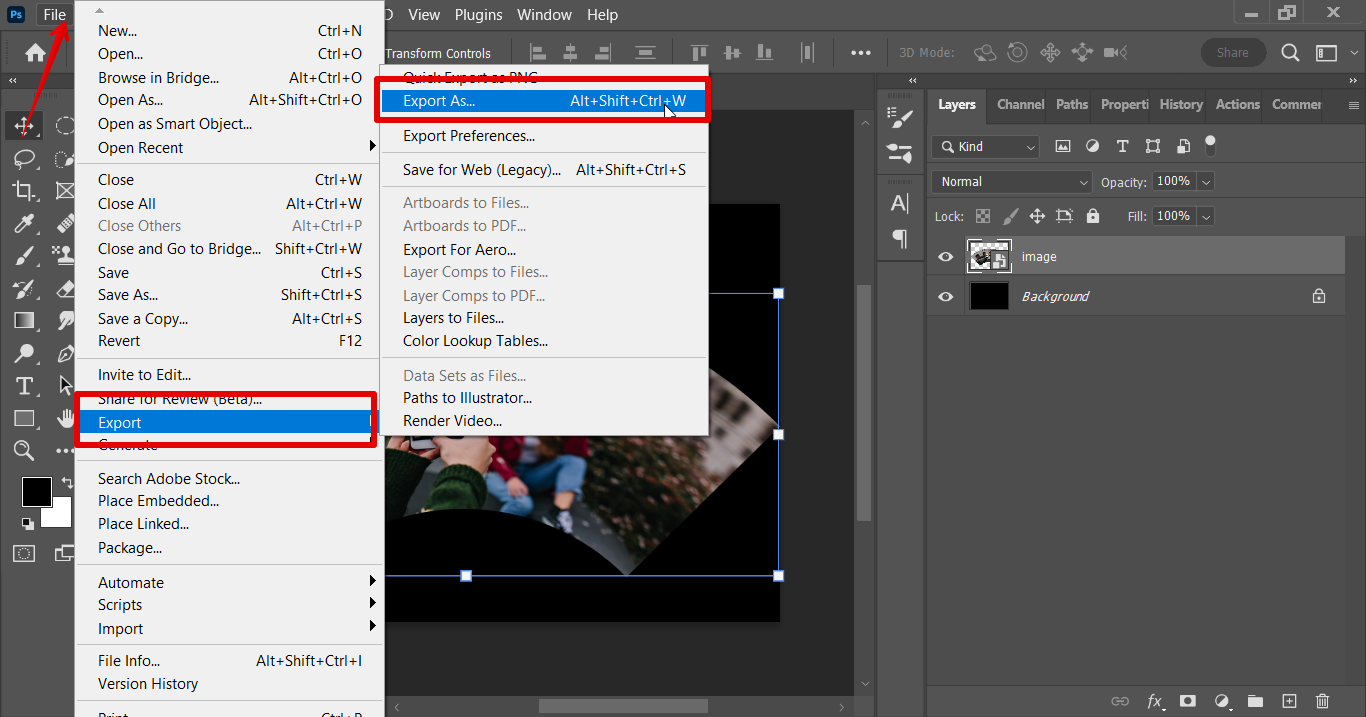
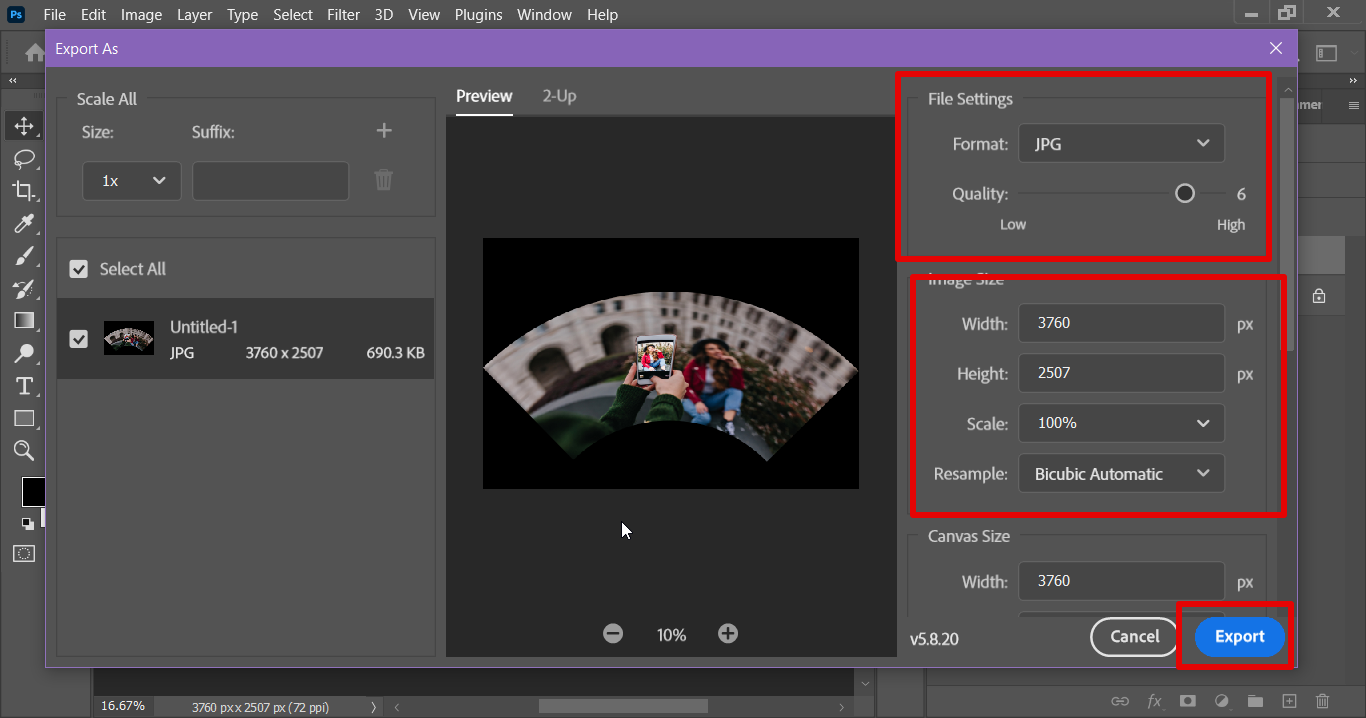
From here on, pick your desired file format in the “Export As” pop-up window (PNG if you want a transparent backdrop or JPG if you don’t). Adjust the resolution and hit “Export” one last time to save the curved photo to your PC.
Tips and Tricks
Use the Mesh Density Option
While in Warp mode, you can click “Grid” in the top menu and pick a higher mesh density of 3×3, 4×4, or 6×6. It adds more points to play with, so you can bend the photo exactly how you want (without feeling limited).
Commit the Transform
After you are done bending a photo, make sure to hit “Enter” on your keyboard or click the checkmark (in the top right of the menu bar) to confirm the action. If you skip this, the bend won’t apply to your photo.
Use Different Wrap Styles
You don’t have to pick the first thing you see when curving your photo. It’s best to take some time to try the Arch, Lower Arc, Upper Arc, and Flag preset. This way, you might find the effect that gives your picture a totally out-of-this-world look!
Common Mistakes to Avoid
Choosing the Wrong Wrap Preset
If you are applying the wrap styles, keep in mind that not all of them fit every photo. Therefore, it’s best to stick with the Arc or Arch preset to get a clean curve.
Moving the Pins Too Far
When you slide those grid pins too far apart to create a big bend in one go, your picture may end up looking blurry (and just plain weird). It’s usually better to start small and shape the curve little by little.
FAQs
Can I Move Just One Corner of the Image?
Yes, you can! Simply click one grid point after applying the Wrap and move it to create a bend. However, it won’t give you the right curvy effect because the image will appear pinched at that corner and might look unnatural.
What Is the Best Format to Save the Curved Image?
If your curved image has a transparent background or you need to save it in high quality with every little detail, PNG is the best choice. But if you’re putting the picture online, JPG is a better option since it keeps the file size small enough to process quickly.
Conclusion
In this guide, you’ve learned two different methods for bending a photo in Photoshop. We’ve discussed the steps for the “Wrap Transform Tool” method because it is easy to get the effect in your pictures.
Just make sure to go easy on the bend and try different angles until you get the right look!
