

Circular cropping is a great way to make photos look better. With Adobe Photoshop, it’s easy to turn images into perfect circles, making them more captivating and improving storytelling.
Explore circular image cropping in Adobe Photoshop with our simple guide. Whether a beginner or an expert, learn simple steps and creative tips to enhance your photos with circular editing.
Table of Contents
Methods To Crop Picture Into a Circular Shape Using Adobe Photoshop
In Photoshop, you can crop a picture into a circular shape in four ways. Each method has advantages depending on the image and your skill level.
Method 1: Elliptical Marquee Tool with Layer Mask
The Elliptical Marquee Tool quickly creates circular selections, while holding the Shift key to ensure perfect circles. Layer Masks enable non-destructive editing by hiding parts outside the circle. However, manual adjustments may be necessary for precise selections, especially with irregular shapes or fine details.
Method 2: Shape Tool
The Shape Tool enables the creation of vector shapes, including circles. While it offers precision, rendering the shape may limit further editing flexibility.
Method 3: Pen Tool
The Pen Tool provides precise control over creating custom paths that can be converted into selections for cropping. However, it may have a steeper learning curve compared to other methods.
Method 4: Clipping Mask
Using a Clipping Mask involves placing the image layer inside a circular shape layer and creating a circle. This method offers a non-destructive way to crop but may be less intuitive for some users.
Steps to Crop and Make a Photo Into a Circle in Photoshop
Photoshop’s Elliptical Marquee Tool and Layer Mask combo offers the best solution for cropping images into circles. Here are the steps:
Step 1: Creating a New File
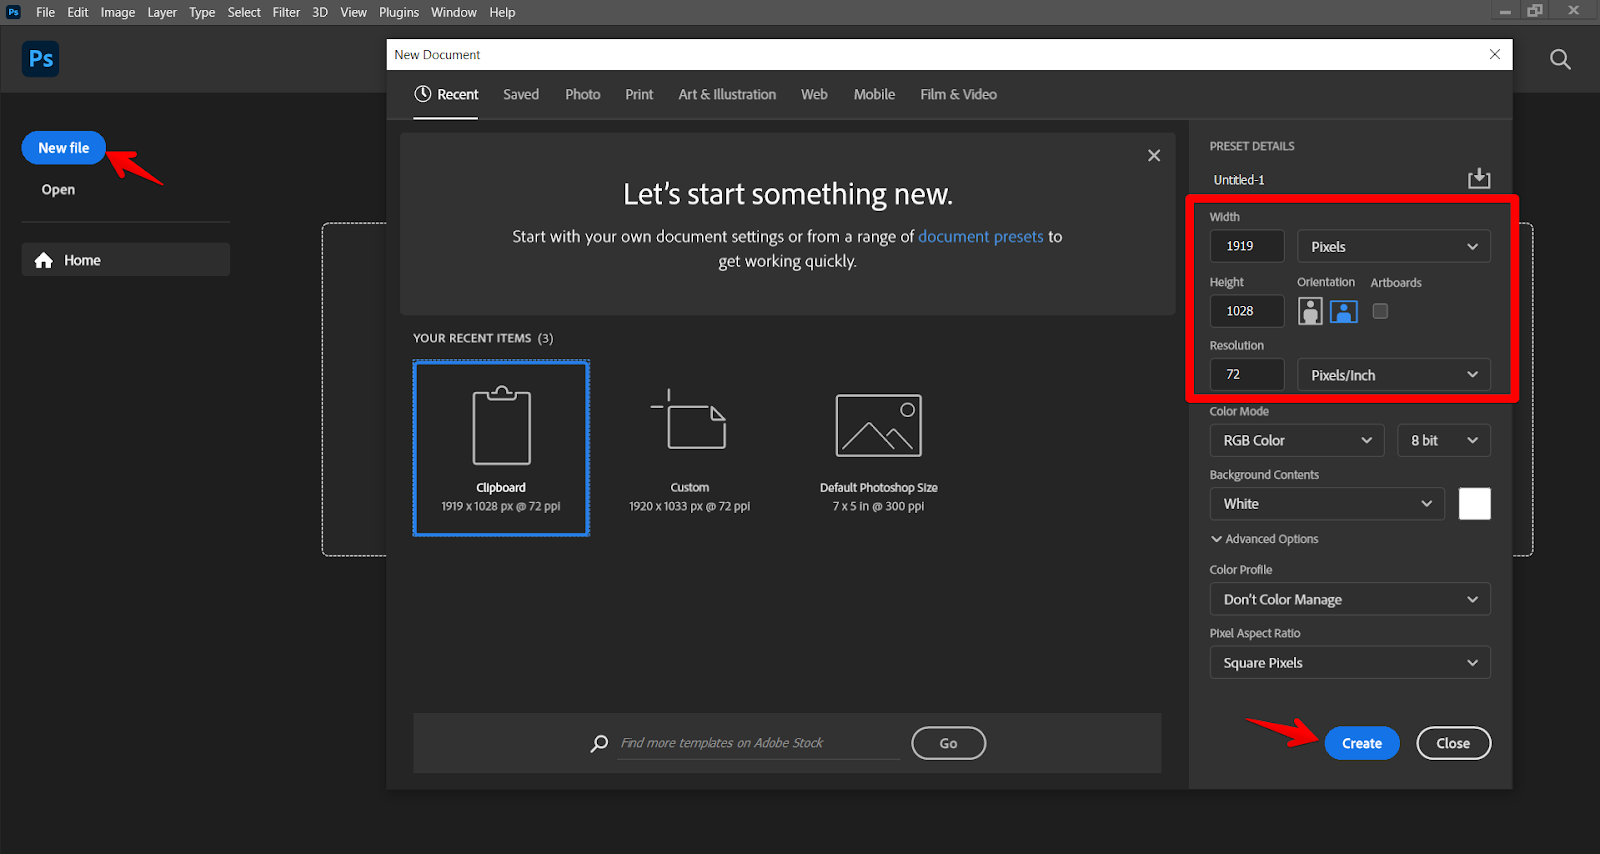
Open Adobe Photoshop. Click New File on the left side of the screen, enter the project’s Length, Width, and Resolution, and select Create to open the new canvas.
Step 2: Open Your Image
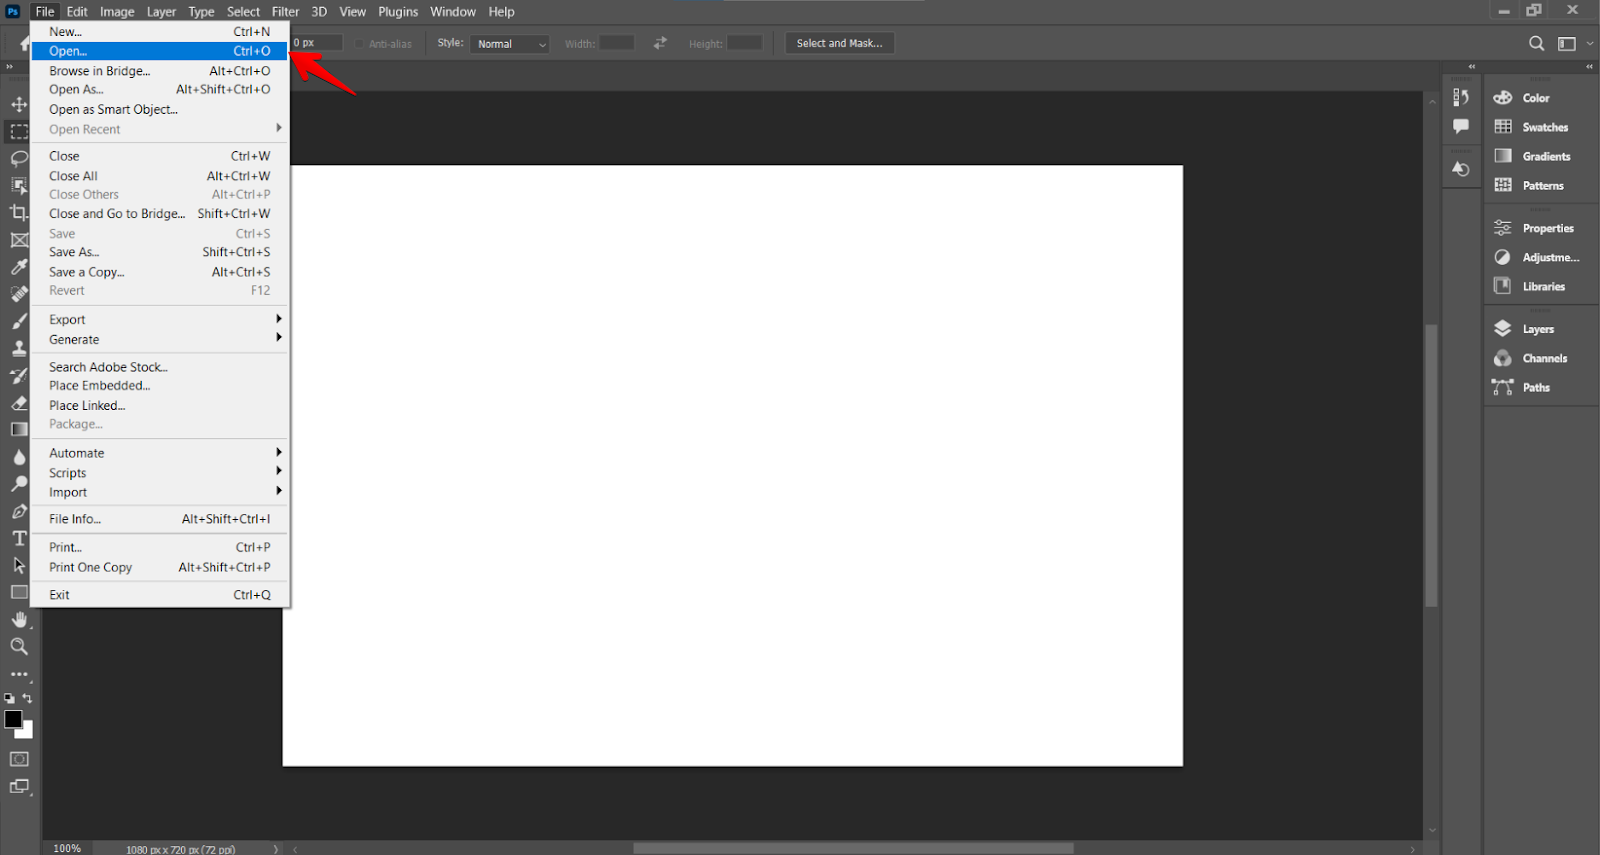
Navigate to File > Open. Select your desired image and click Open.
Step 3: Selecting the Elliptical Marquee Tool
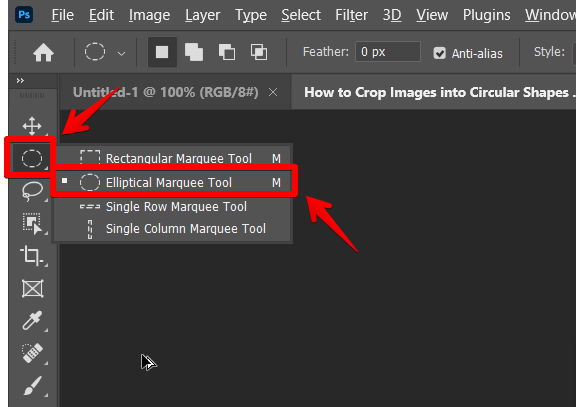
In the left toolbar, locate the Marquee Tool. Click and hold on it to reveal a dropdown menu. From the menu, choose the Elliptical Marquee Tool.
Step 4: Creating the Circular Selection
Position the cursor at the center of where you want your circular frame for the photo. While dragging, hold down the Shift key to make the photo into a circle perfectly.

TIP: You can also hold the Space Bar to move your selection as a whole.
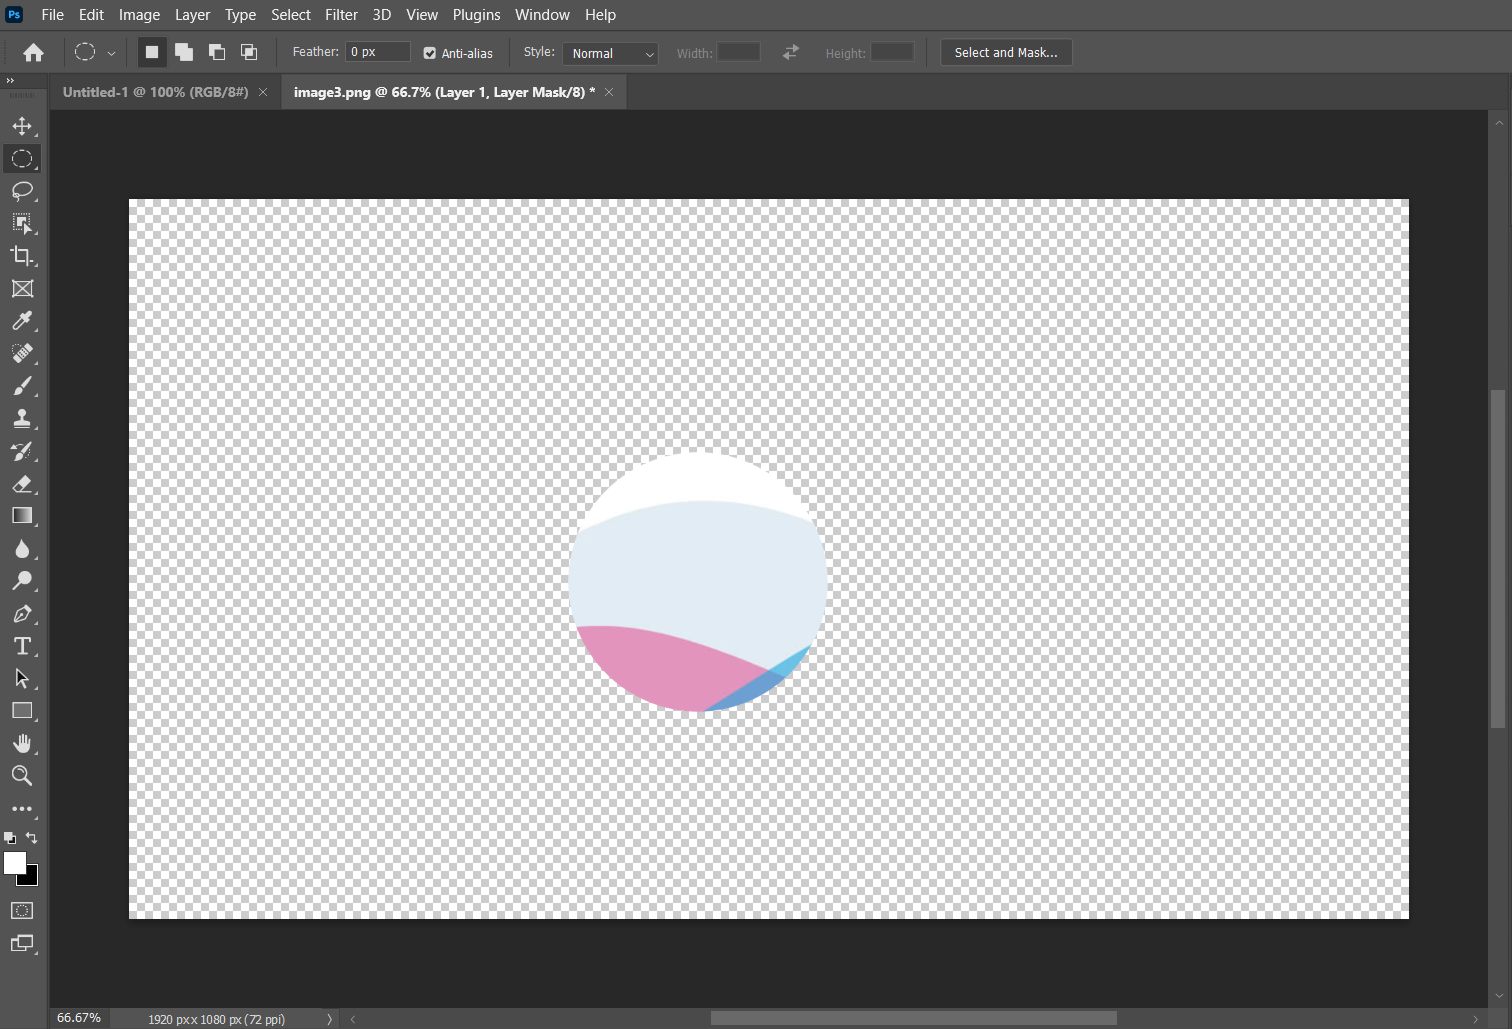
Step 5: Adding a Layer Mask
In the lower right corner, click on the layer mask icon.
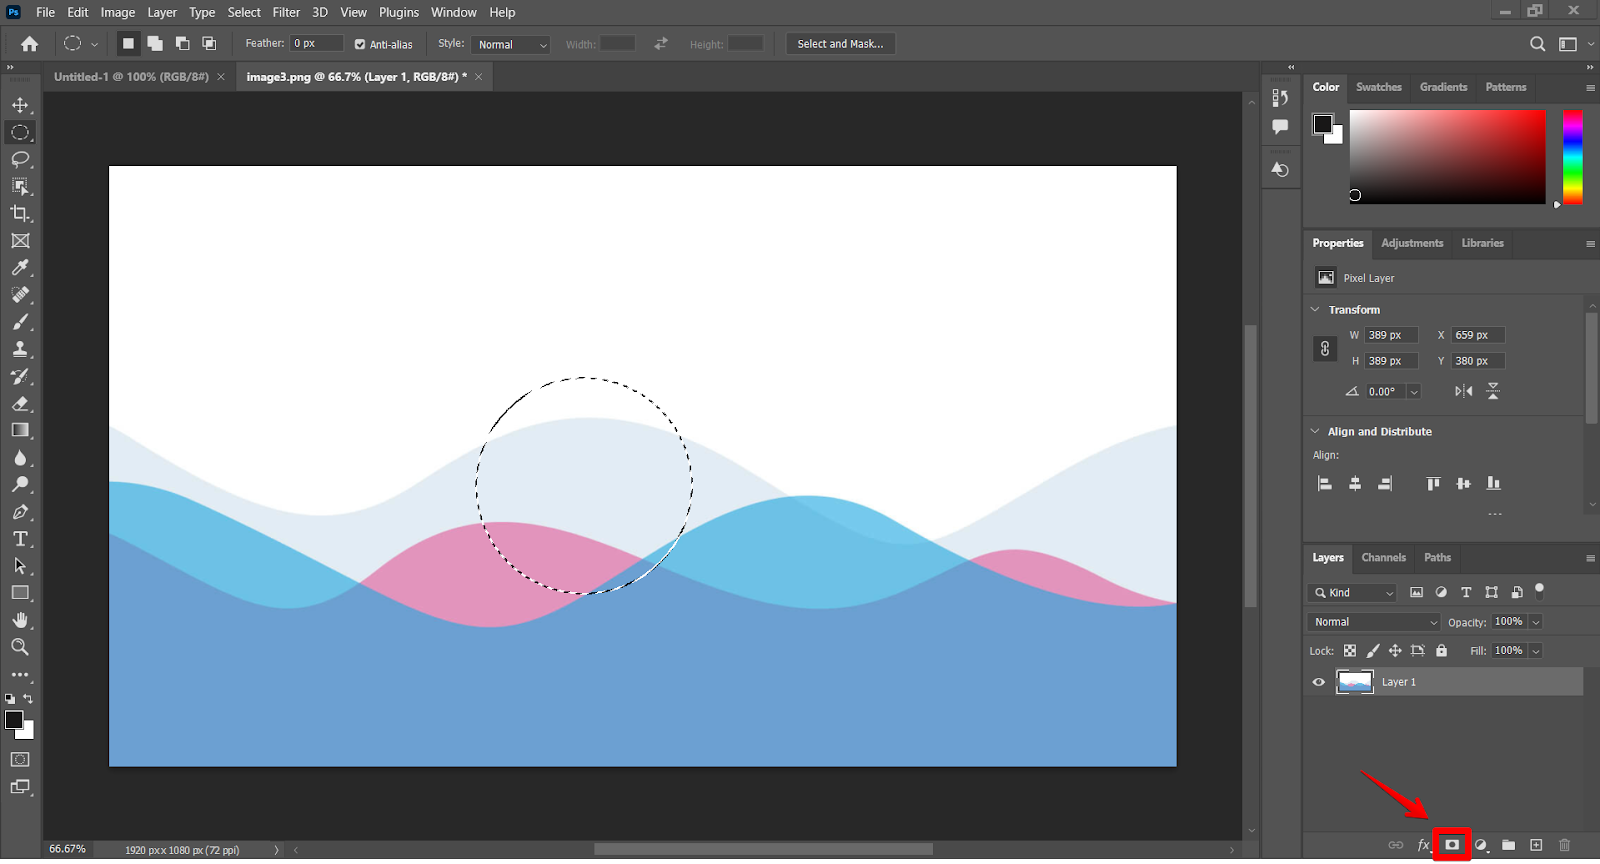
This will apply the image selection to the layer mask.
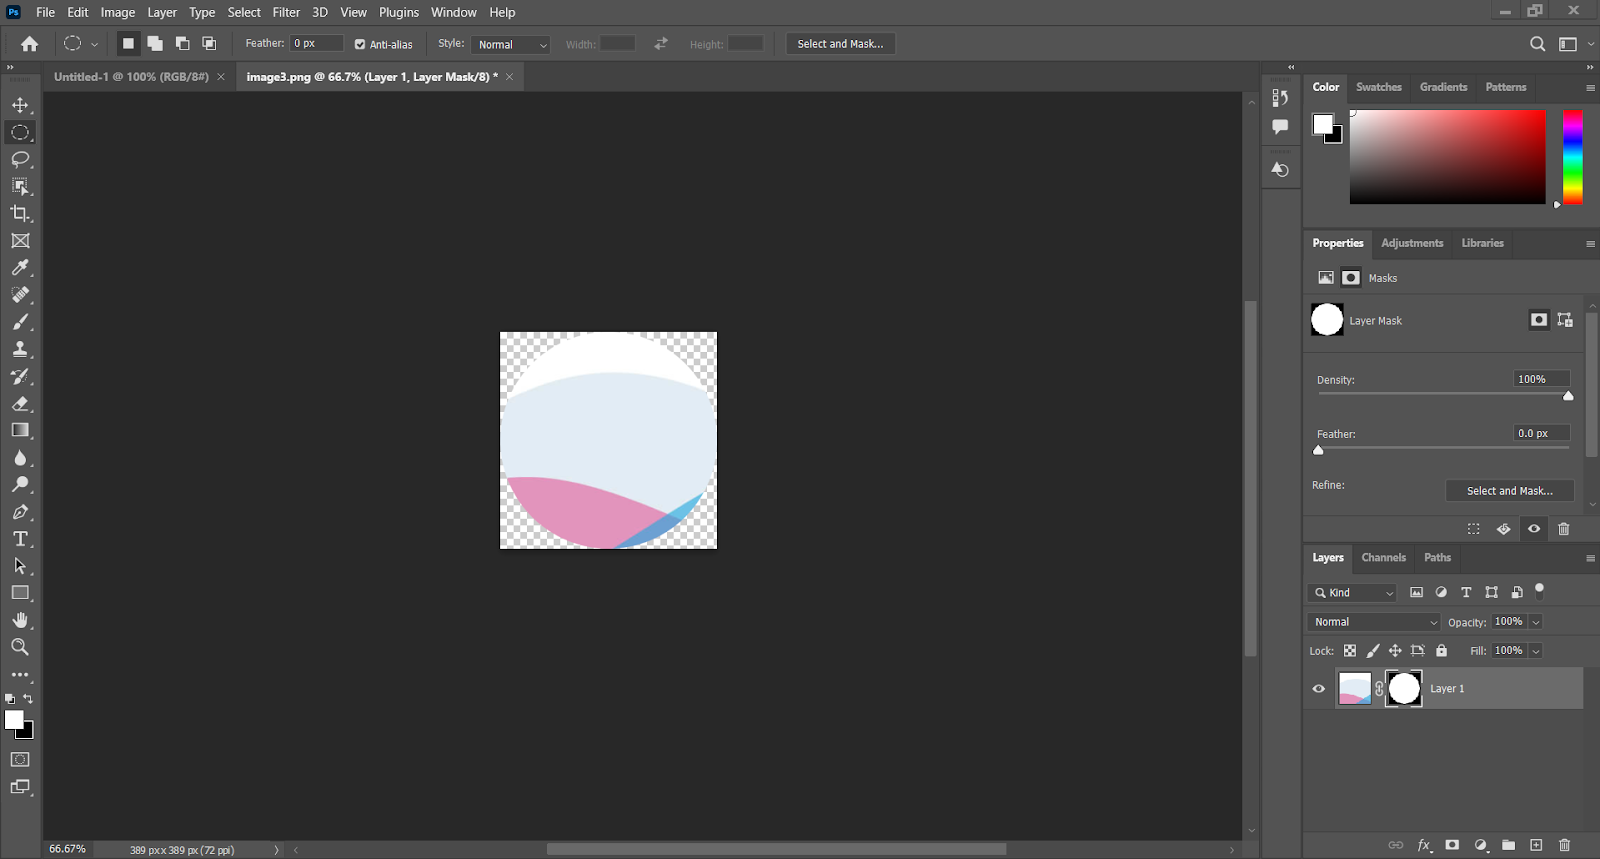
Step 6: Trimming Excess Transparency
Navigate to the Image menu. From there, select Trim. In the Trim dialog box, choose Transparent Pixels under Based On to trim off any excess transparency around the circular selection.

This will efficiently trim off any excess transparency around the circular selection.
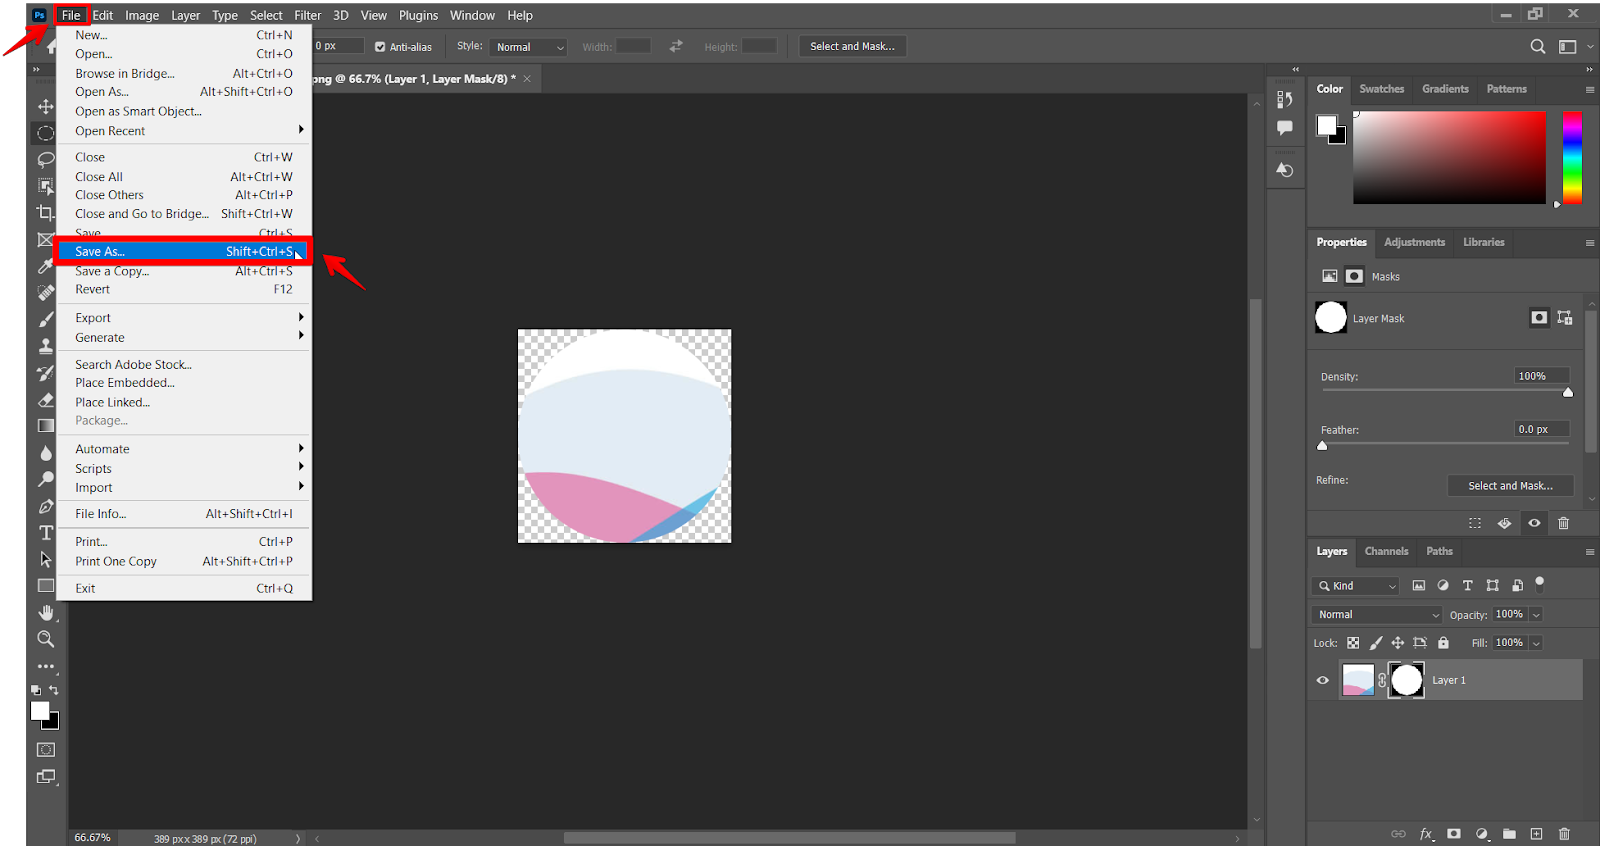
Step 7: Exporting Your Image
Once satisfied with the circular crop, navigate to File and select Save as.
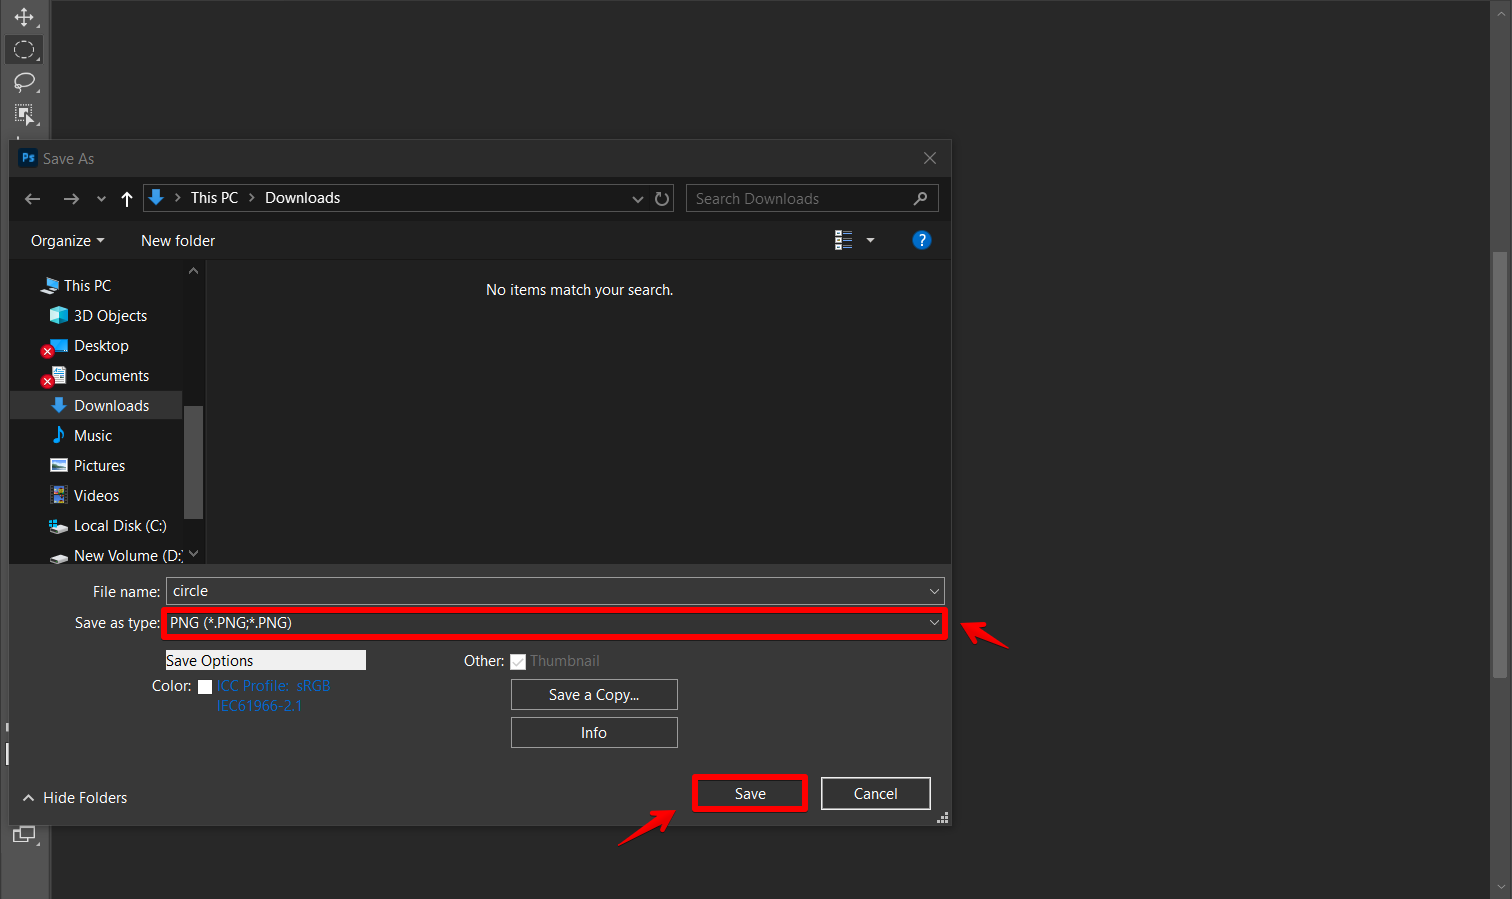
Choose PNG as the preferred file format to maintain transparency. Now name your file and select the destination where you want to save it on your PC. Click Export or Save to save your circular-cropped image with a transparent background.
Tips and Tricks
Use Precise Selection with Guides
Utilize Photoshop’s Guide feature to mark the center of the image, aiding in the precise positioning of the circular selection.
Experiment with Feathering for Smooth Edges
Explore the Feathering option in the Elliptical Marquee Tool settings to soften the edges of the circle, resulting in a smoother transition between the cropped image and the background.
Utilize Layer Styles
Apply layer styles such as Stroke or Drop Shadow to enhance the appearance of the circular crop, adding visual interest and depth to the image.
Common Mistakes to Avoid
Uneven Selections
Ensure the circular selection is symmetrical and centered on the desired area to prevent lopsided or off-center crops.
Skipping Layer Mask
Always apply the circular selection as a layer mask rather than directly cropping the image. This allows for non-destructive editing and preserves its originality.
Ignoring Image Resolution
Starting with a low-resolution image can result in pixelation and loss of quality when cropped into a circular shape. It’s a great idea to begin with a high-resolution image to maintain clarity and detail after cropping.
Disregarding Background Contrast
Consider the background against which the circular-cropped image will be displayed. Ensure there’s enough contrast to make it stand out prominently.
Ignoring Aspect Ratio
Disregarding the aspect ratio when cropping can distort your image. Therefore, it is a good approach to maintain the aspect ratio or proportions of the original photo for a better outcome.
FAQs
How to make a circle blur in Photoshop?
To create a circle blur in Photoshop, use the Elliptical Marquee Tool to select a circular area. Then, go to Filter > Blur > Gaussian Blur, adjust the blur radius, and click OK to apply the blur.
Can I apply a border or stroke to the circular crop?
Yes, after cropping the image into a circular shape, you can apply a border or stroke by going to Layer > Layer Style > Stroke.
Can I undo the circular crop once applied?
Since the crop is applied as a layer mask, you can simply delete it to restore the original image.
Is it possible to adjust the size and position of the circular crop?
After creating the circular selection, you can use the Move Tool to adjust its position and the Transform options to resize it.
Conclusion
In conclusion, circular cropping in Adobe Photoshop enhances photographs, adding depth and elegance to visual storytelling. Tools like Elliptical Marquee with Layer Mask enable seamless transformation into perfect circles, elevating your projects’ impact.
Now, you can embrace the creative possibilities of circular cropping your pictures and unlock new dimensions in your photographic projects.
