

Table of Contents
- 1 Introduction to Photoshop Someone into a Picture
- 2 Key Takeaways
- 3 Understanding the Basics of Photoshop
- 4 Step-by-Step Guide on How to Photoshop Someone into a Picture
- 5 Advanced Techniques for a Professional Finish
- 6 Tips for a Seamless Result
- 7 FAQs (Frequently Asked Questions)
- 7.1 Can I use a lower-resolution image for the subject?
- 7.2 What should I do if the lighting in the background differs from the subject?
- 7.3 Are there any recommended Photoshop plugins for this task?
- 7.4 How can I avoid the “cut-out” look when placing someone into a picture?
- 7.5 What is the best method for blending hair realistically?
- 8 Conclusion:
- 9 Author
Introduction to Photoshop Someone into a Picture
In this beginner-friendly guide, we’ll unravel the mysteries of Photoshop, providing you with a step-by-step approach to mastering the art of photoshopping someone into a picture.
Whether you’re a photography enthusiast, a social media user, or someone curious about digital art, this guide is your passport to creating stunning and realistic compositions.
Key Takeaways
-Master the fundamental tools of Photoshop for seamless photo manipulation.
-Choose high-quality images and understand the importance of lighting.
-Follow a step-by-step guide to effortlessly place someone into any picture.
-Troubleshoot common issues for a flawless result.
-Explore advanced techniques for a professional touch.
-Utilize FAQs to address common concerns and enhance your skills.
Understanding the Basics of Photoshop
Before getting into the intricacies of photoshopping someone into a picture, let’s familiarize ourselves with the basic tools of Photoshop. Photoshop is a versatile software with a myriad of tools, but for this guide, we’ll focus on the essentials.
Selection Tools
Selection tools, such as the lasso and magic wand, are your starting point. These tools help you precisely isolate the subject you want to include in a new picture.
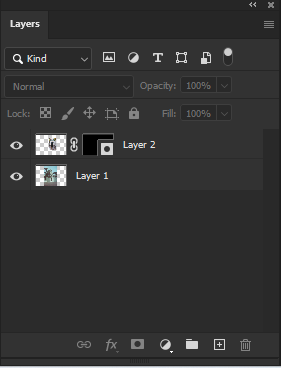
Layers and Masking Techniques
Understanding layers is crucial for creating depth in your composition. Learn how to use layer masks to blend your subject seamlessly into the background.
Clone Stamp and Healing Brush Tools
Fix imperfections and create a flawless result with the clone stamp and healing brush tools. These tools allow you to remove unwanted elements and enhance the overall quality of your image.
Selecting the Right Image
The foundation of a successful photoshopping endeavor lies in selecting the right images. High-resolution images are your best bet, providing clarity and detail. Consider lighting and shadows when choosing a subject, ensuring that it complements the background for a realistic finish.
Transparency is another key factor, allowing your subject to seamlessly blend into its new environment.
Step-by-Step Guide on How to Photoshop Someone into a Picture
Now that you’re equipped with the basics, let’s walk through the process of photoshopping someone into a picture.
Step 1: Preparing the Canvas
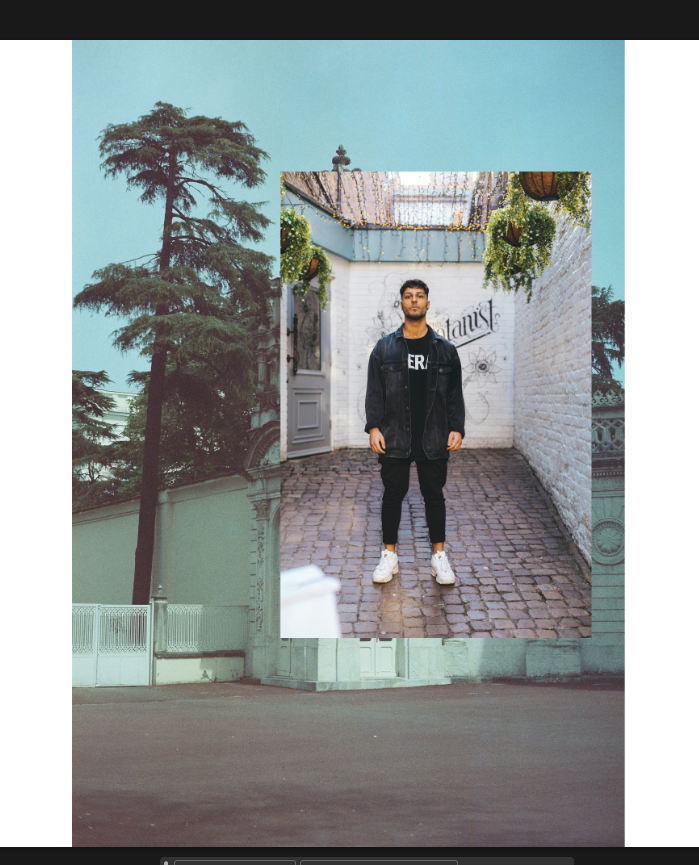
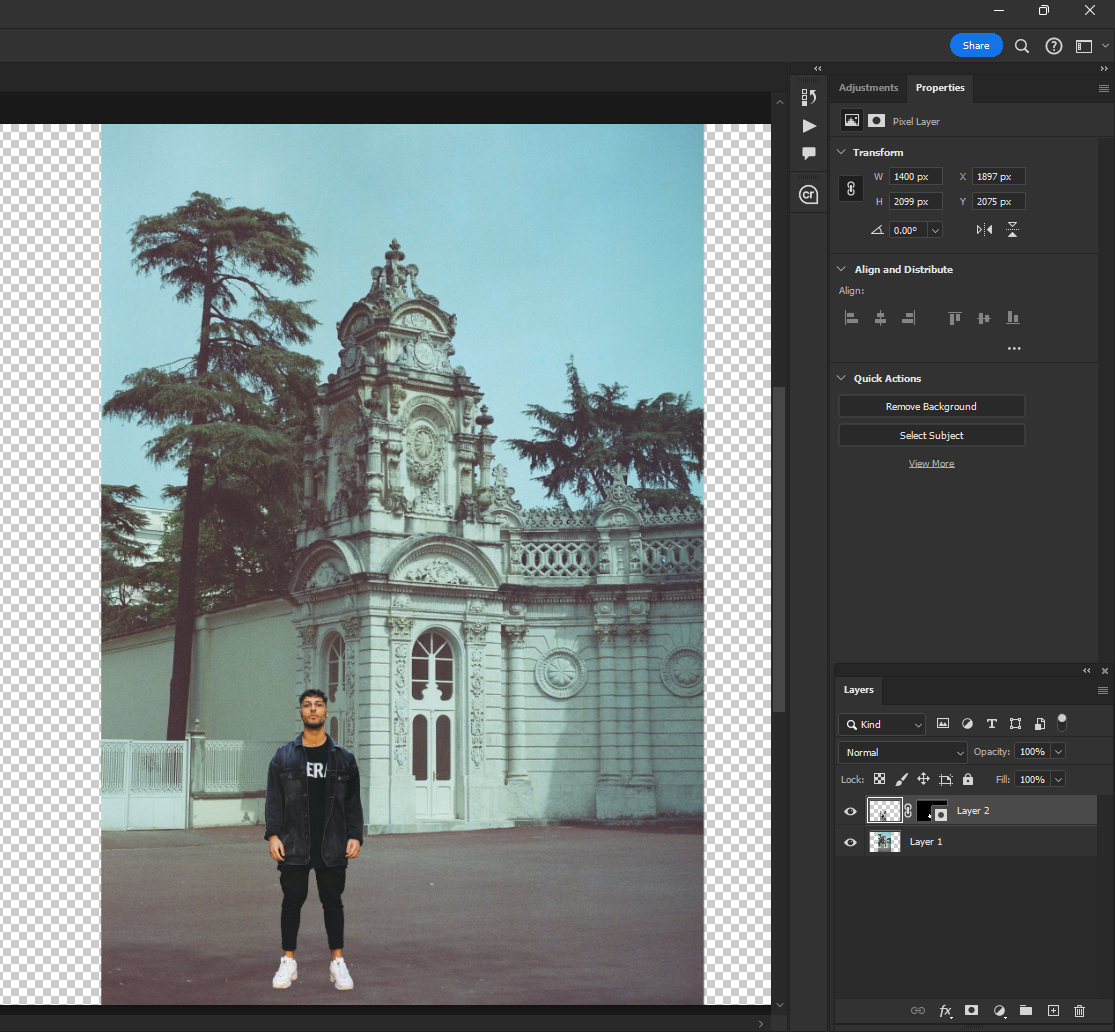
Start by setting up your Photoshop document and importing the background image. Adjust the canvas size and resolution to match your vision.
Switch to the model/subject photo, and hit Command + A (use Ctrl + A on a PC) to select all the pixels in the image.
Press Command + C (use Ctrl + C on PC) to copy them to the clipboard, then switch back to your main photo and press Command + V (again, use Ctrl + V on PC) to paste the pixels onto a new layer.
This will place your subject photo above the main background image in the layers panel.
Switch to your model/subject photo, right-click on the appropriate layer in the Layers panel, and click Duplicate Layer.
In the Destination section of the Duplicate Layer dialog box, select your main/background image and click OK.
Step 2: Selecting and Isolating the Subject
Old Technique: When both images are in the same Photoshop document, we use the eraser tool to remove all the unwanted parts and isolate the main image. This method has a few restrictions, it does not allow you to make adjustments later on in your design.
New Method: The new method uses Layer Masking to hide all the unwanted parts of the image instead of actually deleting them. This makes it easier to create a mask in the first place since you do not have to use the undo command.
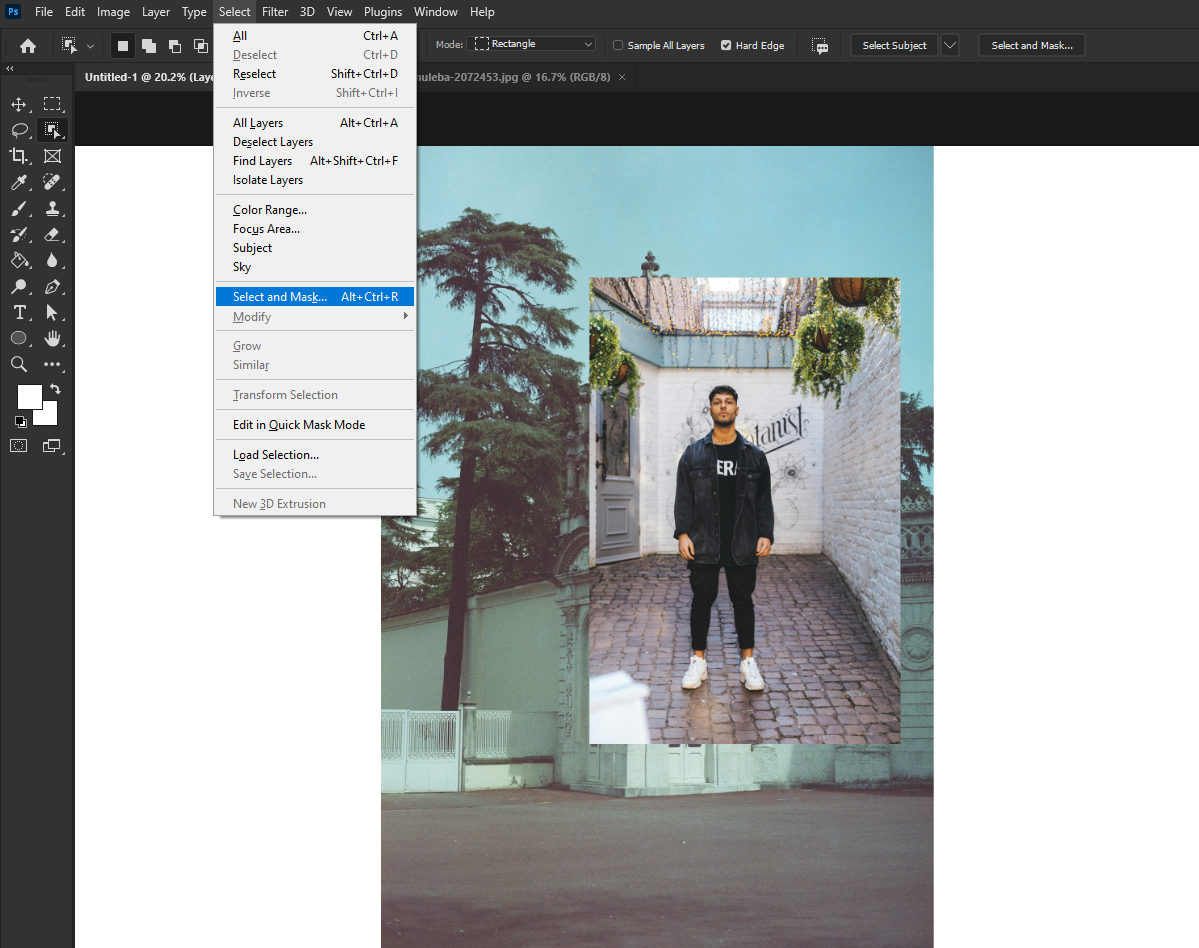
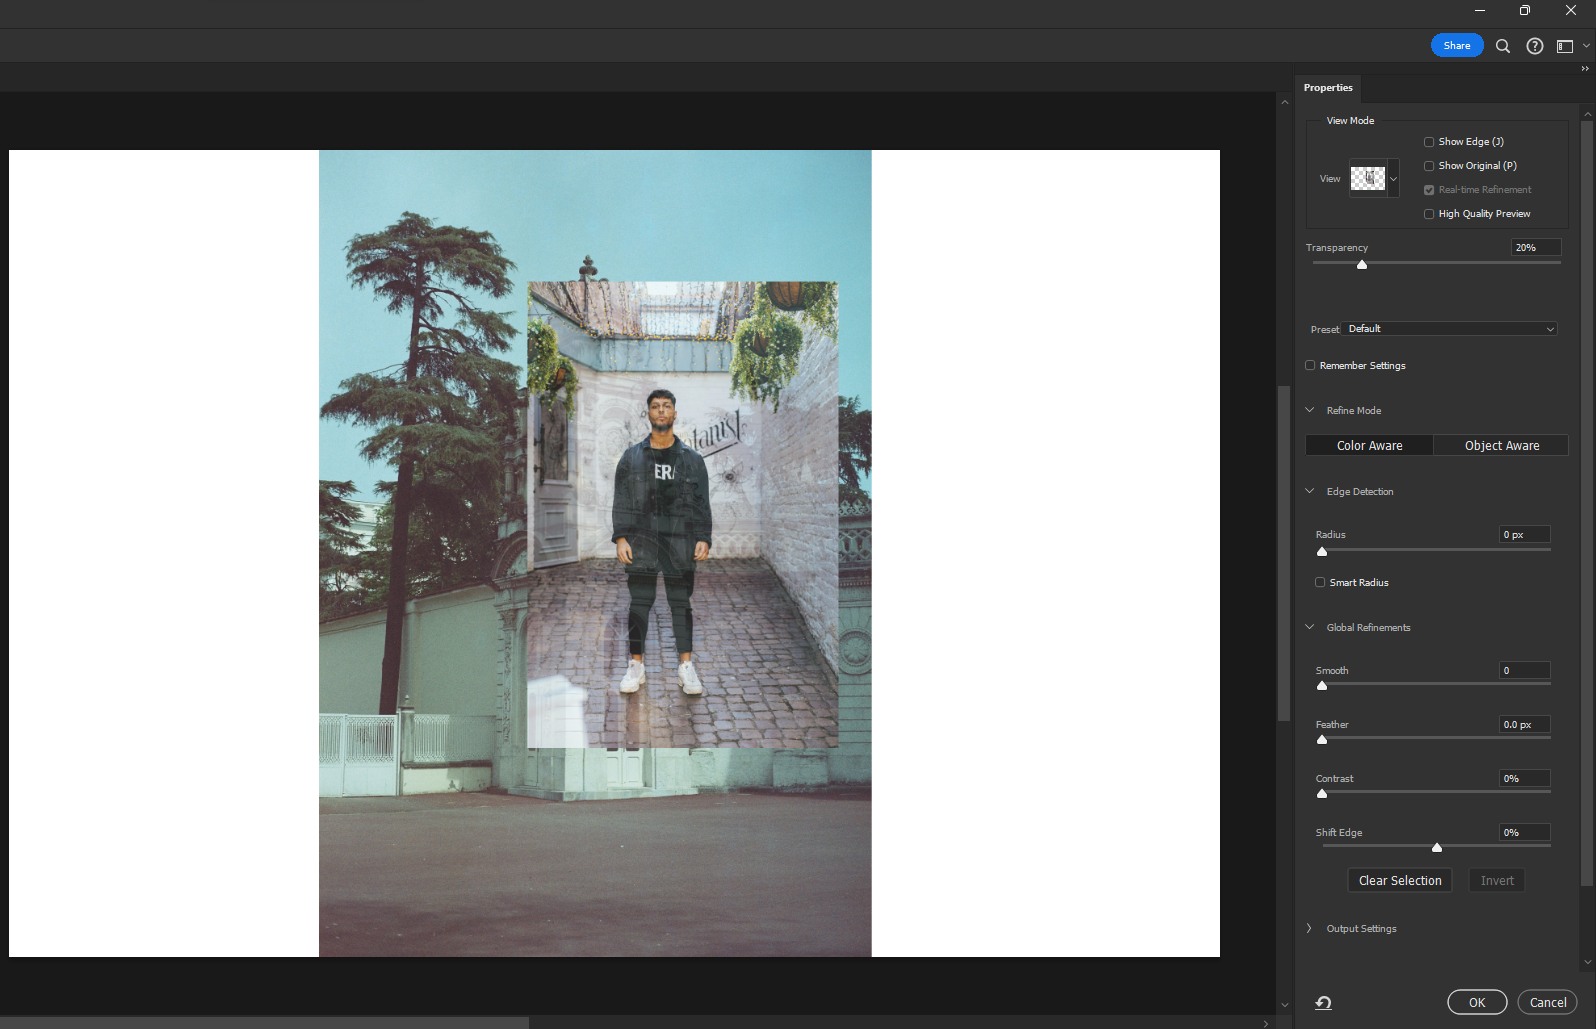
There are plenty of ways to create a layer mask by hand, but Adobe has recently added the Select and Mask workspace to Photoshop in order to streamline the whole process a little bit.
To launch Select and Mask, make sure that your model/subject layer is selected in the Layers panel, then open the Select menu and click Select and Mask. You can also use the keyboard shortcut Command + Option + R (use Ctrl + Alt + R if you’re using Photoshop on Windows).
To refine your selection, use the Quick Selection Tool and the Brush tool. Simply clicking with one of these tools will add to your existing selection, but you can hold down the Option / Alt key to subtract from your existing selection.
You can also use the + and – buttons in the Options bar at the top of the workspace, but the keyboard shortcut is much faster.
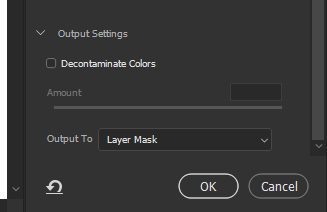
Once you’re happy with the results of your selection, locate the Output Settings section on the right side of the workspace. Change the Output To option to Layer Mask and click OK.
Your unwanted background should now be invisible, and your subject should look a bit more like they belong in the main photo – but there’s still more to be done.
Blending for Realism/Matching the Image
Once your masking is finished, it’s time to start adjusting your transplanted subjects so that they actually look like they are part of the main photo.
Utilize layer masks to blend the subject seamlessly into the background. Adjust opacity and blending modes to achieve a realistic result.
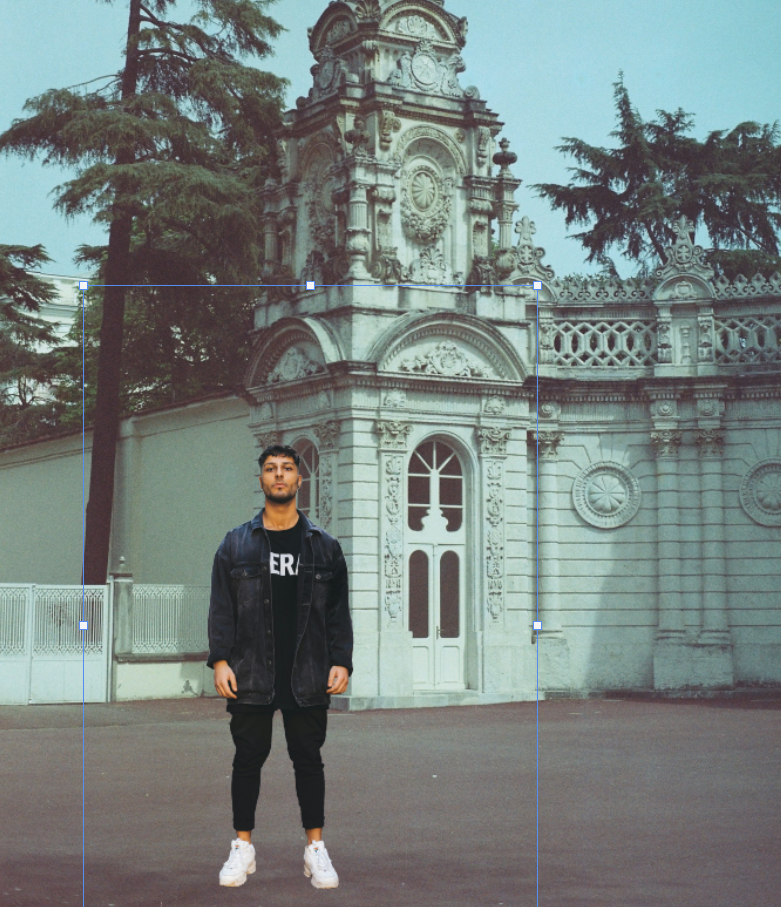
First and foremost, press Command + T to enter Free Transform mode (use Ctrl + T on Window), and then scale and reposition your transplanted subject so that it fits naturally into the main image background (or unnaturally if that’s what you want!).
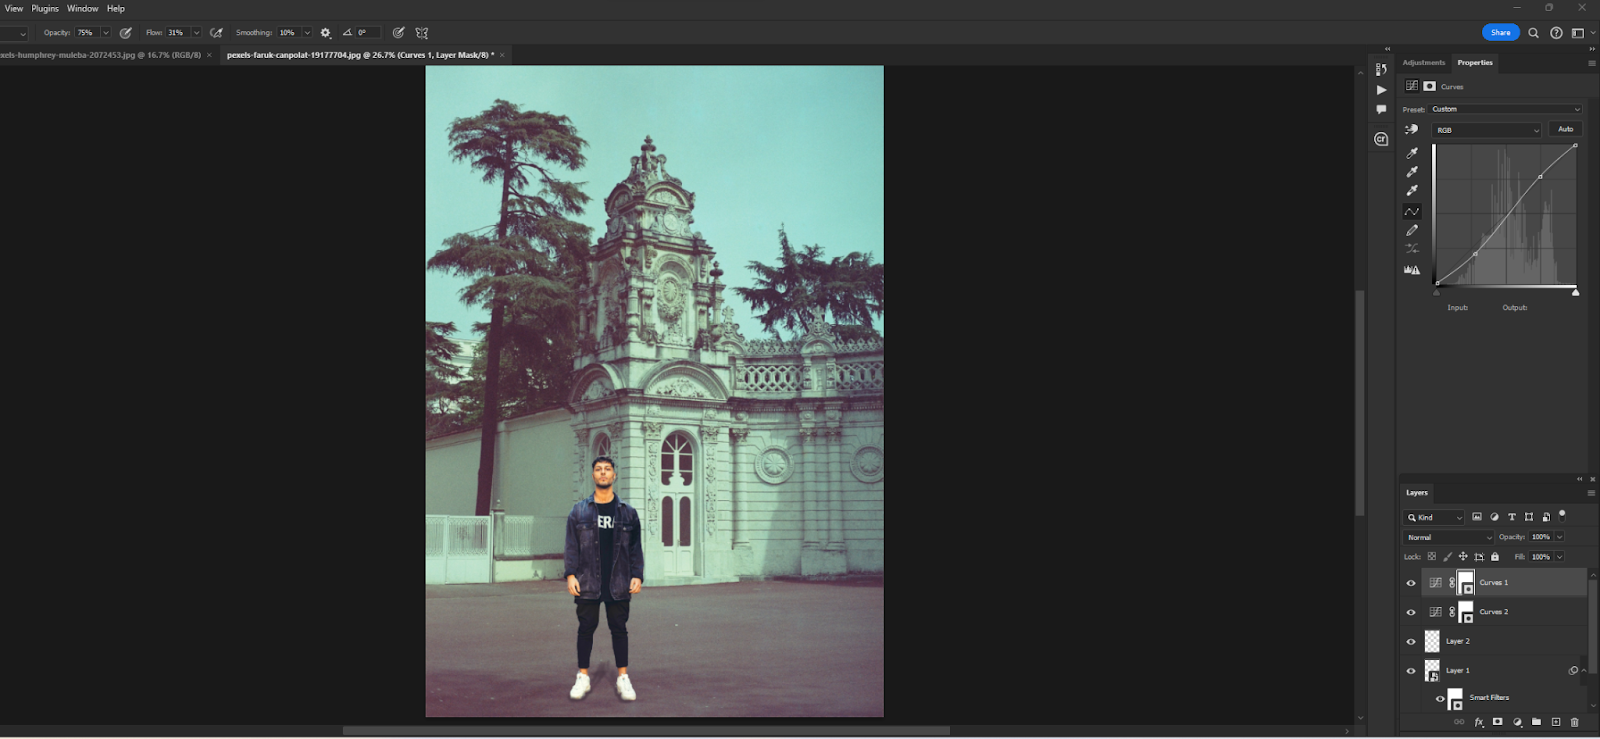
You can adjust brightness and color. You can use a Curves adjustment layer to tweak brightness, and use a Hue/Saturation adjustment layer to adjust the colors.
Lastly, check for variations in the noise levels between your two layers. Use the Add Noise filter or the Reduce Noise filter as needed to get a realistic-looking balance between the two.
Troubleshooting Common Issues:
Even with the best-laid plans, issues may arise during the photoshopping process. Learn how to troubleshoot common problems such as lighting discrepancies, color tone mismatches, and perspective issues. These troubleshooting tips will help you overcome challenges and ensure a polished final product.
Advanced Techniques for a Professional Finish
For those seeking an extra layer of finesse, explore advanced techniques. Add shadows and highlights to enhance realism, and use dodge and burn tools to fine-tune details. Experiment with additional elements to create a cohesive and professional composition.
Tips for a Seamless Result
Achieving a seamless result requires attention to detail. Avoid the “cut-out” look by paying close attention to fine details. Use filters and effects sparingly, and regularly save your progress to prevent data loss.
FAQs (Frequently Asked Questions)
Can I use a lower-resolution image for the subject?
Using a high-resolution image for the subject is recommended for optimal clarity and detail.
What should I do if the lighting in the background differs from the subject?
Adjust the lighting on the subject to match the background for a more realistic result.
Are there any recommended Photoshop plugins for this task?
While various plugins exist, mastering the fundamental tools is crucial. Plugins can be explored as you gain more experience.
How can I avoid the “cut-out” look when placing someone into a picture?
Attention to detail is key. Refine edges, match color tones, and blend effectively for seamless integration.
What is the best method for blending hair realistically?
Use layer masks and consider adjusting the opacity to blend hair naturally into the background.
Conclusion:
Congratulations! You’ve now mastered the art of photoshopping someone into a picture. As you continue to practice and experiment, share your results and seek feedback on social media platforms. Remember, the key to becoming proficient is consistency and a willingness to explore new techniques. Happy editing!
