

Rotating images is a crucial part of photo editing. It adds depth to your creations and makes them more captivating for your viewers. Whether you’re a beginner or a pro, mastering this skill is super important. Once you do, you’ll discover a whole new world of creative possibilities.
In this tutorial, we’ll explore the art of rotating images in Adobe Photoshop and uncover simple yet powerful techniques to seamlessly enhance your design skills.
Table of Contents
Methods for Rotating Images in Adobe Photoshop
In Adobe Photoshop, you have multiple techniques for image rotation, each with its own advantages and limitations.
Method 1: Rotate View Tool
The Rotate View Tool in Photoshop is a straightforward method for manually adjusting the rotation angle of images quickly by clicking and dragging. While easy to use, it may lack precise control for complex rotations.
Method 2: Free Transform
The Free Transform tool, accessed through the shortcut (Ctrl+T or Cmd+T) in Photoshop, allows for precise rotation adjustments with greater accuracy but may require additional steps compared to using the Rotate Tool.
Method 3: Image Rotation Options
Photoshop’s Image Rotation feature offers preset rotation angles for quick adjustments. While convenient, this method may not be suitable for custom angle adjustments. It is accessible through the Image menu and provides predefined angles such as 90° CW (Clockwise) or 180°.
Steps for Rotating Images at an Angle
Photoshop’s Free Transform tool provides a versatile solution for rotating images at an angle. Here’s a step-by-step guide for using this method:
Step 1: Open Your Image
Open Adobe Photoshop and open the image you want to rotate by navigating to File > Open.
Step 2: Activate Free Transform
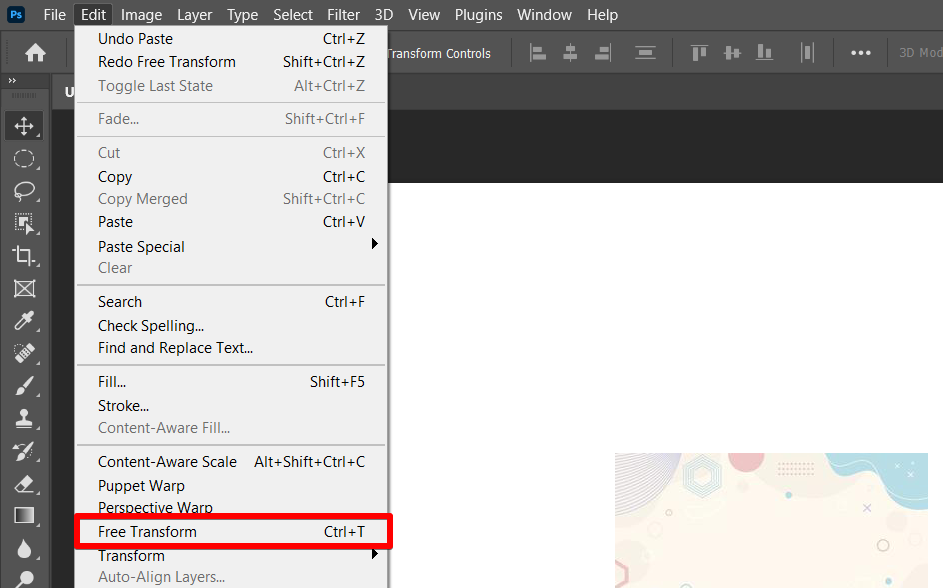
To resize the image, click Edit on the top menu and select Free Transform. Then, click and drag any corner handle to adjust the size, and press Enter to confirm the change.
Step 3: Access Rotation Handles
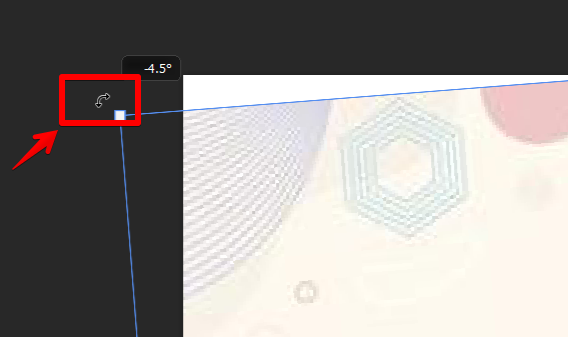
A bounding box with corner and side handles will appear around the image. Now, hover your cursor outside the bounding box until it becomes a curved double-arrow icon.
Step 4: Rotate the Image
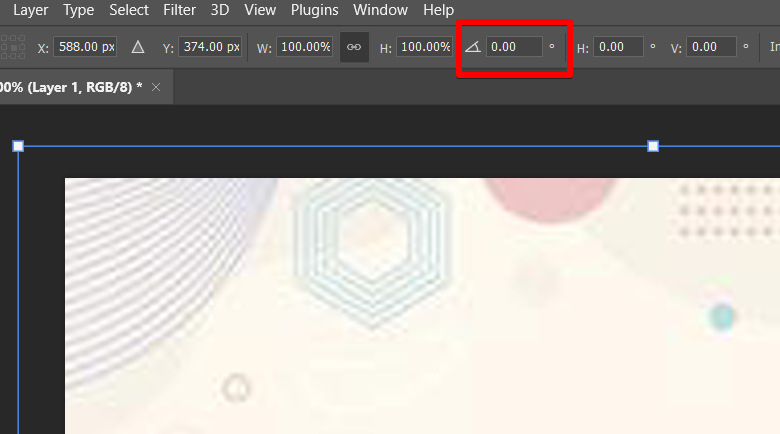
Next, drag the cursor to rotate the image to the desired angle. Alternatively, you can input the exact rotation angle in the options bar at the top of the screen.
Step 5: Apply the Transformation
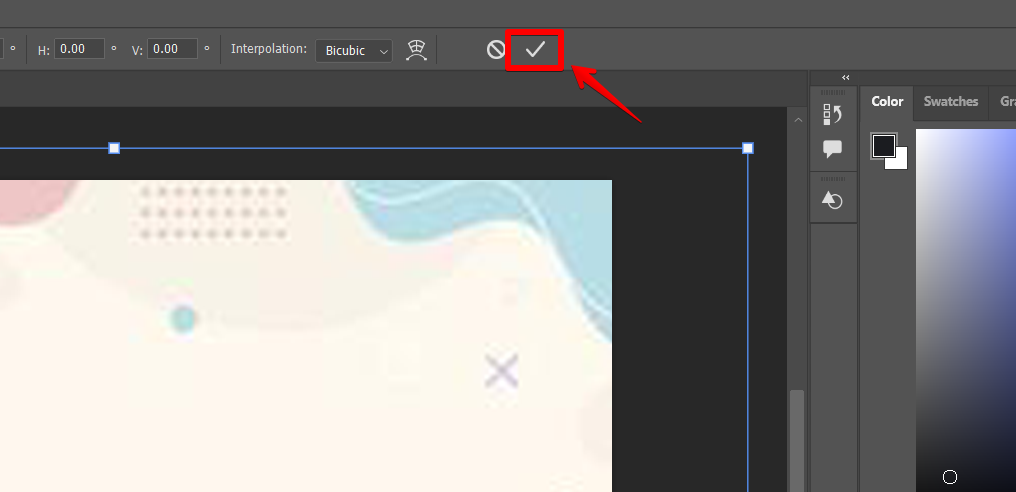
Once you’ve achieved the desired rotation, press Enter or Return to apply the transformation. Alternatively, you can double-click inside the bounding box or simply click the checkmark icon in the options bar for this purpose.
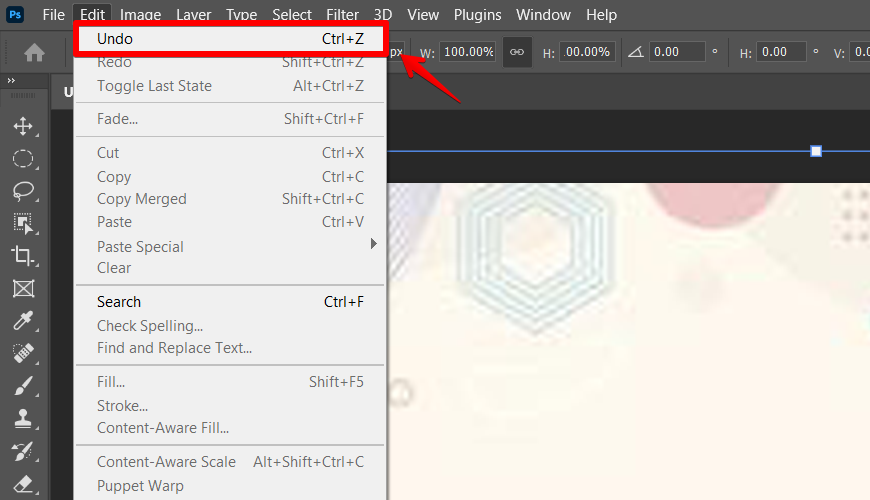
If the rotation isn’t satisfactory, you can undo it by pressing Ctrl+Z or by navigating to Edit > Undo Rotate in the menu.
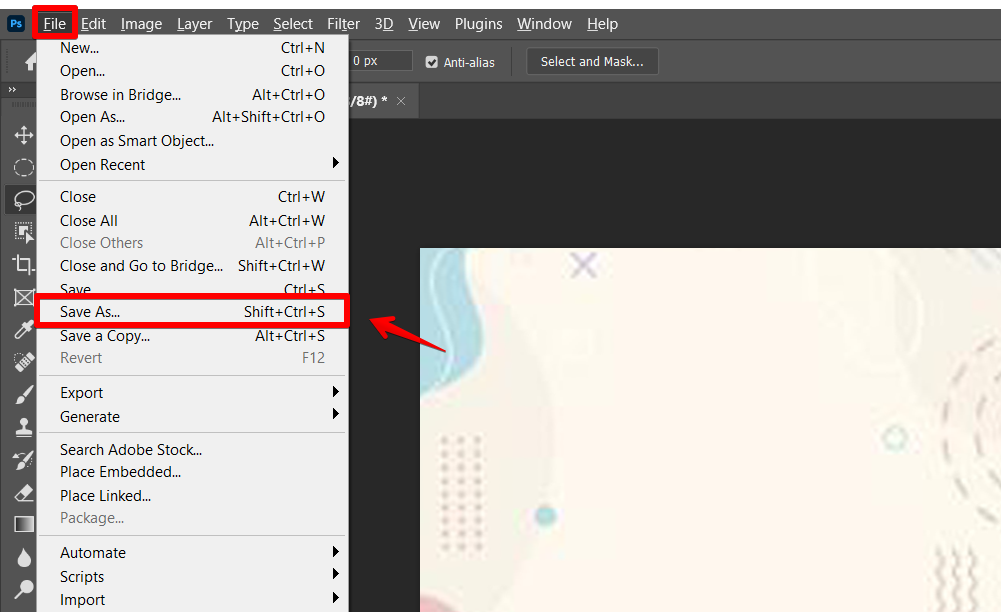
Step 6: Save Your Changes
If you’re satisfied with the rotation, go to File > Save As and save your project with a new name.
Tips and Tricks
Preview Before Applying
Before finalizing the rotation, it is best to preview the image, which will reveal how it fits your desired shape or composition. This allows you to make any necessary adjustments before committing to the changes and saving them.
Save a Copy of the Original Image
It is a good practice to save a copy of your original image before rotating or making any significant edits. This ensures that you have a backup in case you need to return to that version at any point to start over with a new approach.
Apply Angle Constraints
If you need to restrict the rotation to specific increments (e.g., 45 degrees), simply hold the Shift key on the keyboard while rotating to constrain the angle.
Common Mistakes to Avoid
Not checking for clipping:
Rotating an image can sometimes result in parts of it being clipped or cropped out of the frame. Before finalizing your rotation, ensure that all important elements remain visible within the canvas.
Ignoring Guides and Grids
Guides and grids can help you align the image accurately during rotation. Ignoring them may result in misalignment or uneven composition.
Relying Solely on Keyboard Shortcuts
While keyboard shortcuts can speed up the workflow, relying solely on them without understanding the tools and options may result in errors or unintended changes to your work.
FAQs
Can I rotate multiple images at once in Photoshop?
Yes, you can rotate many pictures together using Adobe Photoshop. Simply select the layers containing the images you want to rotate, then apply the rotation using the desired rotation tool or Free Transform.
Does rotating an image affect its quality in Photoshop?
Rotating an image in Photoshop should not significantly affect its quality, especially if you’re working with high-resolution pictures. However in many cases, repeated rotations or extreme angles may result in minor quality loss.
Can I rotate a selection or a specific area within an image in Photoshop?
To rotate a designated area within an image, first, make a selection around the area you want to rotate using tools like the Marquee Tool or Lasso Tool. Then, apply the rotation using Free Transform.
Conclusion
As we conclude this guide, we’ve uncovered the diverse tools and methods available for achieving precise adjustments of images, graphics, or visual elements in Photoshop. Whether you’re using the Rotate Tool or Free Transform tool, each lets you express your creativity accurately.
Now, with these techniques, dive deeper into their utilization and discover even more ways to enhance your designs.
