

Adding a fast-paced effect creates depth and movement in the background of your sports photos, dance shots, or other images. The process involves using a blur filter in Photoshop to stretch and soften the details in your pictures.
To help you with this, we’ll show you a quick way to add this effect using Photoshop. Let’s get started!
Table of Contents
Methods to Add Motion Blur Effect Using Photoshop
Here are two methods to add the motion blur effect to your picture in Adobe Photoshop:
Method 1: Path Blur and Spin Blur
Path Blur lets you draw paths for the blur, while Spin Blur creates circular motion effects around a focal point like wheels. While these effects give you complete control over the direction and intensity of the motion, you may find it hard to get them right if you are just starting out.
Method 2: Motion or Radial Blur
Motion Blur creates a straight-line blur that’s perfect for mimicking speed and movement. Radial Blur, on the other hand, makes an effect that looks like zooming in or out. This method is simpler and works great for moving subjects. The only downside? You’re stuck with straight lines and cannot get curved motion.
Steps for Adding a Motion Blurred Background Using Photoshop
For this guide, we’ll discuss the steps for the Motion or Radial Blur method because it’s quick, effective, and beginner-friendly.
Step 1: Upload Your Picture to Photoshop
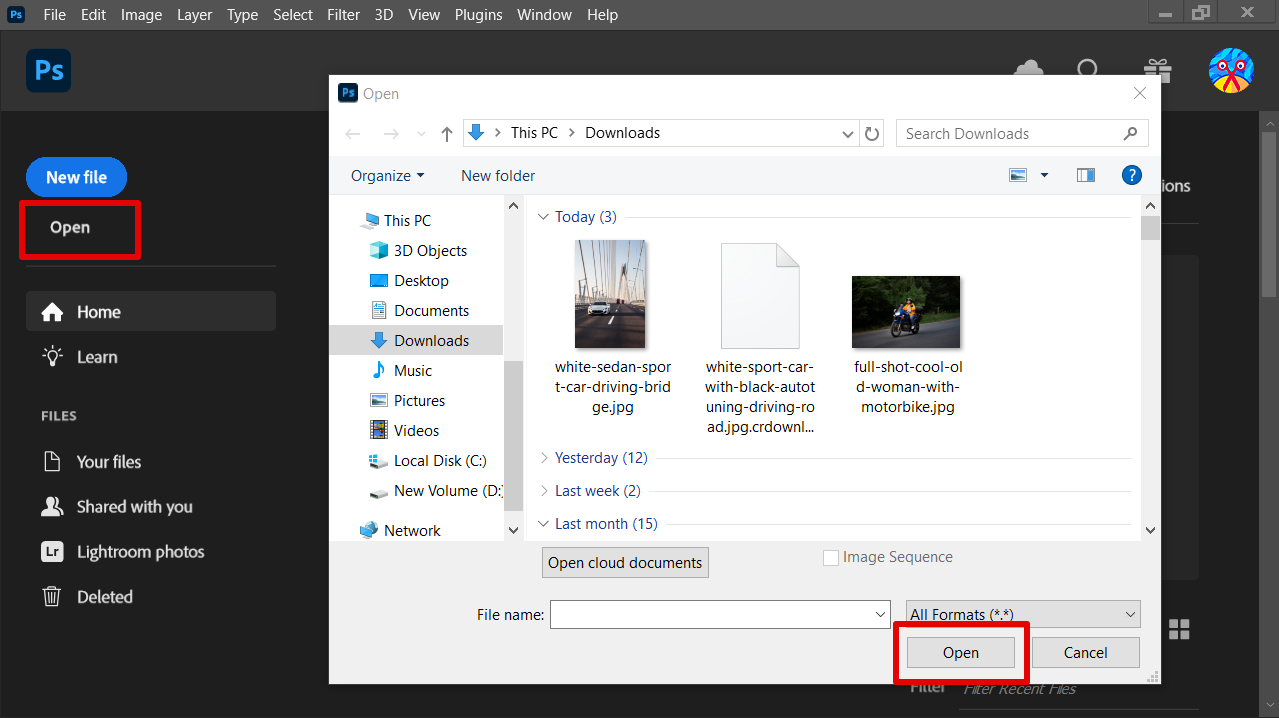
To start, open “Photoshop” and click “Open” on the main screen. Select the picture to which you want to add the effect and click “Open” to import it to the editor.
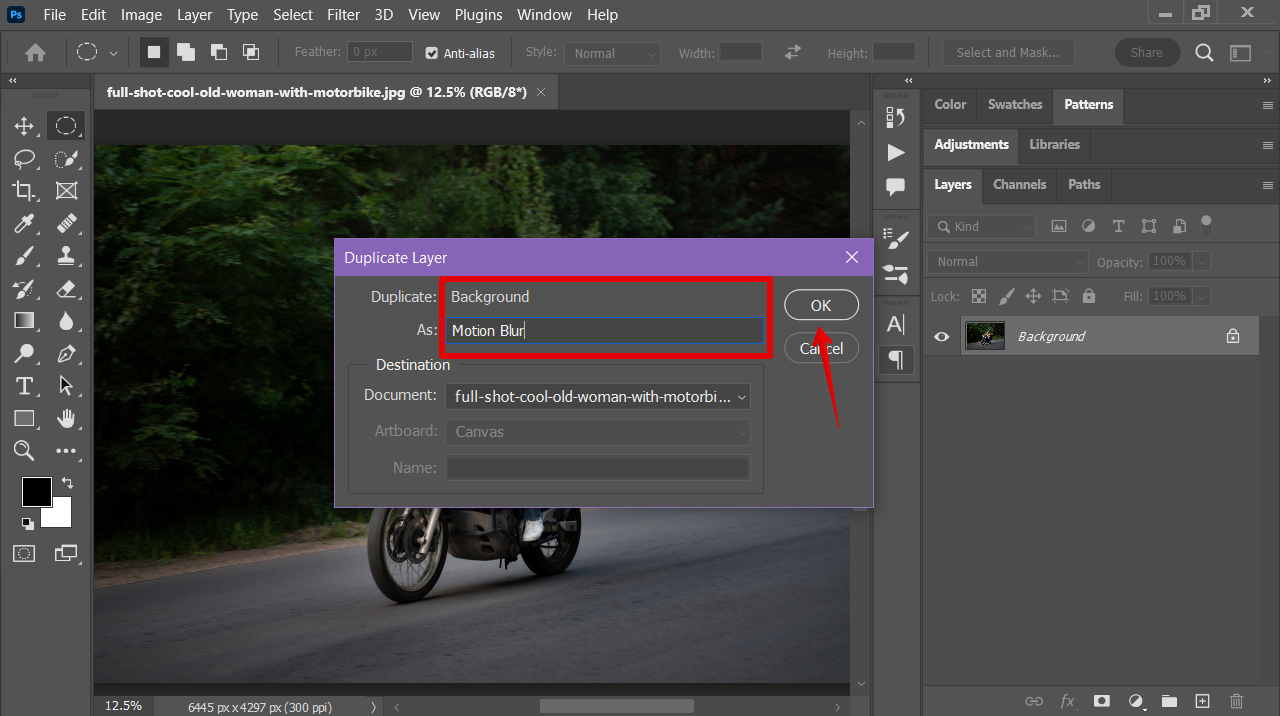
Press CTRL/CMD+J, or go old school, right-click “Background” in the “Layers” panel, and select “Duplicate Layer.”

Rename the layer to “Motion Blur” and click “OK” to confirm.
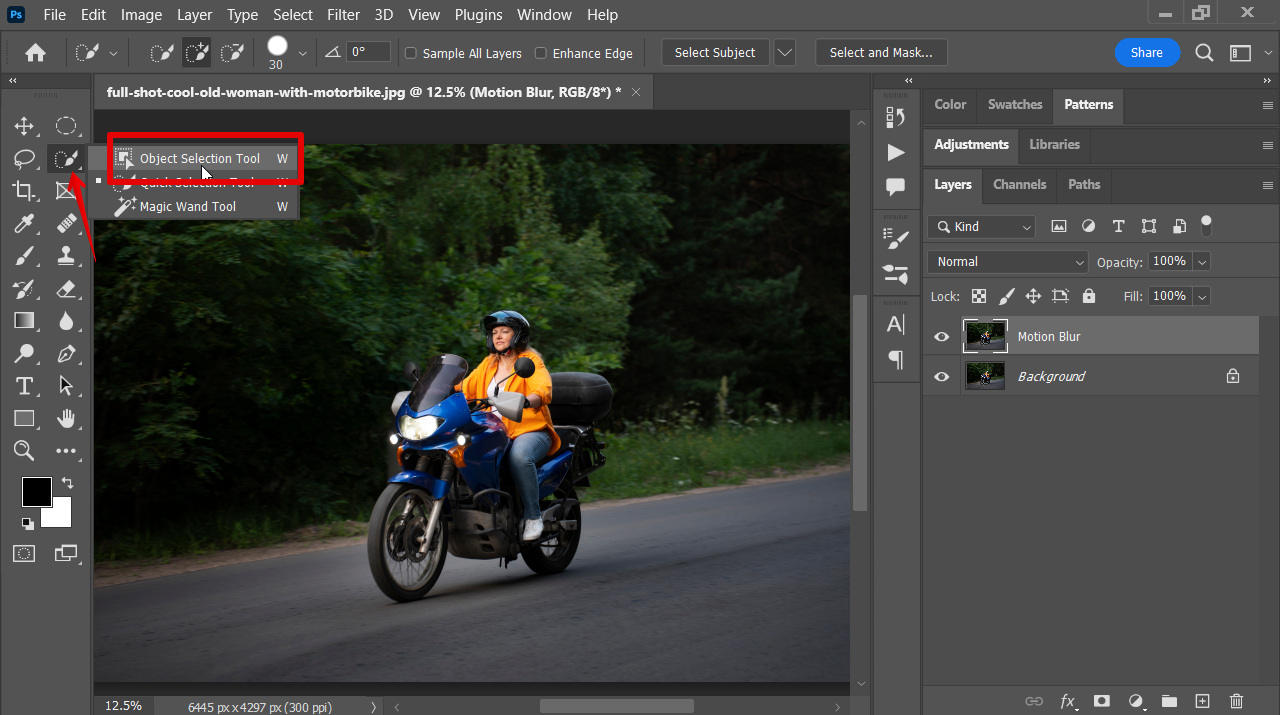
Step 2: Separate the Subject
Select the “Object Selection” tool from the left toolbar, and click and drag the cursor to make a rectangular marquee selection around the subject.
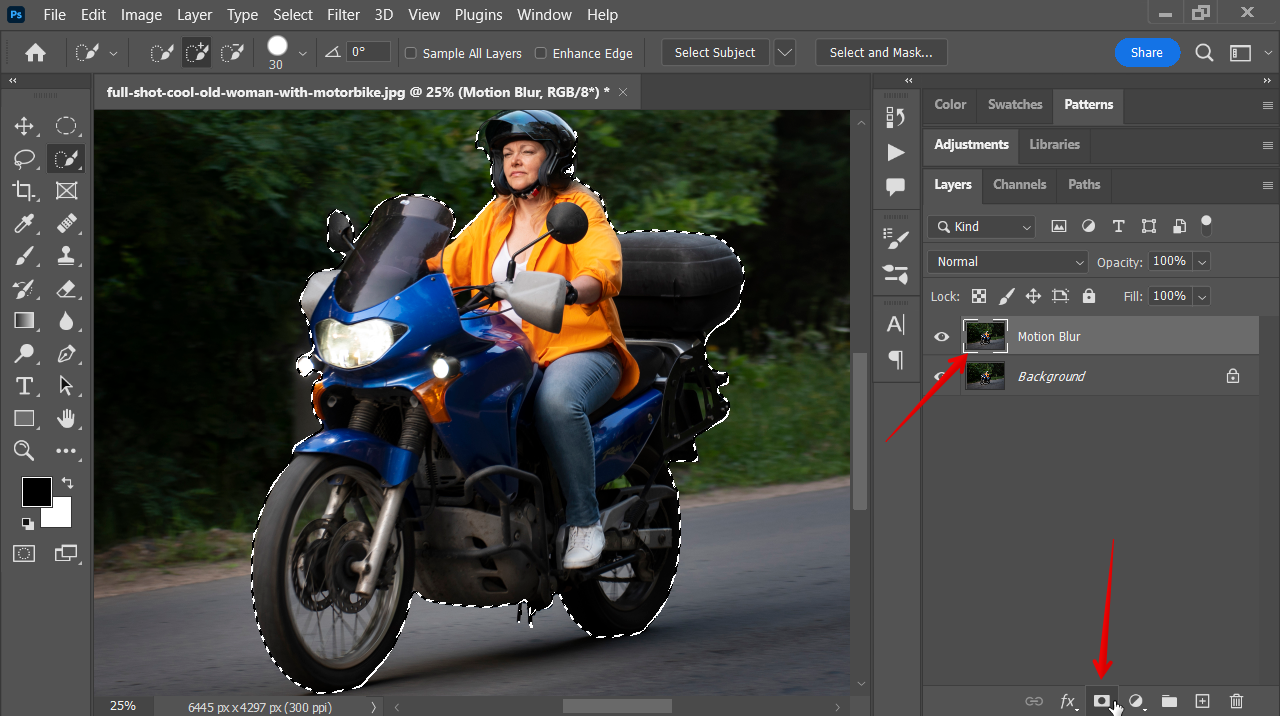
Click the “Motion Blur” layer and click “Add Layer Mask” to put the subject on its own layer separate from the background.
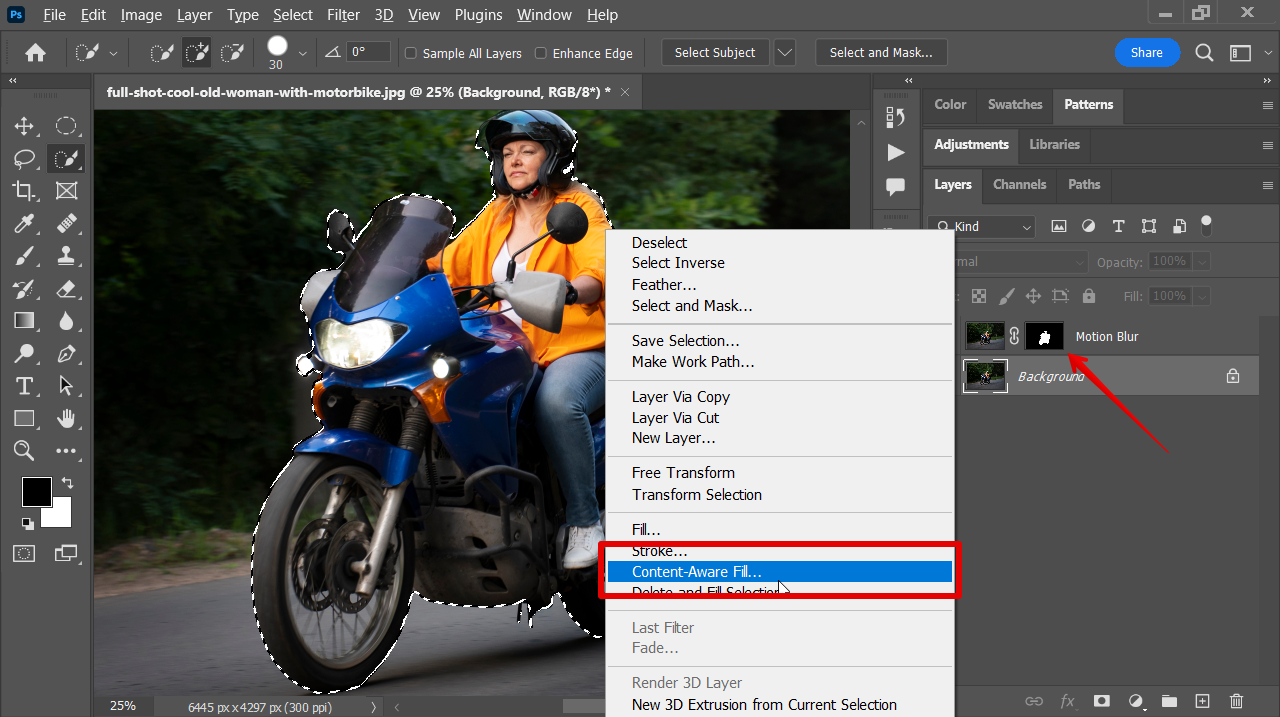
Now, we need to remove the subject from the background layer. For this, hold CTRL or CTRL and click on the “Layer Mask.” Click on the background layer, right-click the selection (subject), and choose “Content-Aware Fill” to open a new dialogue box.
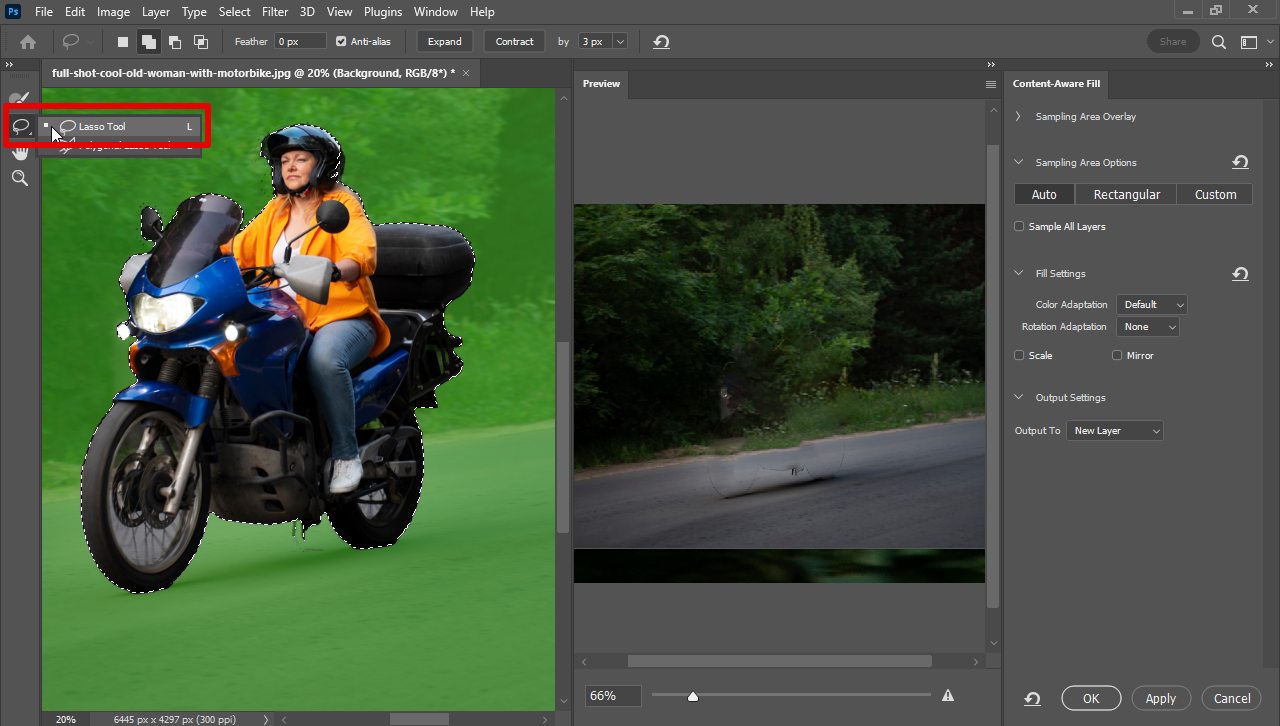
Grab the “Lasso Tool” from the left panel and start making a selection just a little outside the existing selection to give content-aware fill more area and remove harsh edges.
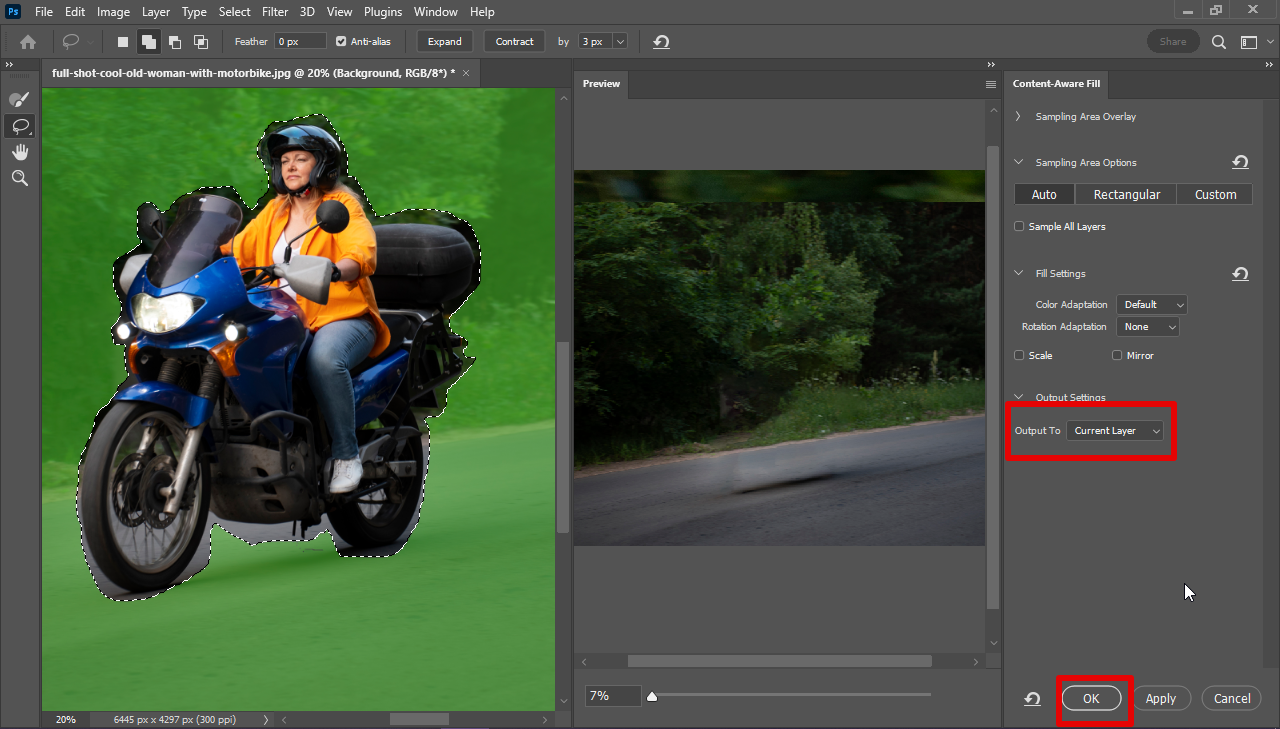
Set the “Output To” settings to “Current Layer” and click “OK.” Press CMD/CTRL+D to deselect the new selection.
Step 3: Apply Motion Blur
Then, right-click the “Background Layer” and choose “Convert to Smart Object.”

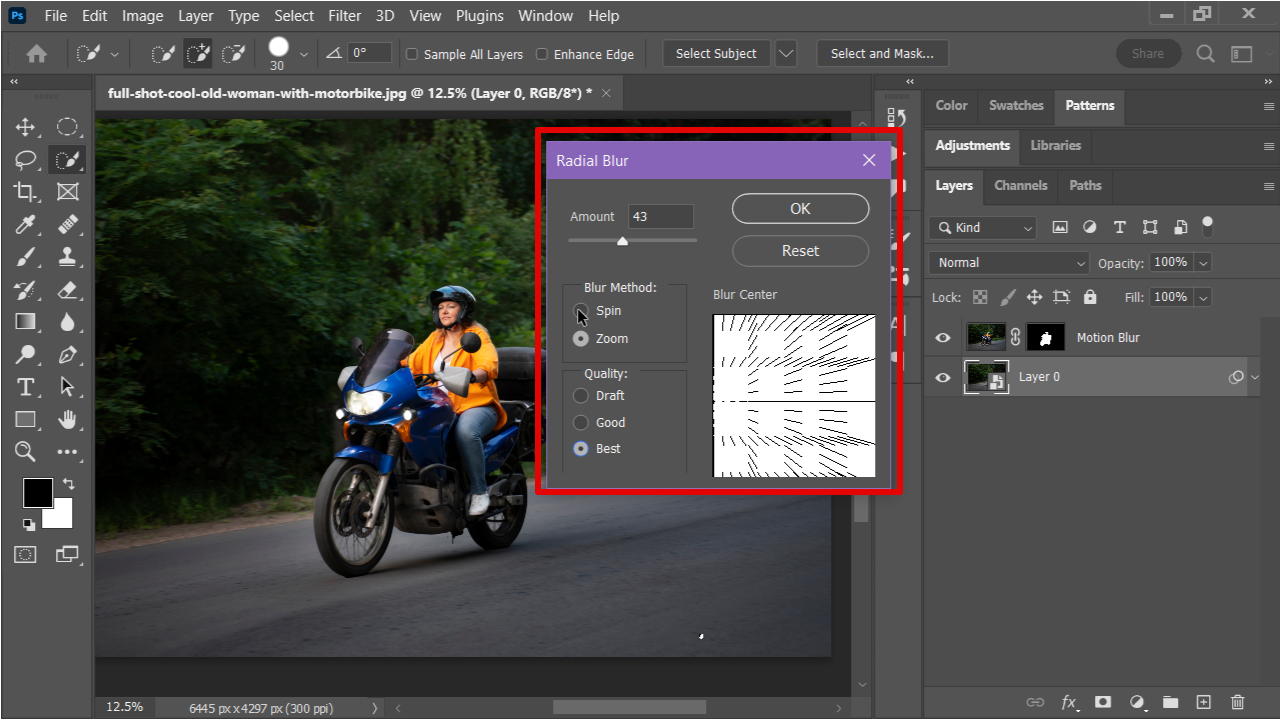
With the background layer selected, click “Filter,” choose “Blur,” and then select “Radial Blur” or “Motion Blur.”

A settings box will pop up. For “Radial Blur,” select “Blur Type” as “Zoom,” and set the “Amount” and “Blur Center.”
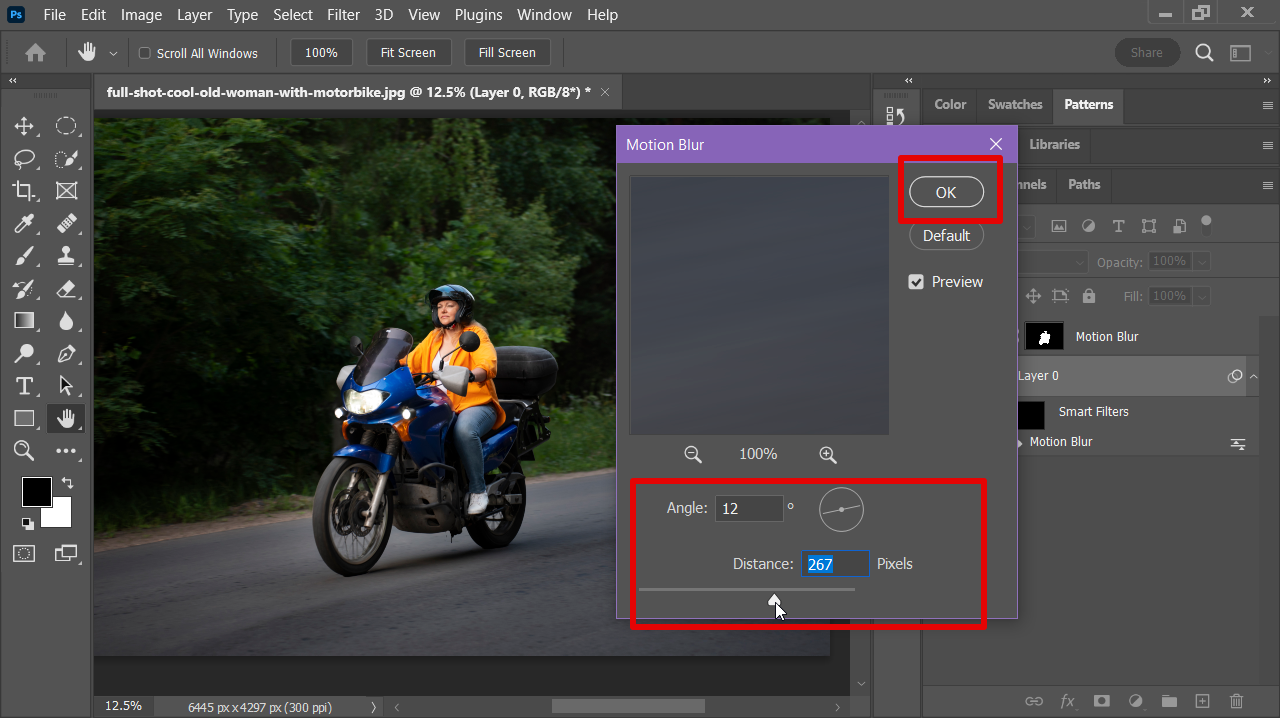
If you’ve applied “Motion Blur,” adjust the “Angle” slider to match the motion’s direction and tweak the “Distance” value to control the intensity of the blur. Play around until it looks just right.
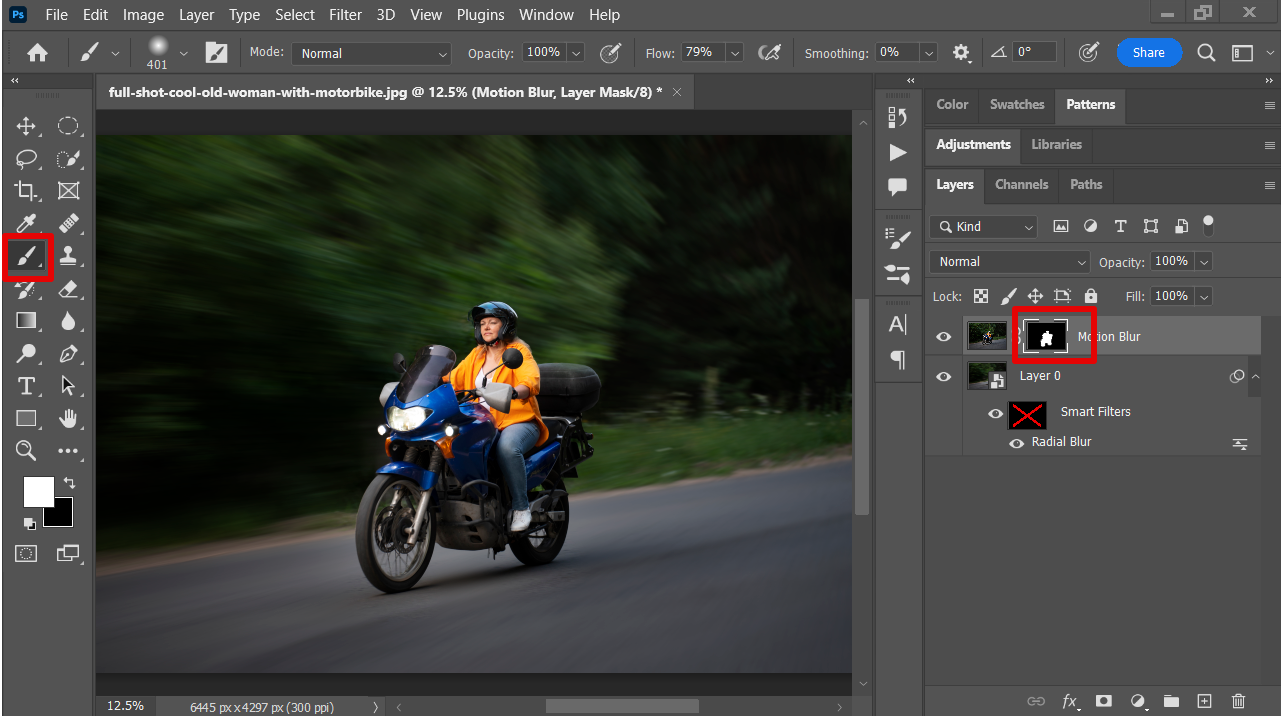
Click the “Layer Mask” for the “Motion Blur” layer, select “Brush Tool,” set the color to white, and paint on the mask to add some of the shadow back for a realistic effect.
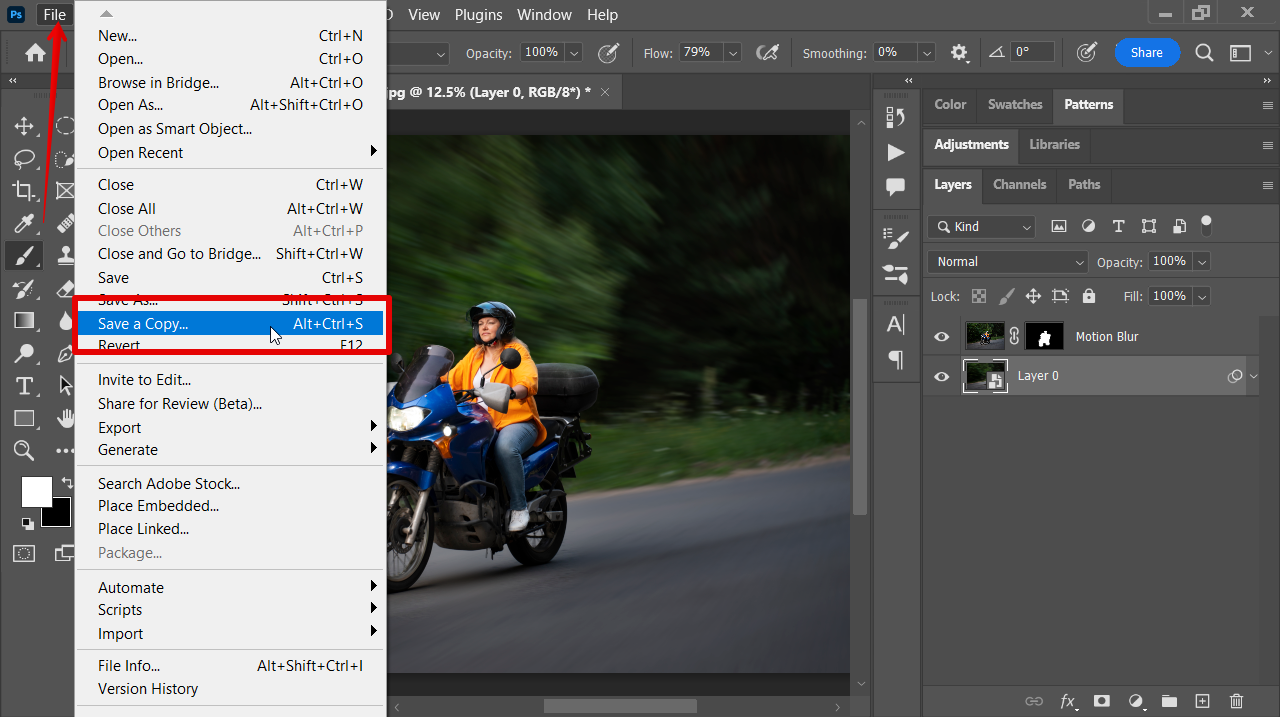
Step 4: Export the Image
Click “File” and select “Save a Copy.” This will export the edited version to your device.
Tips and Tricks
Fix Left Out Edges
The “Object Selection Tool” might leave out some of the edges of the subjects. Try using the “Quick Selection Tool” to manually add them to the selection. Make sure to adjust the brush size as needed and carefully drag over the areas that need to be included
Experiment With the Blur Amount
Don’t be afraid to play around with different blur settings. Start small with maybe 20-30 Amount or Distance and gradually increase the value until you get the desired motion effect.
Mask the Blur Correctly
Always use a soft brush on the layer mask to correctly blend the blur around the edges of your subject. This prevents harsh lines and makes the image look more realistic.
Common Mistakes to Avoid
Incorrect Blur Direction
Make sure your blur direction matches the movement in your photo. If your subject is running left to right, your effect should follow the same direction!
Using Low-Resolution Images
When you apply motion blur or radial blur to low-res images, it gives you a pixelated, grainy effect. It’s best to start with a high-resolution photo to get that professional look you’re after.
Applying Blur on the Wrong Layer
If you mix up the layers while applying the blur, it will affect your entire edit. So, double-check that you’re applying the blur to the background layer, not the subject.
FAQs
Can I Adjust the Blur After Saving?
Yes, if you’ve converted your background layer to “Smart Object,” you can easily adjust the blur after saving. Simply double-click the blur filter in the layers panel to open its menu in a new window. You can tweak the values from here until you get exactly the look you want.
What’s the Best Angle for Motion Blur?
The best angle depends on the movement and direction of the subject in your picture. Use horizontal angles (0° or 180°) for running or driving shots. While for falling or jumping shots, go for vertical angles between 90° and 270°.
Conclusion
In this article, you’ve learned how to create a fast-paced effect in your picture background using Radial or Motion Blur in Photoshop. Remember, try to match the effect with the movement of the subject to get a natural look.
Now, give it a shot, and let your creativity run wild to add some motion to your pictures!
