Table of Contents
Photographic Texture in a text in Adobe Illustrator
As you have learned the use of type tool in the previous tutorial, in today’s tutorial and also in a few upcoming tutorials you will learn the varied types of text effects.
Get ready to learn Photographic Text Effect. You can use this text effect while designing a poster or a flyer.
Step 1
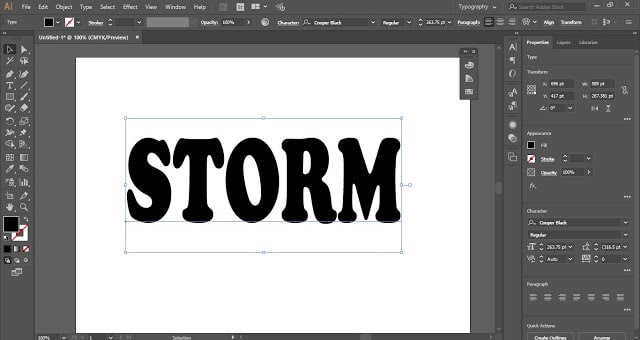
Launch Adobe Illustrator and create a document. Select the Type Tool and type a text. Now change the font type.
Be careful while selecting the font type. Your font type should be such that the image is properly and clearly visible inside the letter. A wrong font selection will spoil your text effect.
Step 2
After typing the text and selecting a correct font type, click on Draw Inside. It is in the tool panel under Fill & Stroke. When you will select the Draw Inside tool you will see black dashed borders at the corners of the text area. This shows that the image will be placed in this specified area.
Step 3
Now it’s time to insert an image. Click on File in the Menu Bar and then select Place. After clicking on Place, browse the image.
Step 4
After selecting the image, place your cursor on the text and click. Your image will be placed within the text. You can scroll the image and set it accordingly to give the best Photographic Texture.
Practice Time
Type a word and practice with all the font style so that you can identify which font style is best suitable for your Photographic Texture.
You can also add a separate image to each letter and this you will learn in the next tutorial.
Share this tutorial and give your feedback in the comment section.


