

How to Use Envelope Distort with Warp in Adobe Illustrator
In this guide, we’ll learn about the Envelope Distort tool, a powerful feature that lets you warp and shape your designs with precision. Whether you’re a design enthusiast or a budding artist, this article is your key to exploring the creative potential within Illustrator.
Basic Concepts of Envelope Distort
Before diving into the intricate details of using Envelope Distort, let’s establish a solid understanding of its basic concepts. In Adobe Illustrator, Envelope Distort is the artisan’s tool, allowing you to manipulate text and shapes in ways that transcend the ordinary.
Imagine having the ability to mold concentric circles into freeform shapes or turn a simple word into a three-dimensional masterpiece. This is the magic of Envelope Distort. The process involves merging a base layer (text or shape) with a top object, resulting in a seamless fusion of the two.
For beginners, the journey begins by creating a “base layer.” If your canvas involves text, type out your desired words in an appealing font. Break it into multiple lines if needed, and convert it to an object through “Type > Create Object.” Shapes, on the other hand, demand a creation phase, where grouping is essential for a unified distortion effect.
Now, the canvas is set, and it’s time to introduce the “top object.” This is the shape you want to fill with your text or shape. Use the Paintbrush tool or built-in shape tools to craft this top layer, positioning it strategically above the base. The fusion begins with “Object > Envelope Distort > Make with Top Object.“
As the objects merge, the resulting shape becomes a canvas for your creativity. Colors can be edited, and the white arrow tool allows for nuanced adjustments. Envelope Distort gives you the power to breathe life into your designs, shaping them in ways that defy convention.
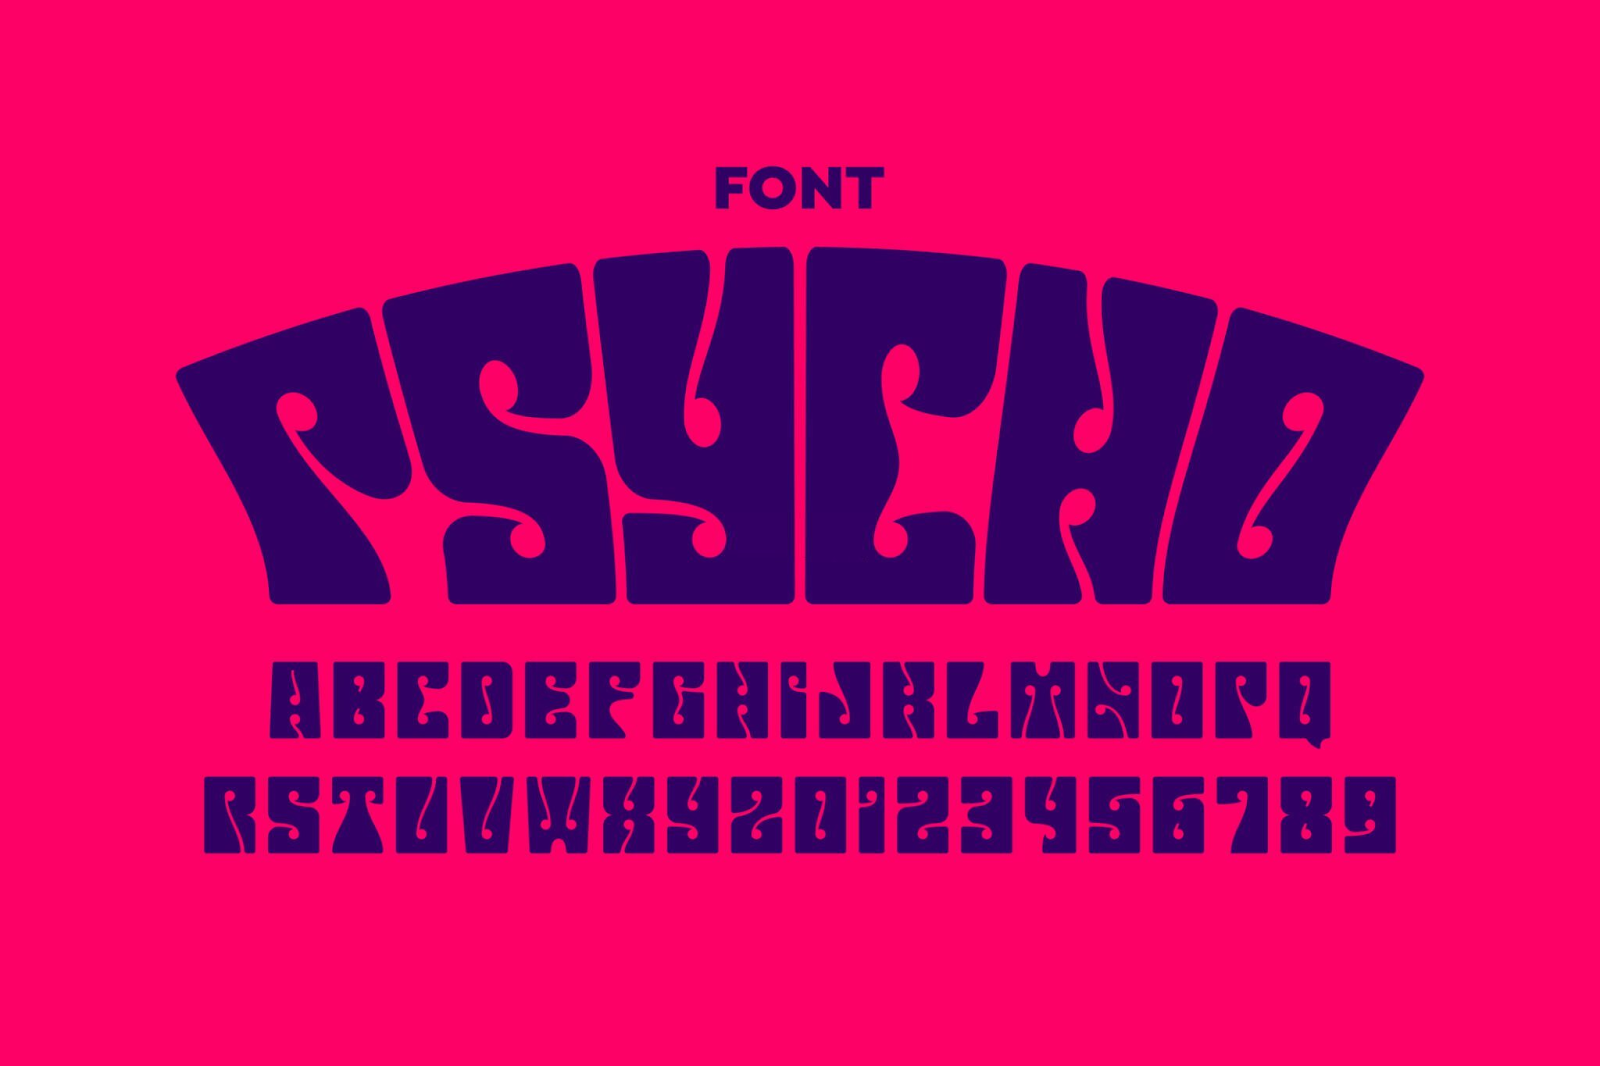
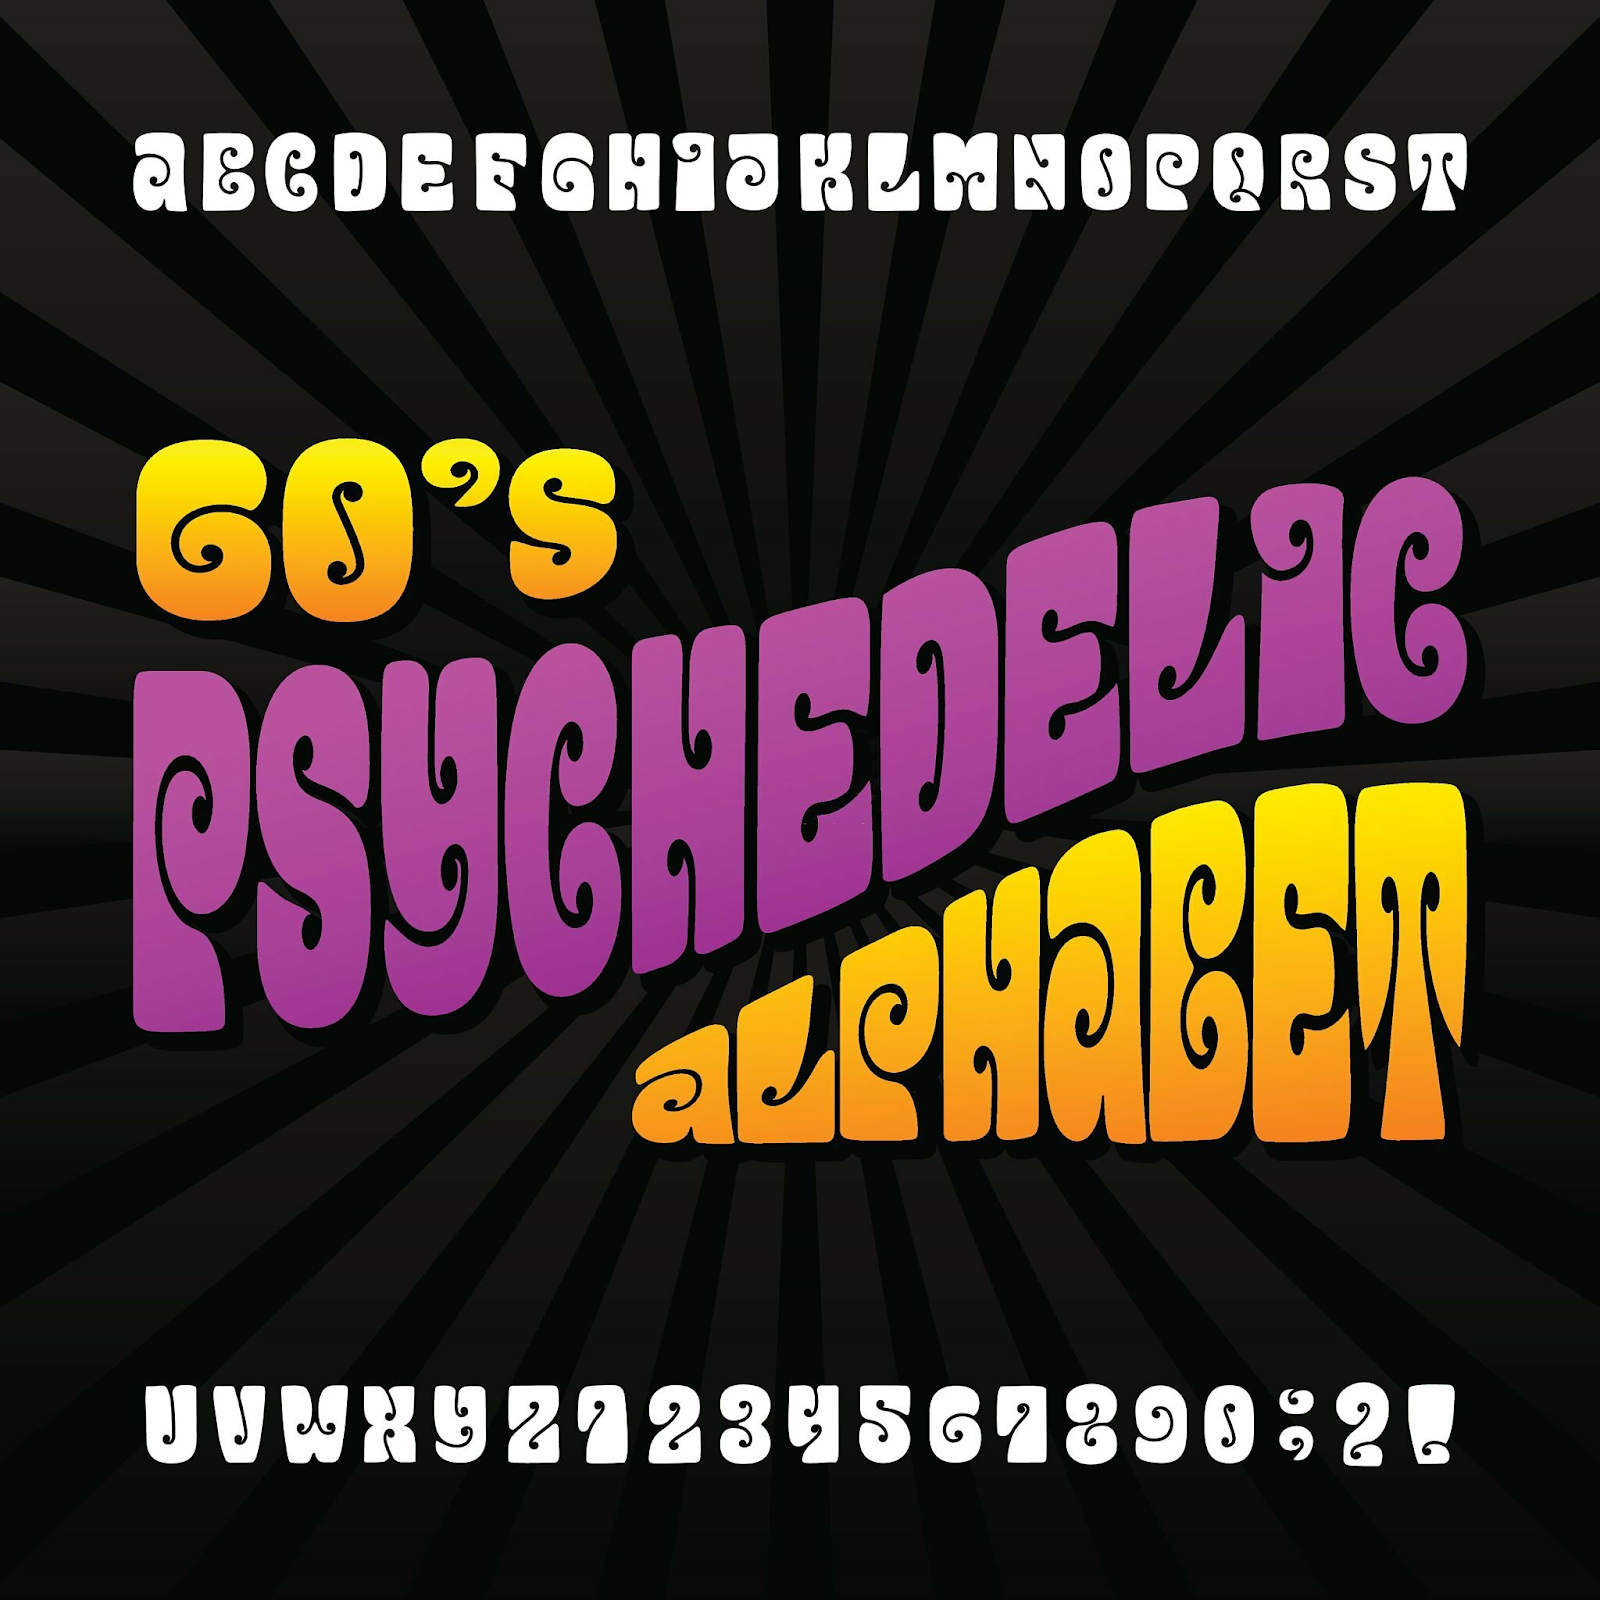
Creating Psychedelic Typography
Now that we’ve grasped the fundamental concepts, let’s delve into a more playful application of Envelope Distort – creating psychedelic typography. The charm of 60s-style lettering and the intriguing process of distorting text to fit distinctive shapes.
Selecting “Object > Envelope Distort > Make with Warp” opens a world of premade distortions. Styles like Arc, Arch, or Wave allow you to distribute text evenly across your chosen shape. Adjustments to the bend, horizontal, and vertical distortion give you precise control over the final result.
Add an extra layer of creativity, with the Make with Mesh option. Unlike predefined styles, Make with Mesh provides a grid over your text, allowing you to drag anchor points and distort your text freely. The possibilities are limitless, and the level of detail is entirely in your hands.
The Envelope Distort tool, accessible through “Object > Envelope Distort,” unfolds a menu with three distinct options: Make with Warp, Make with Mesh, and Make with Top Object. Each option opens a unique avenue for distortion, catering to diverse design needs.
Envelope Distort with Warp
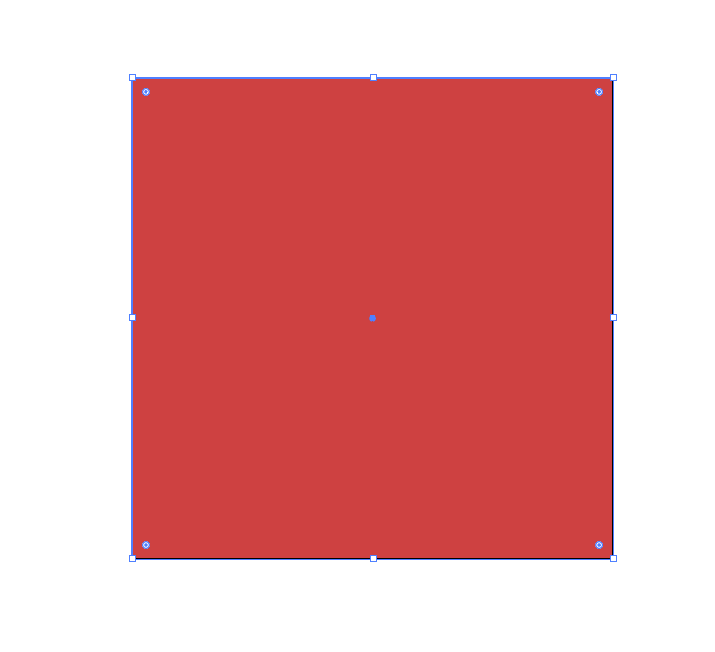
Step 1
Let’s create a rectangle with a random color.
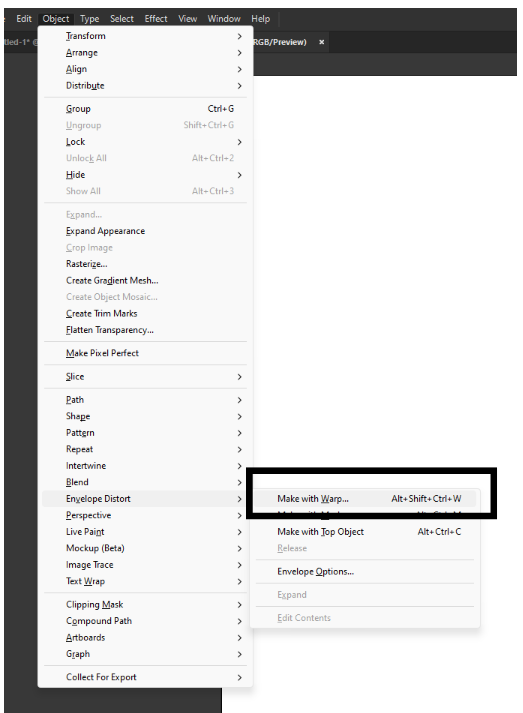
Step 2
Select the rectangle and then Object > Envelope Distort > Make with Warp.
Step 3
This will open up a Warp Options dialog box with various parameters in it. Once you make the changes to the parameters, you can preview the changes by clicking the “Preview” checkbox.
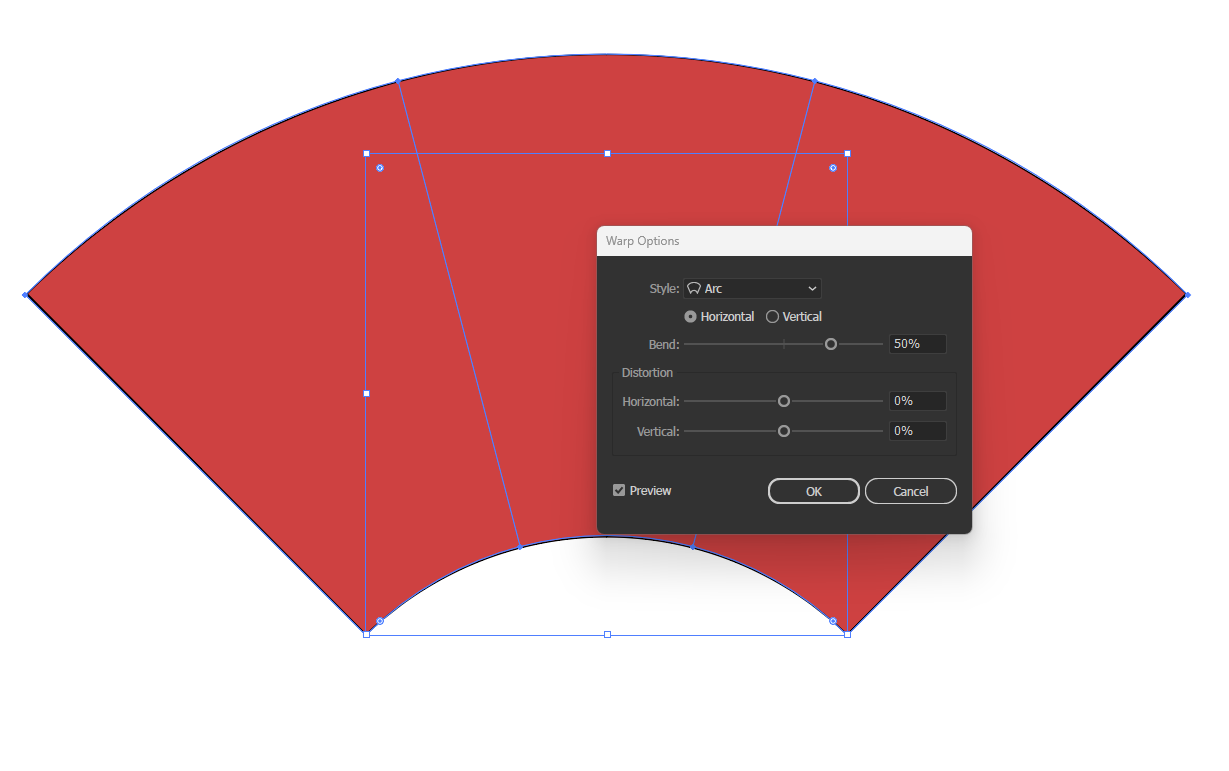
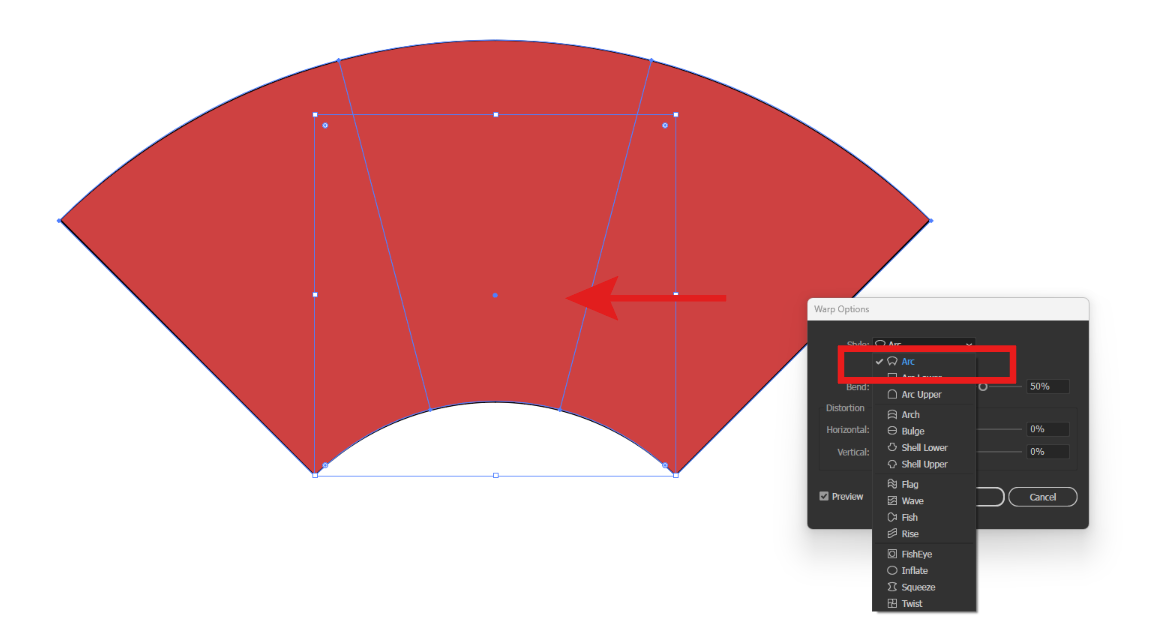
You can select from various distort styles offered by Adobe Illustrator from the dropdown.
Step 4
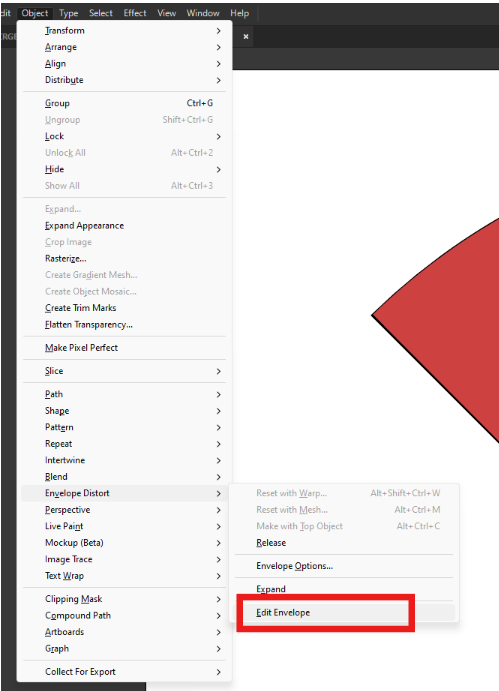
Now you will have access to the distort options on the Control Panel above as long as you choose the Edit Envelope Mode.
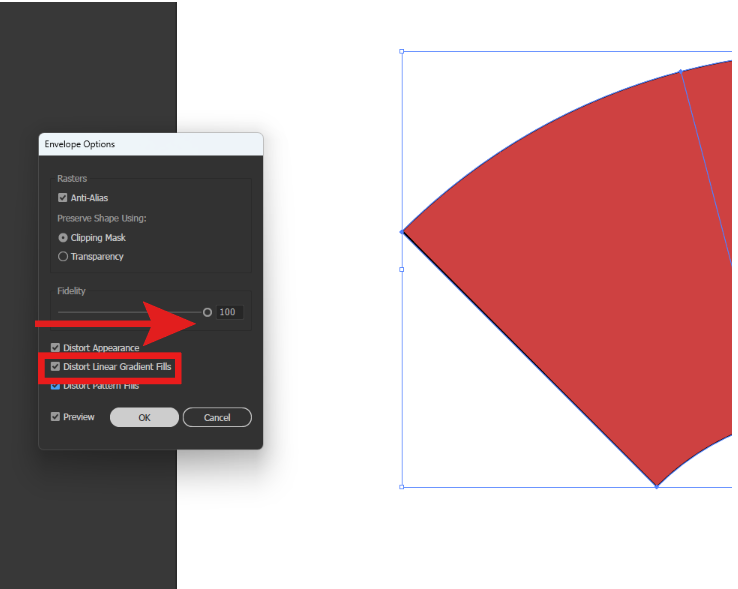
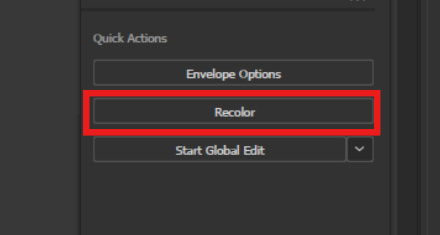
By clicking on the Envelope Options button, you get access to all the commands that are in the Envelope Distort group. In the open dialog box, tick Distort Linear Gradient and set 100 for the Fidelity parameter. This parameter corresponds to the quality of gradient distortion.
Step 5
To edit the source object, for example to change its fill, we need to enable the Edit Contents mode.
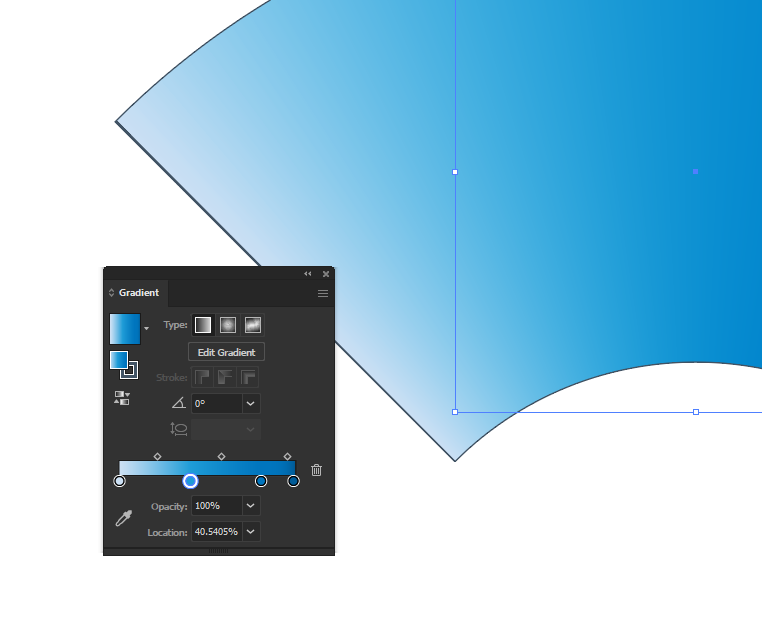
Now fill the rectangle with a gradient.
Step 6
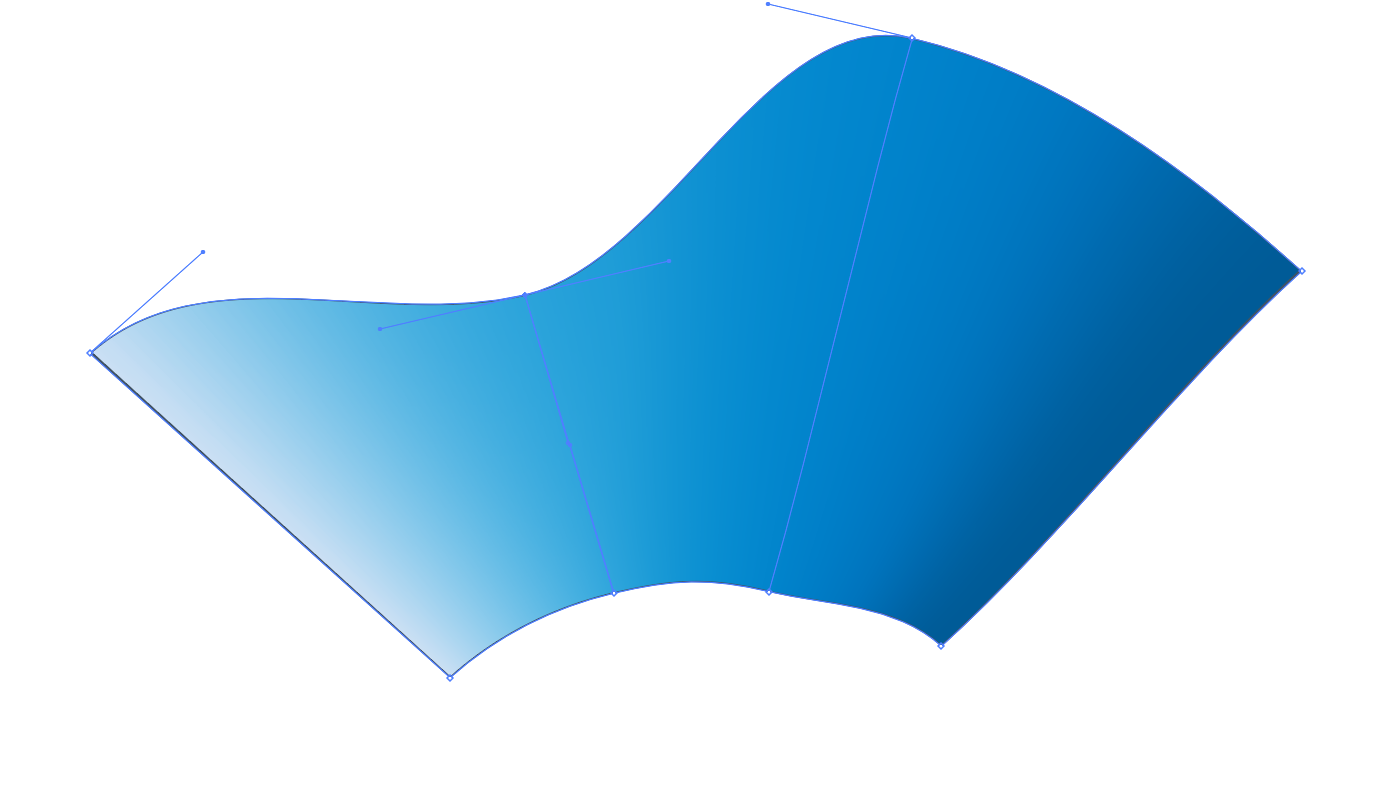
Now let’s switch back to the Edit Envelope mode.

When you use Envelope Distort in Illustrator and put an object inside, it’s like creating a flexible grid called a Gradient Mesh. This grid lets you easily edit and distort both the shape and its fill using the Direction Tool (A).
Step 7
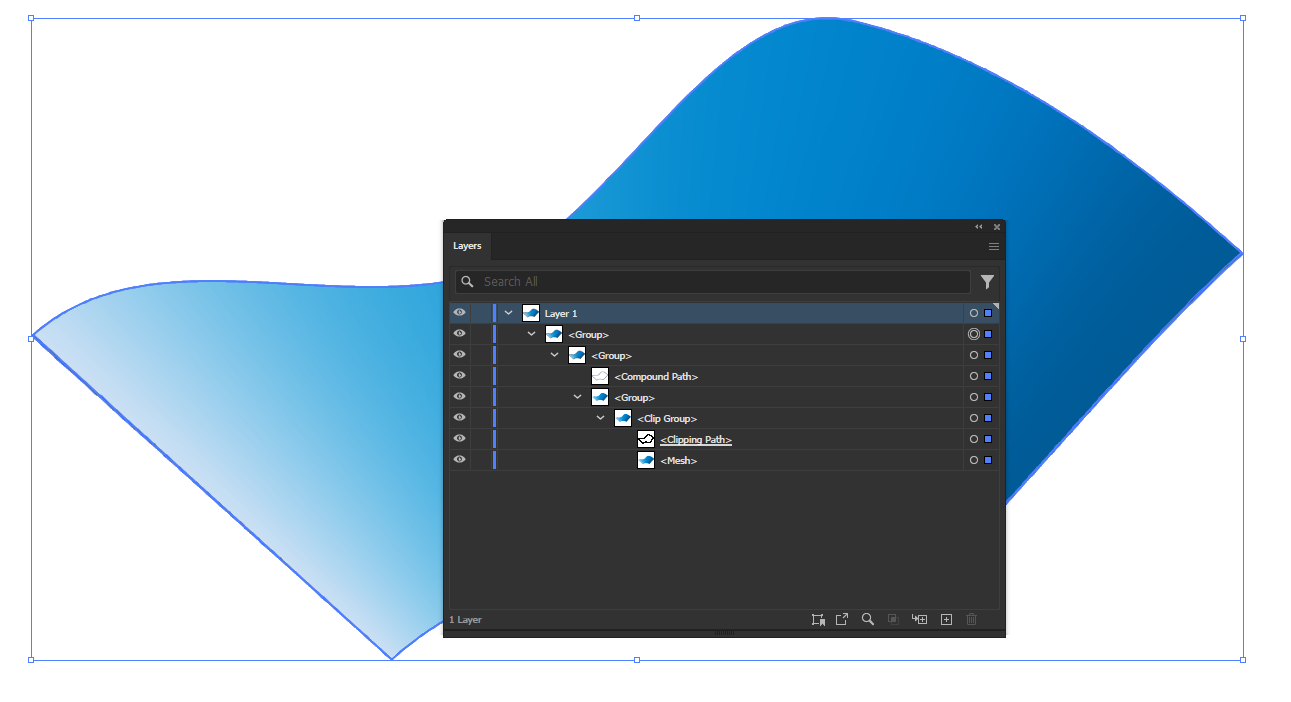
For various reasons, you may need to convert the envelope object into a simpler vector object. Such a requirement, for example, is known to the contributors of microstock websites. Select the envelope object, then go to Object > Envelope Distort > Expand.
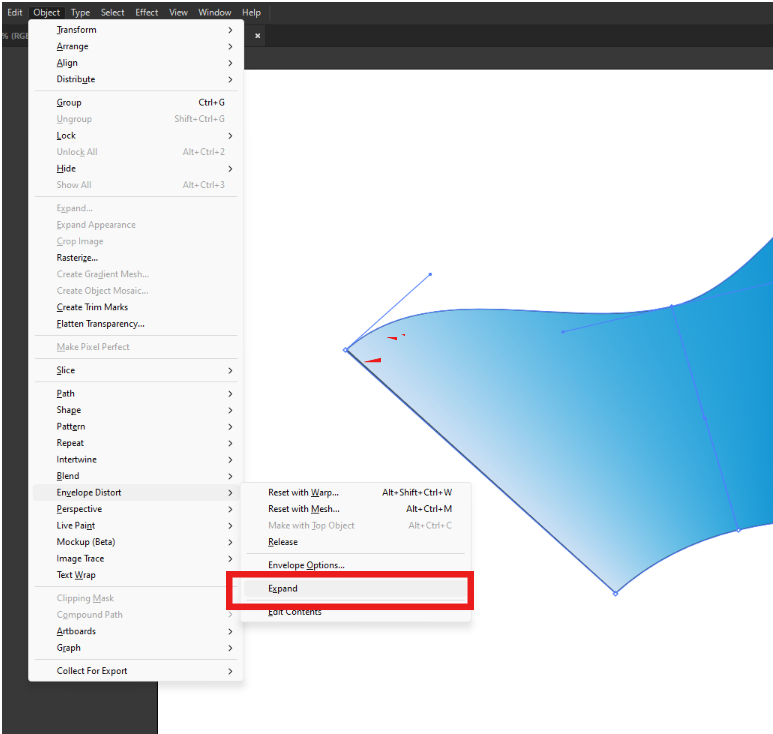
As a result, we got a couple of groups and a Clipping path.
Step 8
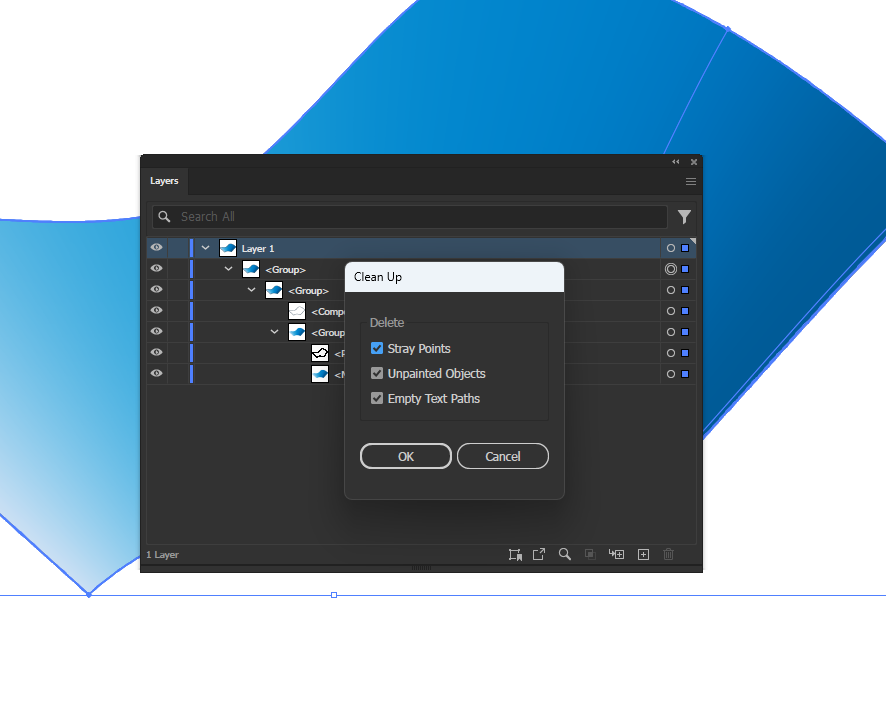
We don’t need such a complex structure, so go to Object > Clipping Mask > Release, then to Object > Path > Clean Up.
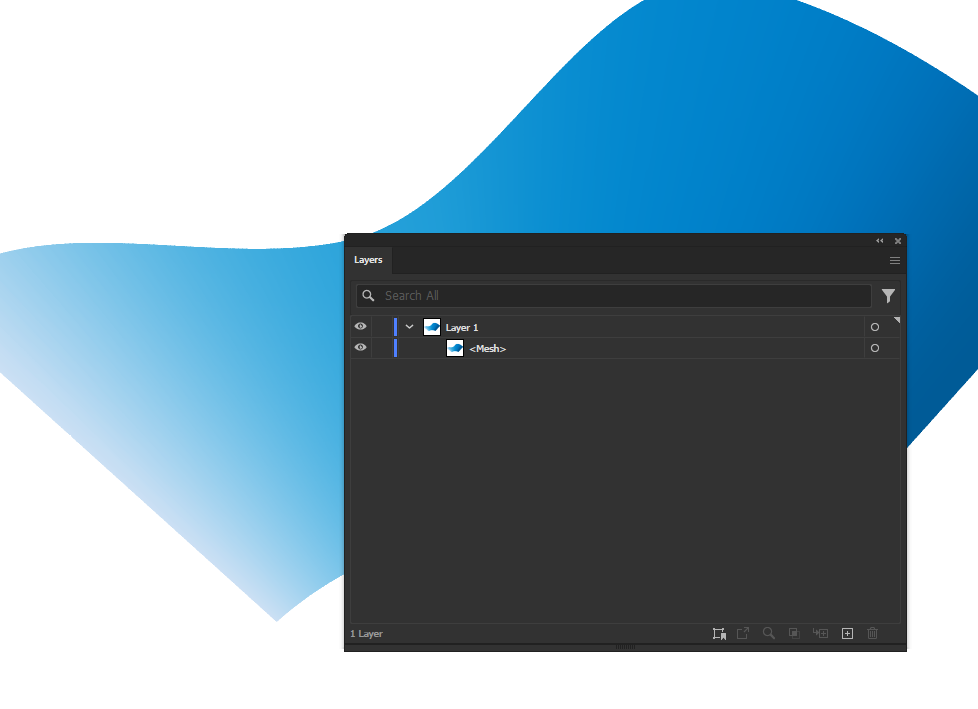
Now ungroup the resulting object two times (Cmd / Ctrl Shift G twice). As you can see, we have got a simple gradient mesh.
Envelope Distort with Mesh
Step 1
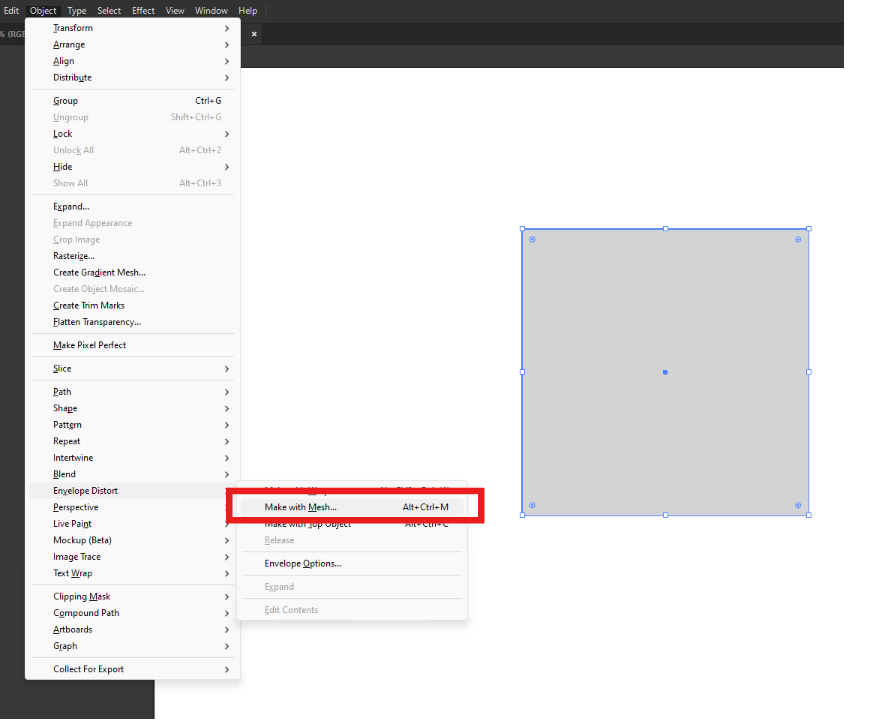
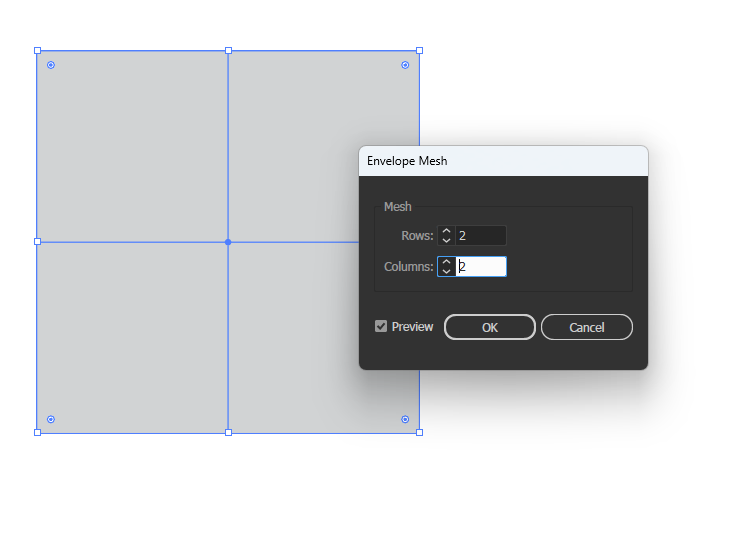
To apply this command to the object go to Object > Envelope Distort > Make with Mesh.
Step 2
Now set the number of columns and rows in the open dialog box. I believe that the amount of cells should not be large, in order to not complicate the process of further editing. You can always add more mesh points with the help of the Mesh Tool (U).
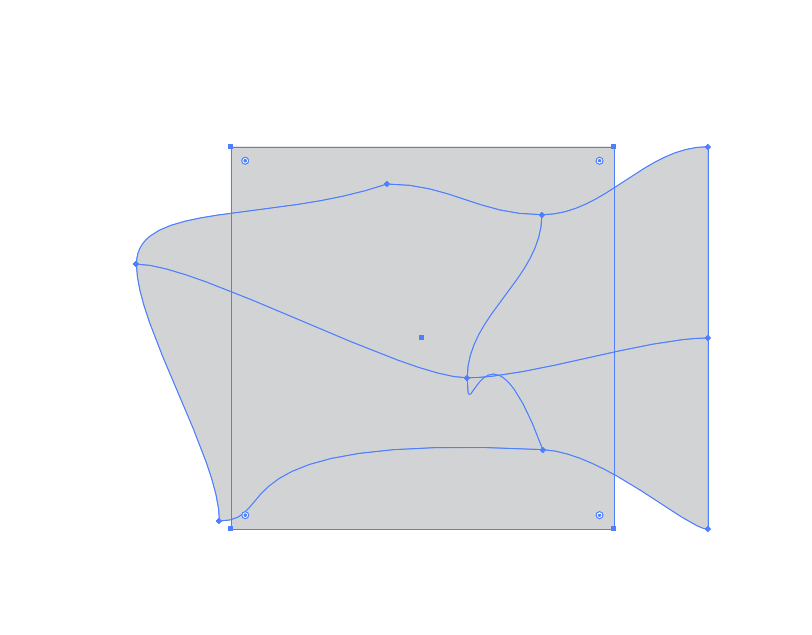
Step 3
To create the desired shape, we need to move the mesh points and manage their handles with the help of the Direct Selection Tool (A).

Step 4
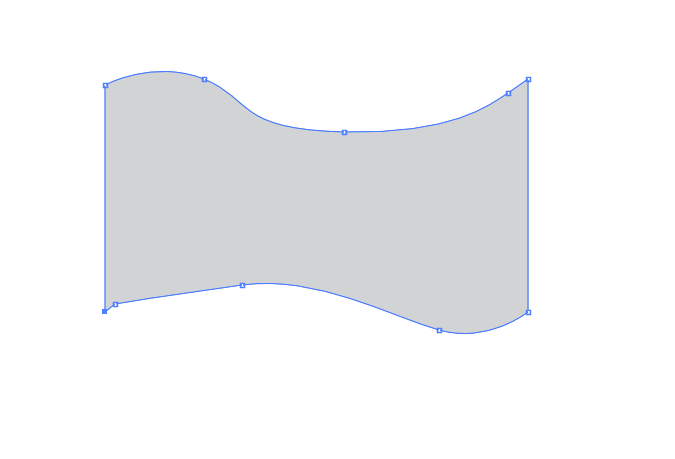
If the attempt fails, go to Object > Envelope Distort > Release. As a result of this action, we will get an undistorted original object and the gradient mesh with gray filling.
Delete the gradient mesh and try again. By the way, the command Object > Envelope Distort > Release works on a similar principle with all the commands of the Envelope Distort.
Envelope Distort with Top Object
Step 1
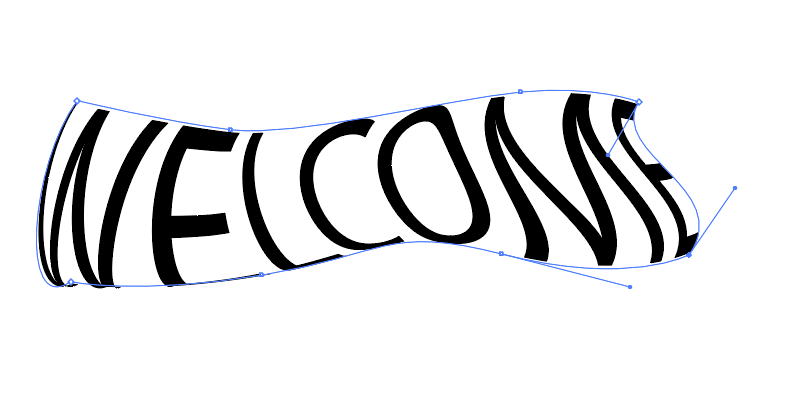
Now let us create a text object with the help of the Type Tool (T) and an arbitrary shape using the Pen Tool (P). This object of gray color should necessarily lie above the text object; otherwise, the focus fails.
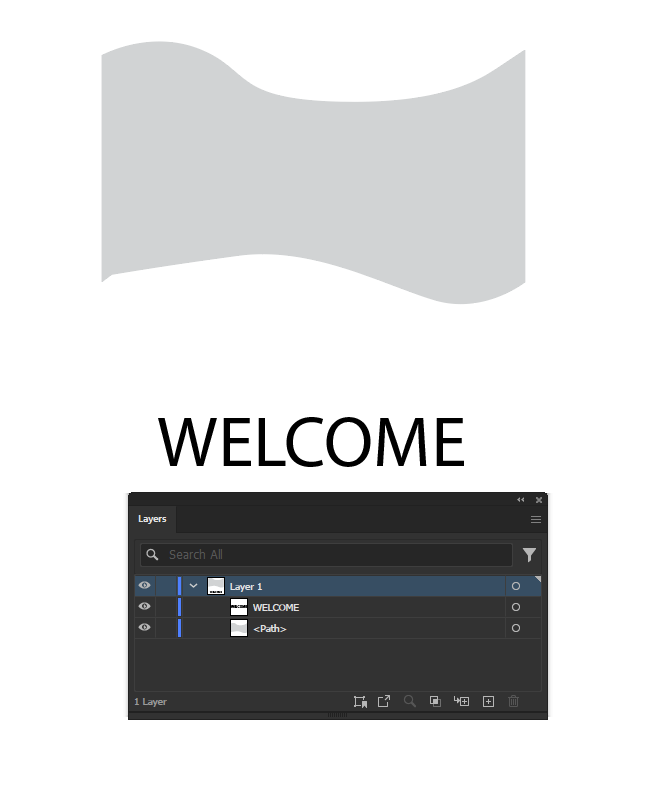
Step 2
Select both objects, then go to Object > Envelope Distort > Make with Top Object.

Note that the text object remains editable.
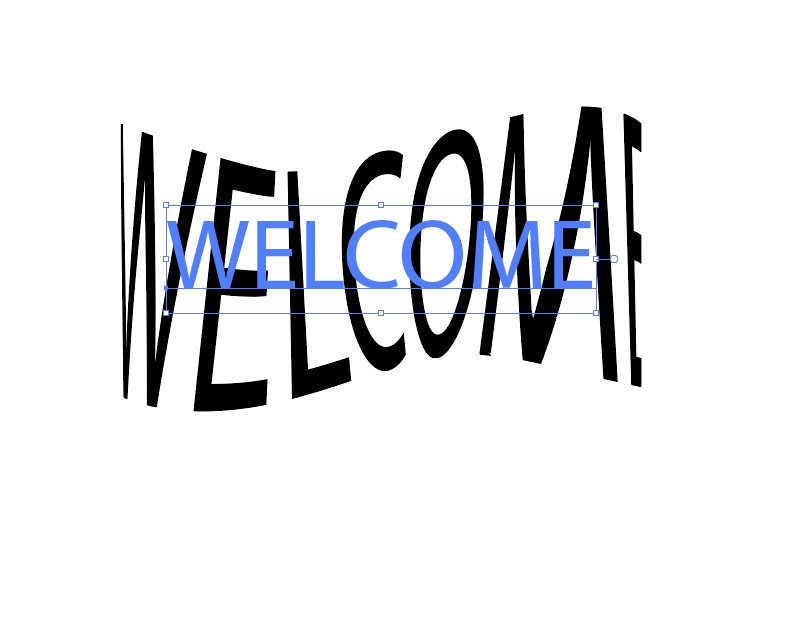
Also, you will be able to edit the nodes of the container which, as it is in all cases, is a gradient mesh.
Conclusion
As we conclude our exploration of text distortion methods in Adobe Illustrator, you’ve gained a holistic understanding of the versatile Envelope Distort tool. Article 4’s techniques have equipped you with the skills to experiment with diverse distortion options, turning your text into a canvas for artistic expression.
From the dynamic presets of Make with Warp to the intricate control offered by Make with Mesh and the transformative capabilities of Make with Top Object, you now possess a toolkit that extends beyond conventional design. Embrace the unconventional, experiment fearlessly, and let your designs transcend the ordinary. The world of distortion is now at your fingertips—happy distorting!
Frequently Asked Questions (FAQs)
Q1: Where is the Warp option in Illustrator?
A: The Warp Tool in Adobe Illustrator can be found on the Advanced toolbar. Simply click on the Width Tool, and you’ll spot the Warp Tool (keyboard shortcut Shift + R) on the same options menu. This tool opens the door to nuanced distortions, providing a dynamic approach to shaping your designs.
Q2: How do you warp text in Illustrator?
A: Warp text in Illustrator by either using the Envelope Distort > Make with Warp method explained in this tutorial or by curving text using the Type on a Path tool. Both methods offer creative flexibility, allowing you to tailor your text to suit the needs of your design.
Q3: How do I change the angle of text in Illustrator?
A: Changing the text angle in Illustrator is a breeze. You can rotate text, use the Perspective Tool, or opt for the Free Distort option under Effect > Transform & Distort. These methods ensure that adjusting the angle of your text is a straightforward process, adding dynamism to your designs.
