

Table of Contents
- 1 Introduction
- 2 Getting Started with the Warp Tool
- 3 How to use Warp Tool in Adobe Illustrator
- 4 Understanding Different Warp Options
- 5 Practical Applications of the Warp Tool
- 6 Advanced Techniques with the Warp Tool
- 7 Troubleshooting Warp Tool Issues
- 8 Tips and Tricks for Efficient Workflow
- 9 Conclusion
- 10 Author
Introduction
The Warp tool allows you to distort, twist, and bend objects in Adobe Illustrator. To use it, select an object and click the Warp tool icon in the toolbar. Then choose a warp style like Arc or Bulge and adjust the bending options to create the desired effect. You can warp vector shapes, text, and more.
Key takeaways: The Warp tool enables powerful object-warping effects. This guide covers topics including how to use different warp types, controlling distortions, warping text, combining warps with other effects, pro tips, and troubleshooting.
Why mastering the Warp Tool is essential for graphic designers
The Warp Tool is not just a feature; it’s a gateway to design wizardry. Mastering it elevates a designer from the mundane to the extraordinary. It’s the brushstroke that transforms static elements into a symphony of visual delight, and every graphic maestro understands its significance in their toolkit.
Getting Started with the Warp Tool
Locating the Warp Tool in Adobe Illustrator
In the sprawling landscape of Illustrator’s toolbox, finding the Warp Tool might seem akin to discovering treasure on a map. Fear not, for it resides within the ‘Effect‘ menu, under ‘Warp.’ With a humble click, you’ve unlocked the gateway to distortive wonders.
Understanding the basic functions
Before you dive into the depths of creative distortion, acquaint yourself with the basics. The Warp Tool is not a monolith; it’s a nuanced instrument. Grasp its fundamental functions – the anchor points, the handles – and you’re poised for design alchemy.
How to use Warp Tool in Adobe Illustrator
Step 1
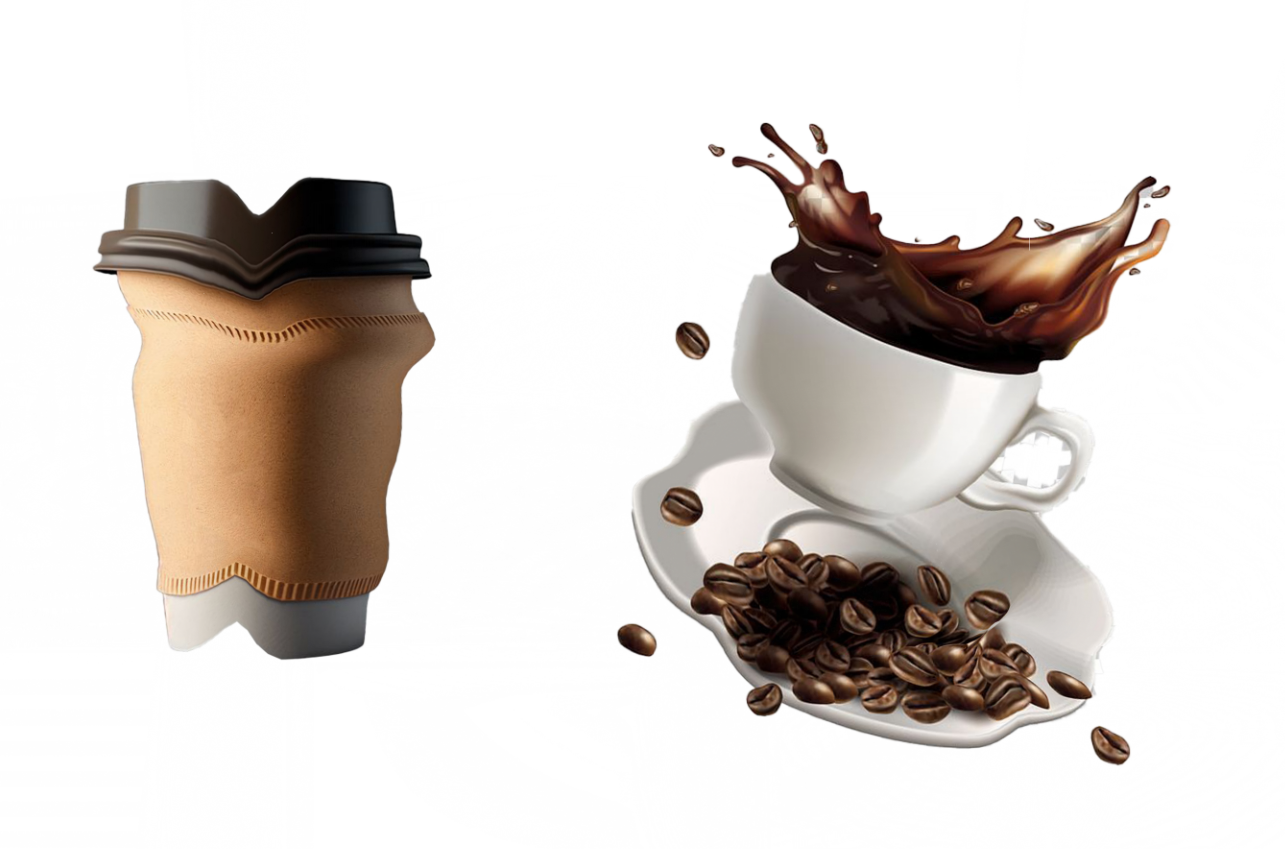
Begin by crafting a shape or importing an image onto which you aim to apply the warp tool. If you intend to warp several shapes, ensure they are grouped before proceeding.
As an illustration, let’s take the example of these coffee cups and glass images.

Step 2
Access the Warp tool either through the toolbar or by utilizing the keyboard shortcut Shift + R to activate this transformative tool.

Now, with the Warp Tool engaged, you are ready to start the warping process. In my case, I plan to experiment with imparting a melting effect to the popsicles.
Step 3
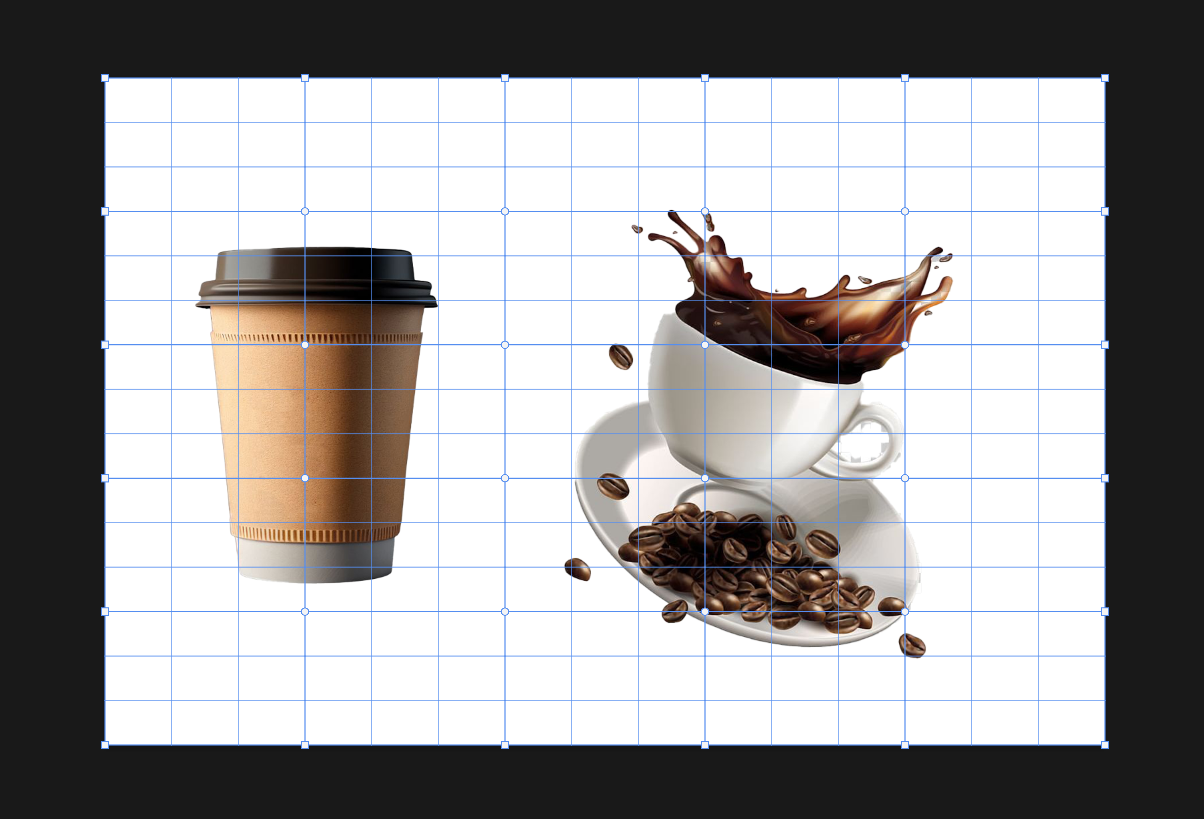
Initiate the warping by clicking on the specific area you wish to distort and dragging it in a chosen direction.

Observe as the shape contorts according to the direction of your drag. Continue this process, clicking and dragging, until the shape takes on the desired form.
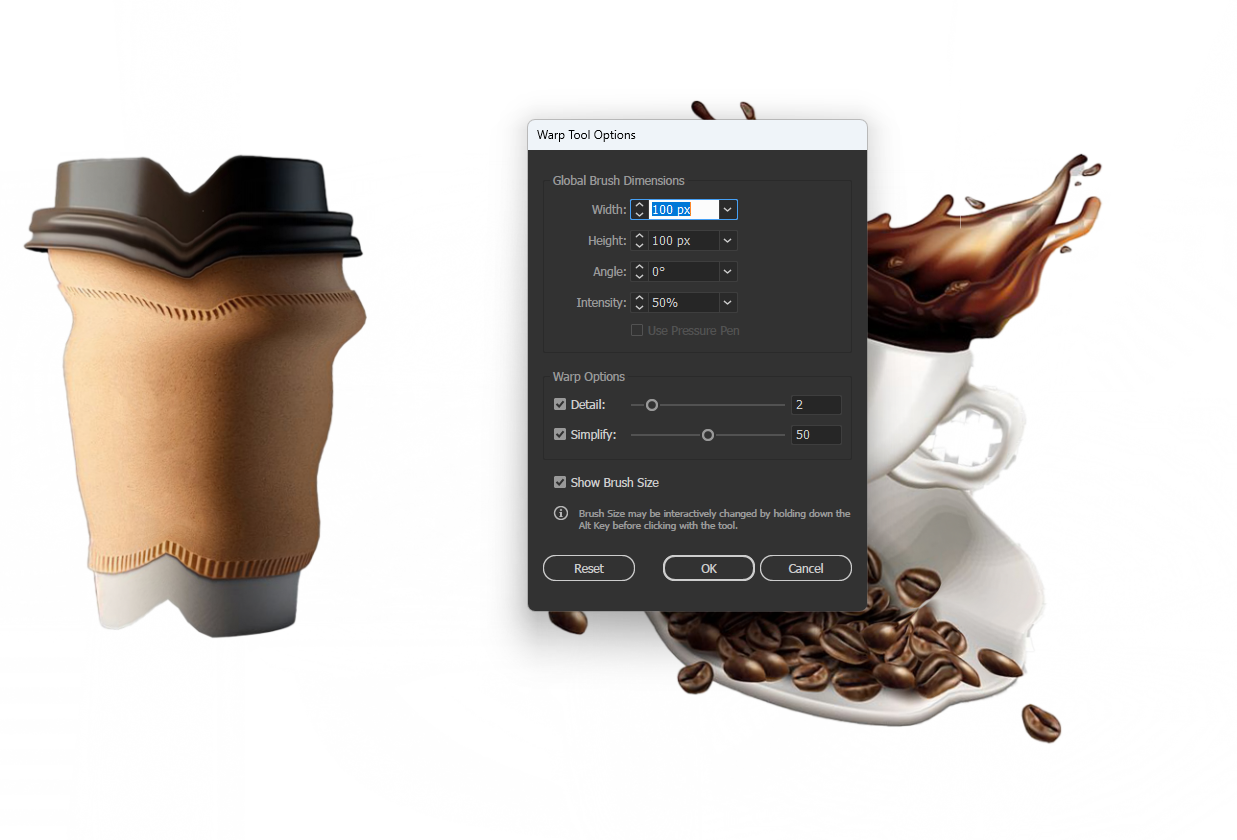
Should you wish to fine-tune the warp settings on the go, simply double-click on the Warp Tool in the flyout menu.
That’s all there is to it! Furthermore, remember that the versatility of the Warp Tool extends beyond shapes; you can also employ it to distort text, opening up a realm of creative possibilities.
Understanding Different Warp Options
Arc
Creating curvature has never been this captivating. Learn the art of crafting elegant arcs that dance on the canvas. Tweak the arc intensity like a virtuoso, and witness your designs take on a mesmerizing, flowing rhythm.
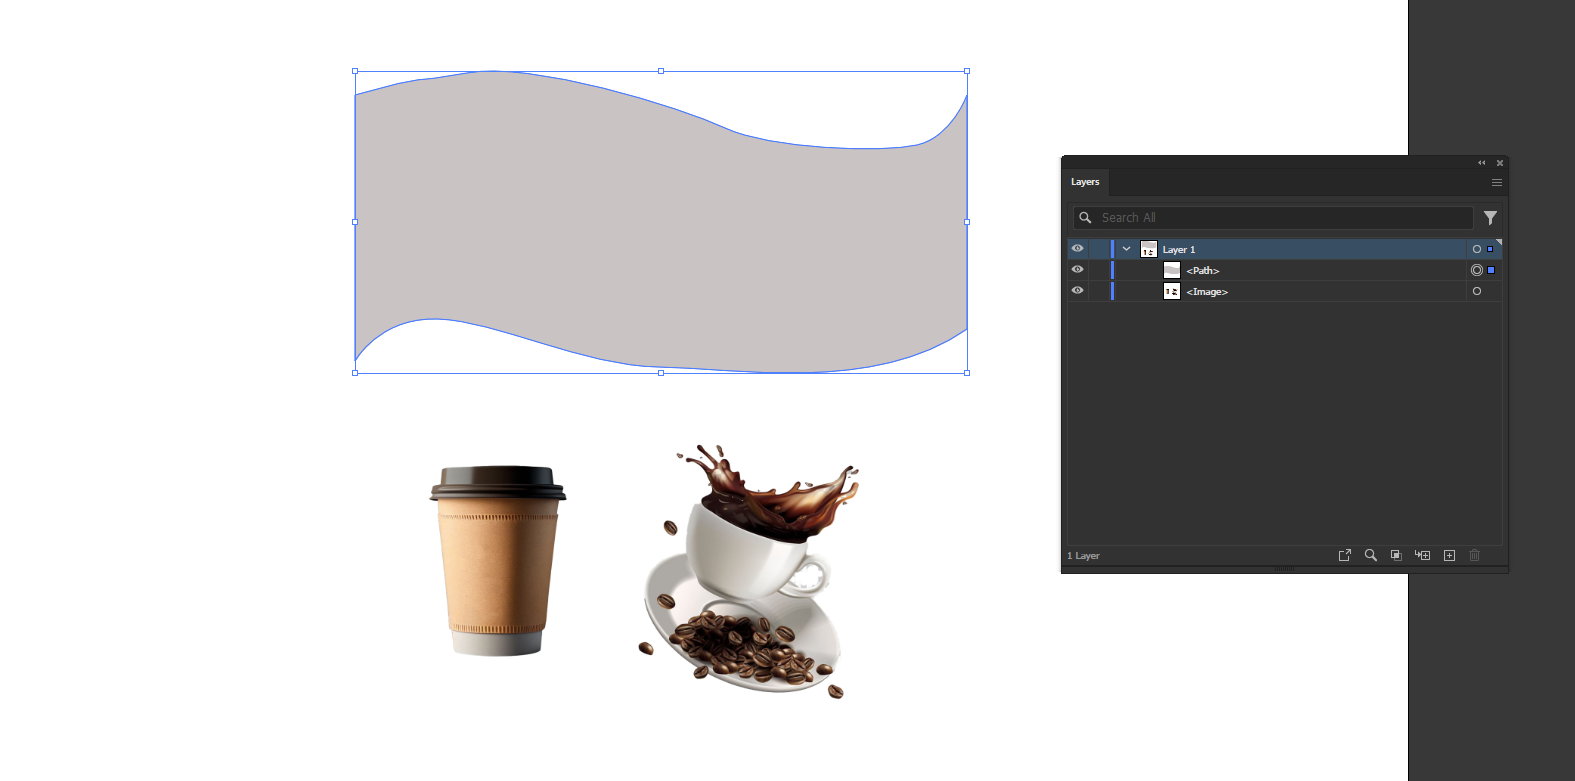
Flag
Imagine your designs fluttering like a flag in the wind. With the Flag option, you’re not just creating effects; you’re orchestrating a visual breeze. Customize wave patterns to infuse your graphics with a dynamic, animated spirit.
Fish
The Fish option lets you create effects that look like you’re viewing an image through a fish-eye lens. This adds a fun, whimsical touch to your designs. You can play around with the distortion settings to bend the image in different ways, almost like you’re viewing it underwater. Experiment with the fish effect to give your artwork a creative, wavy look.
Rise
Take your creations to new heights – literally. The Rise option lifts objects vertically, injecting a dose of dynamism. Play with rise options to sculpt designs that defy gravity and captivate the viewer’s gaze.
Practical Applications of the Warp Tool
Logo Design
The Warp Tool isn’t just for fanciful experimentation; it’s a potent weapon in the logo designer’s arsenal. Explore its potential for logo manipulation, and witness the metamorphosis of ordinary symbols into extraordinary brand insignias. Showcase before-and-after logo examples to underline the transformative power at play.
Typography
Typography transcends the written word when warped with creativity. Twist and turn text with the Warp Tool, fashioning unique treatments that breathe life into your letters. Craft visually striking headlines that demand attention and evoke emotion.
Character Design
Characters, too, crave a touch of the fantastical. Apply the Warp Tool to imbue your characters with whimsy and personality. It’s not just about distortion; it’s about infusing life into your illustrations, turning pixels into personalities.
Advanced Techniques with the Warp Tool
Mesh Warp
For those seeking design intricacy, the Mesh Warp option beckons. Harness the power of mesh distortions to create a tapestry of visual complexity. Dive into the grid, manipulate nodes, and witness the birth of designs that defy conventional boundaries.
Envelope Distort
Step into the realm of three dimensions with Envelope Distort. Use it for complex shapes and realistic 3D effects that transcend the flatness of traditional design. Envelope distortions are not just about warping; they’re about sculpting spatial illusions.

Troubleshooting Warp Tool Issues
Common problems and solutions
Even wizards face challenges. Identify common hiccups in your warp journey and discover quick, effective solutions. From unexpected distortions to mysterious glitches, troubleshoot your way to a smooth, consistent design experience.
Fixing distortion irregularities
Distortion should be deliberate, not chaotic. When irregularities surface, learn to fix them with precision. A slight tweak here, a gentle adjustment there – witness your designs align into harmonious perfection.
Ensuring smooth and consistent results
Consistency is the hallmark of mastery. Learn the subtle art of ensuring smooth results across your designs. The Warp Tool is a sculptor’s chisel; wield it with finesse for a polished, professional finish.
Tips and Tricks for Efficient Workflow
In the fast-paced world of design, every second counts. Master keyboard shortcuts for the Warp Tool, transforming your workflow into a seamless dance of shortcuts and strokes. Efficiency meets creativity at the keystroke.
Some useful shortcuts include:
- Activate the Warp Tool: Shift + R
- Switch between warp modes: Ctrl + click on different warp styles
- Adjust warp dimensions interactively: Hold Shift + up/down arrow keys
- Undo warp distortions: Ctrl + Z
Streamlining the design process with smart techniques
Time is a designer’s most precious resource. Discover smart techniques that streamline your design process, from quick adjustments to strategic shortcuts. It’s not just about speed; it’s about amplifying your creative output.
Conclusion
Recap of essential Warp Tool techniques
As we draw the curtain on this exploration, recap the essential techniques that transform the Warp Tool from a feature to a design companion. From basic functions to advanced distortions, each technique is a brushstroke in the grand masterpiece of your creative journey.
Encouragement for readers to experiment and push creative boundaries
In the expansive canvas of design, there are no limits, only frontiers waiting to be explored. Let the Warp Tool be your guide as you venture into uncharted territories. Experiment, play, and push the boundaries of your creativity. Your next design revelation might just be a warp away.
