

Textual and graphical elements go hand in hand in graphic design, so when you fill text with an image in Adobe Illustrator, this allows you to create visually striking and innovative designs.
In this step-by-step guide, we’ll discuss a couple of methods to embed images in text using Adobe Illustrator and explore the steps for a straightforward way to add depth and context to your textual content and enhance its overall aesthetic.
Table of Contents
How Do You Edit Text With An Image In Adobe Illustrator?
For a creative design, you can fill or edit text with any picture in Illustrator using two methods. Each has its own advantages and disadvantages, which are mentioned briefly below.
Method 1: Clipping Mask
The clipping mask in Illustrator is a clipping path that only reveals part of an image that is beneath the text, keeping the original layers separate for easy adjustments. It’s a non-destructive method but is limited to only one path for adding a photo to a text.
Method 2: Compound Path
The compound path is an indirect method in Illustrator that combines two or more selected paths into one and offers more control over the image placement within the text. However, it requires advanced skills and precision compared to the clipping mask method.
Steps to Fill a Text With an Image in Illustrator
The Clipping mask method is the most reliable way to embed your picture in text and make a creative design with these quick steps:
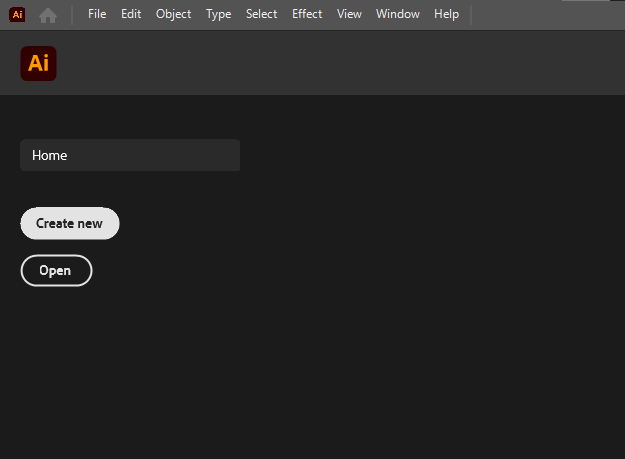
Step 1: Create a New Artboard In Illustrator
In the first step, open Adobe Illustrator and click Create New on the left-hand side of the home screen.
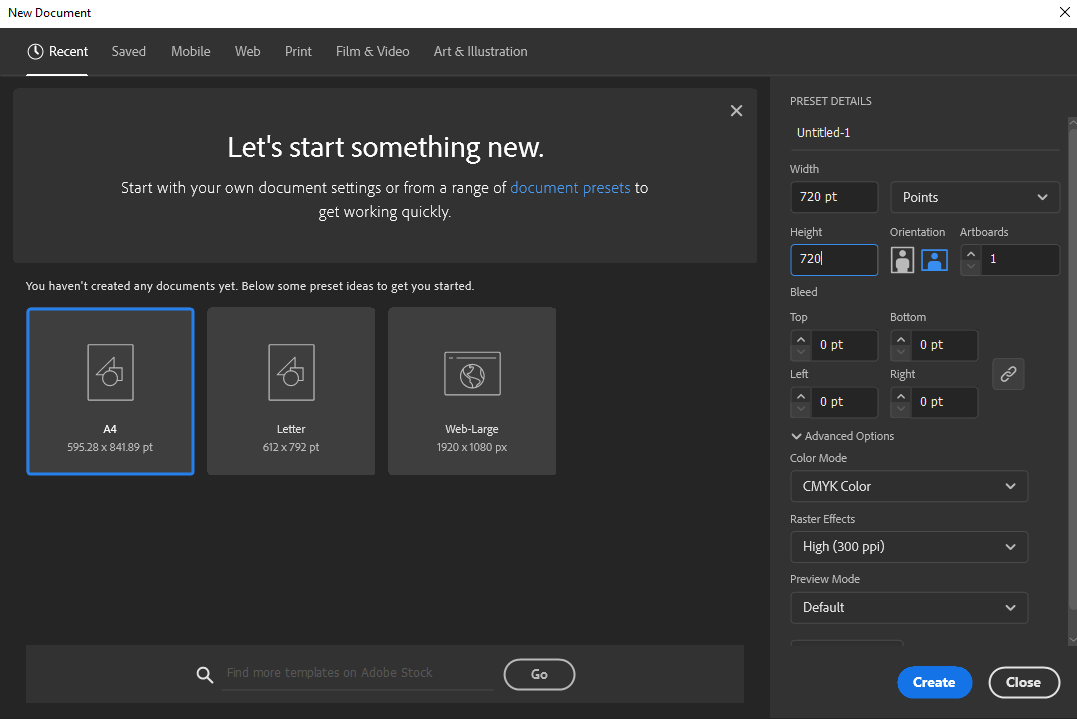
Select from the preset artboard sizes or enter your own dimensions in the left panel of the New Document dialog box, and click Create to open the editing interface.
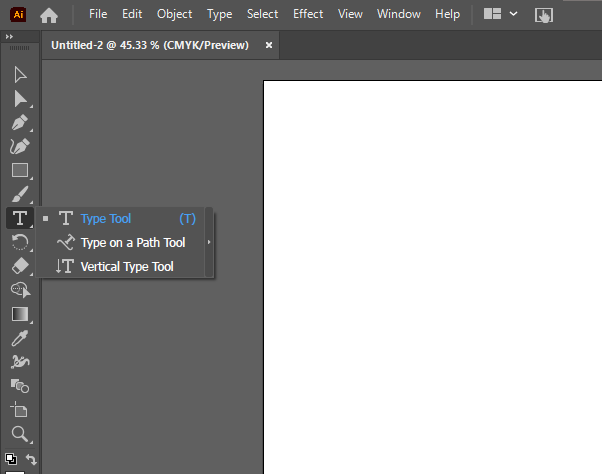
Step 2: Create and Outline the Text
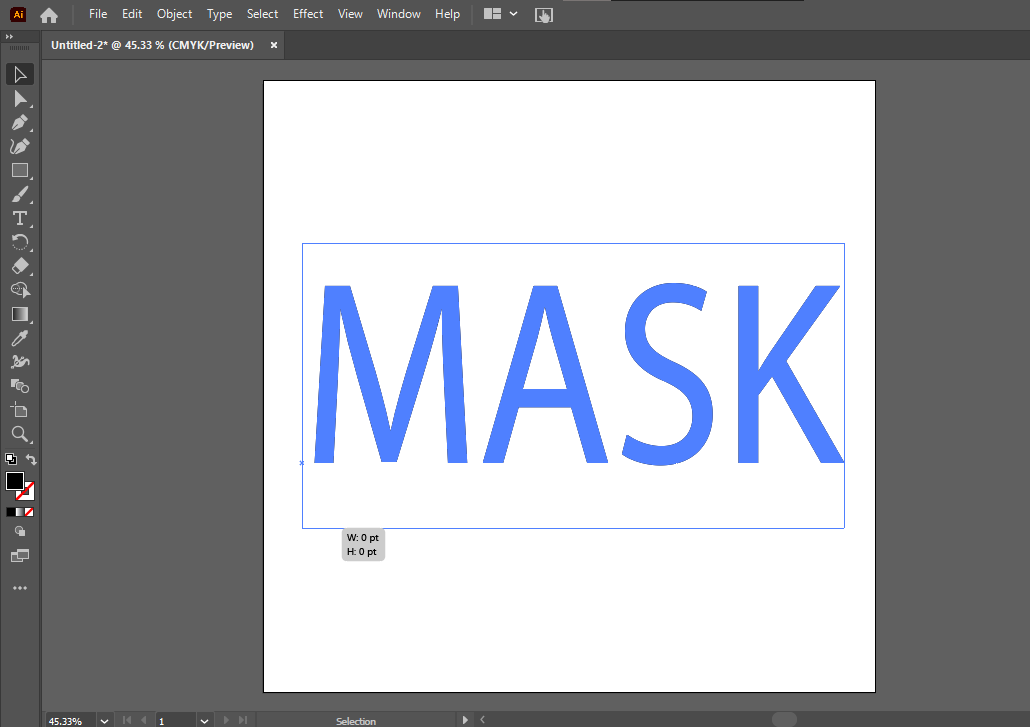
Click the Type Tool (T) in the left panel and click anywhere on the blank artboard to add the text box.
Type in your desired text in the box and click the Selection Tool (V) at the top of the left panel.
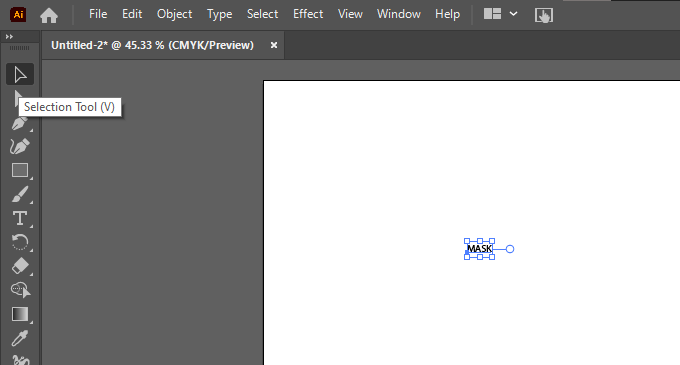
Click the text box and drag the Transform Handles to resize it.
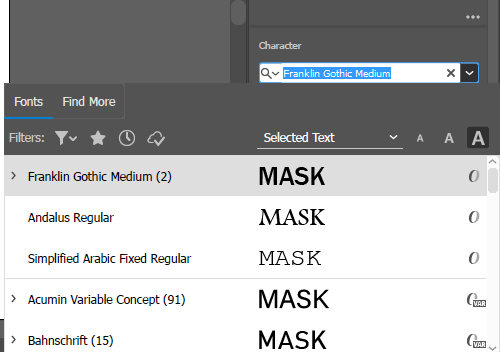
Then, click the text type drop-down menu under Character in the Properties panel on the right side of the editing interface and select a thicker font type for your text.
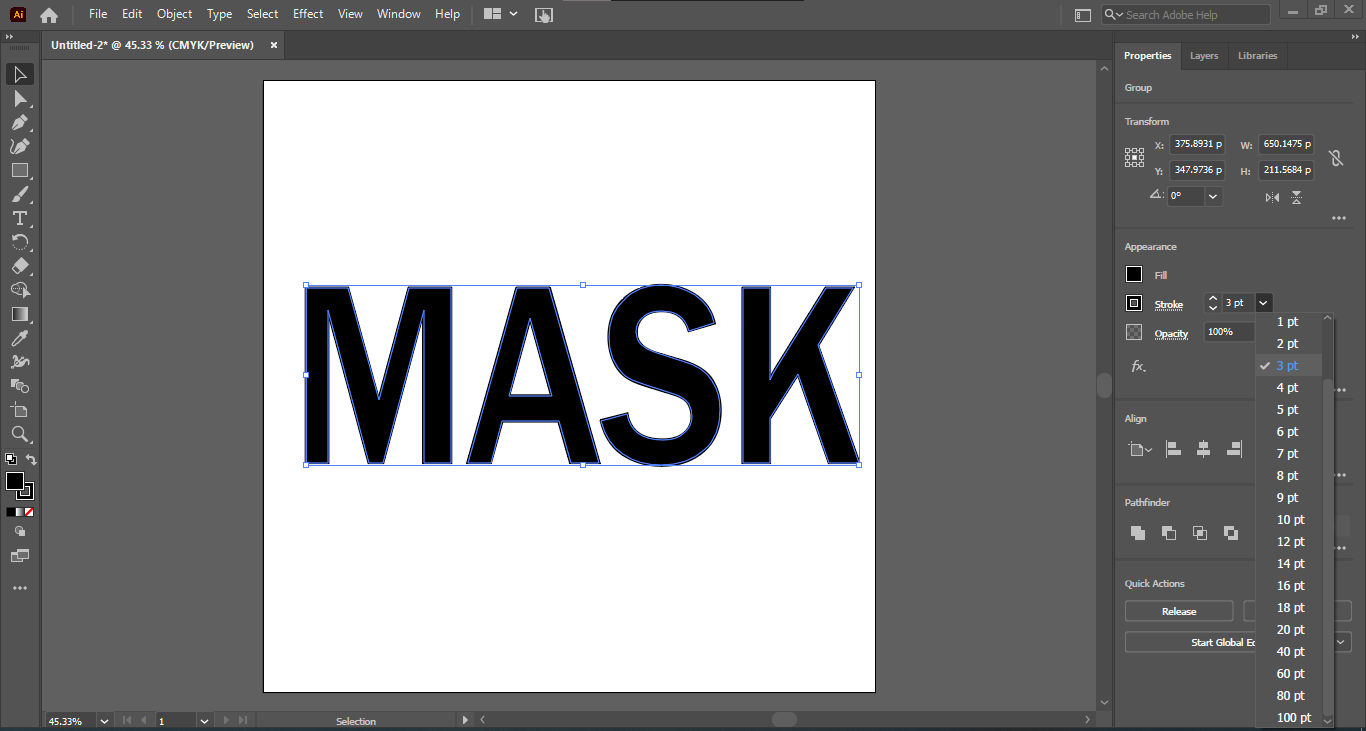
Add a stroke to the image under the Appearance section in the Properties panel.
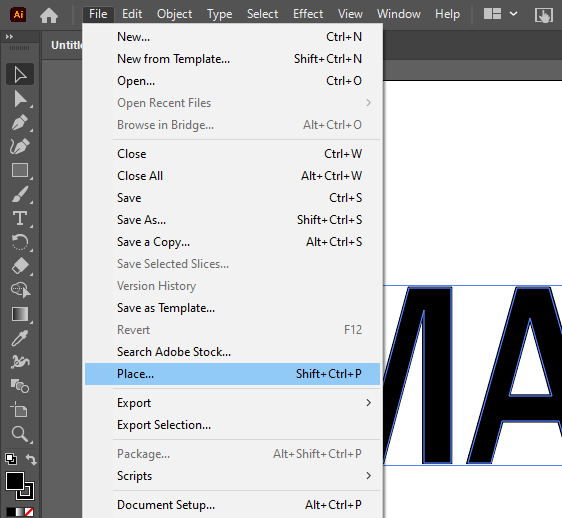
Step 3: Place and Arrange the Image
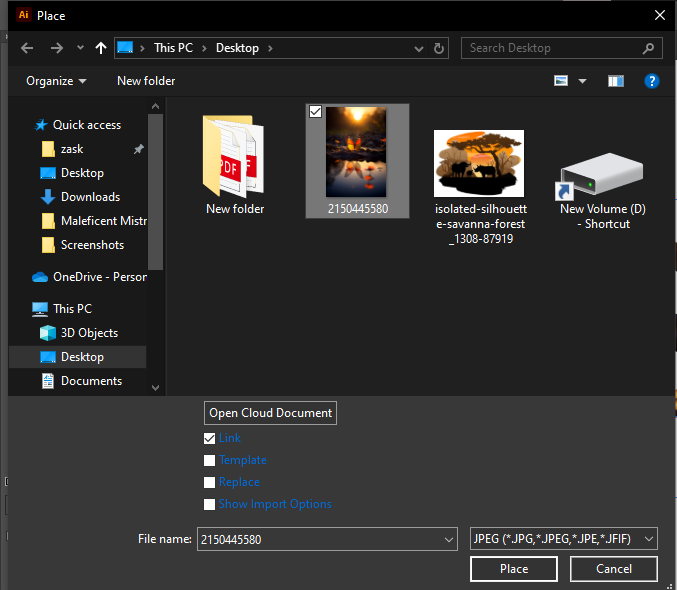
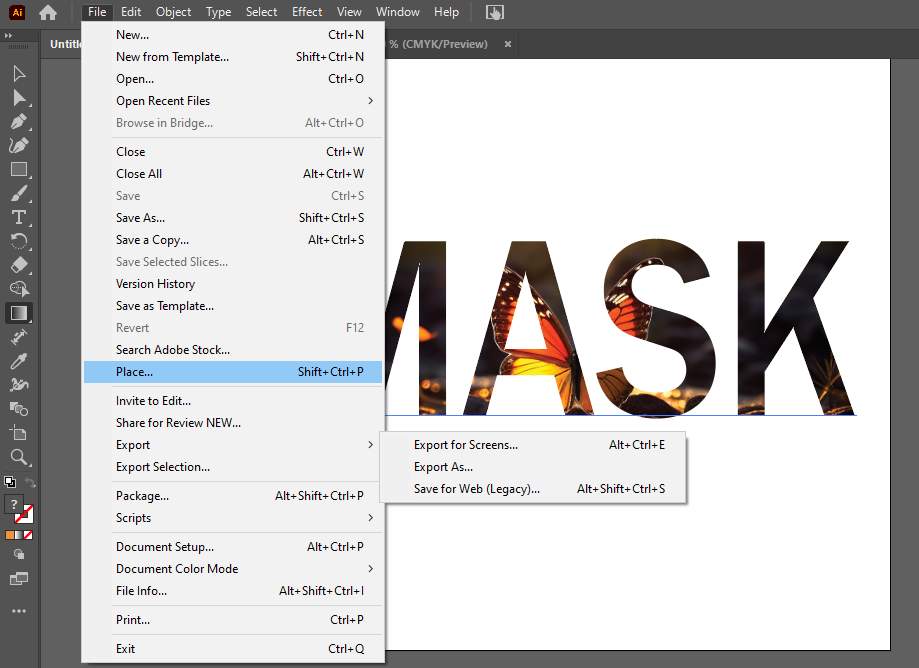
Click File in the top left corner of the editing interface and select Place. Otherwise, press Shift+Ctrl+P on your Windows PC or Shift+Command+P on your Mac.
In the Place dialog box, select the image from where you’ve saved it on your PC and click “Place” to add it to the artboard.
Next, click Embed in the Quick Actions panel on the right side to save the image within the document.
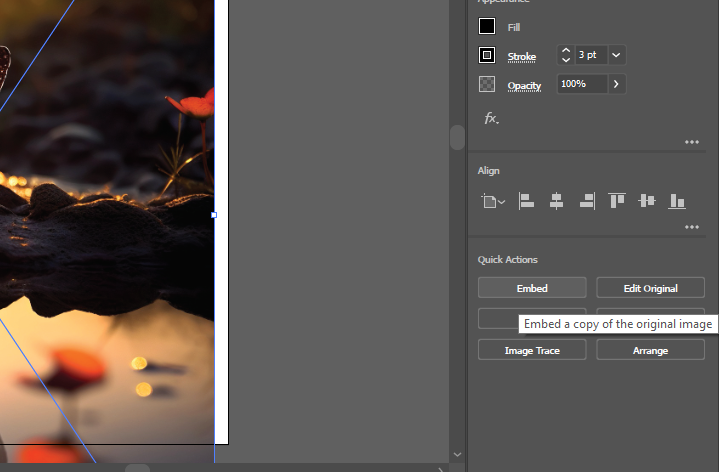
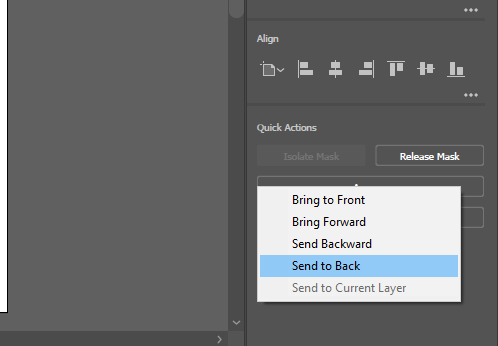
Then, click Arrange in the Quick Actions panel and choose Send to Back to place it behind the text.
Step 4: Create Clipping Mask
Use the Selection Tool (V) to select image and text layers on the artboard, right-click them, and choose Make Clipping Mask. Alternatively, go to Object > Clipping Mask > Make or select the option from the Quick Actions menu.
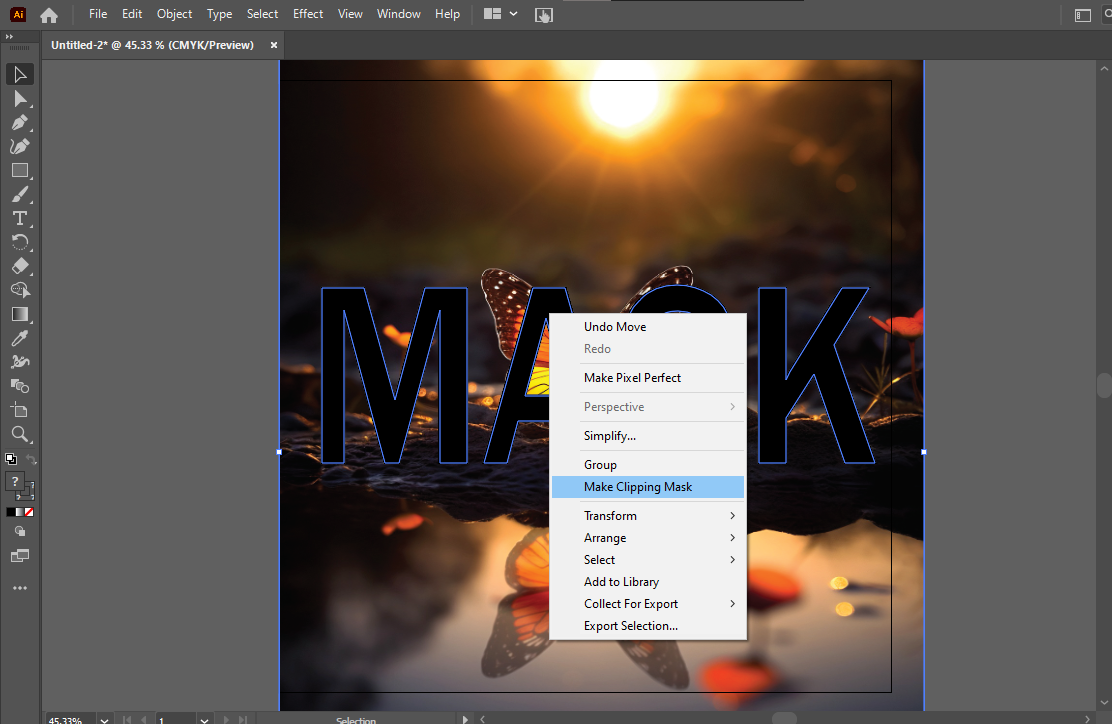
Now, use the Selection Tool (V) to adjust the image within the text for better visibility.
Step 5: Export the File
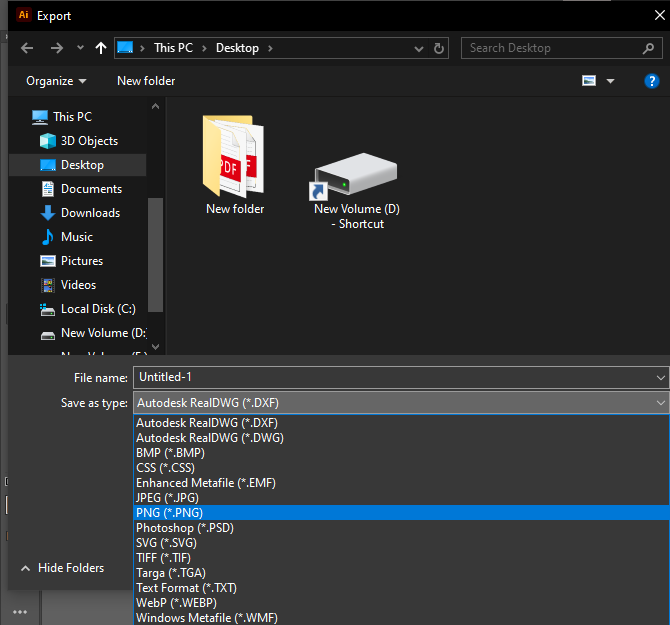
Once you’re satisfied with the result, click File in the top left corner of the screen, choose Export, and select Export As.
Type in the file name, select the location, choose the file format next to Save As Type, and click Export.
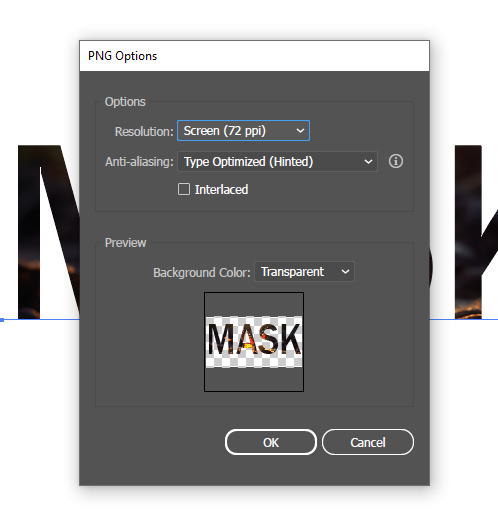
Select the resolution and click OK in the next window, depending on your selected file type, and you are all set!
Tips and Tricks
Explore Different Fonts
Work with the different font styles to find one that complements your selected image and clearly shows its content. Also, play around with font sizes and spacing to achieve the desired effect.
Position the Image Correctly
Make sure to position and resize the image correctly on the Illustrator canvas so that it fits perfectly within the text and its focal point is visible.
Use High-Resolution Images
Always use a high-contrast picture with clear details to ensure crisp results when filling in the text. If you use a low-resolution photo, it will appear pixelated or blurry, especially when you enlarge it to fit the text.
Common Mistakes To Avoid
Use Thicker or Bold Font Type
Ensure that you use a thicker or bolder font type to provide more surface area for the image display and maintain the edges and shape of the text.
Organize the Layers Correctly
Arrange the image background layer behind the text on the artboard before applying the clipping mask. Otherwise, the picture won’t embed correctly within the text.
Select Both Image and Text Before Embedding Them
While using the Selection Tool (V), select both the image and text layers before applying the clipping mask. Otherwise, the path will only apply to the selected layer without embedding the image and text.
FAQs
How can I change text after applying a clipping mask?
You can use the object Selection Tool (V) to choose the text layer and double-click it. Then, edit the content, add a stroke to it, and change the alignment as you want.
Do I need to outline the text before creating a clipping mask?
No, you don’t need to do this while adding a picture. However, you can add a colored stroke to the text to define its boundaries and make it stand out against the photo.
Can I resize or move the image independently of the text after applying the clipping mask?
Yes, you can use the Selection Tool (V) to change the image position on the artboard and the Transform Handles to adjust its size after applying the clipping mask.
Conclusion
To conclude, we guided you through the steps to fill the text with an image in Adobe Illustrator using the clipping mask method. We’ve also let you know some tips and tricks and what to avoid during this process. Whether you’re a seasoned graphic designer or a novice exploring the world of digital art, mastering this technique can elevate your design projects to new heights.
