

Sometimes, you want to convert a photo to a painting and transform your loving memories into a beautiful work of art. Luckily, Photoshop offers you some simple ways to achieve this effect.
Below, we’ll show you some methods and choose the simplest one to help you create a painterly effect in your pictures with easy-to-follow instructions.
Table of Contents
Methods To Convert Photo to a Painting in Photoshop
In Adobe Photoshop, you can turn any photo into a painting in three different ways based on your photo editing skills and requirements:
Method 1: Filter Gallery
The Filter Gallery gives you access to multiple artistic filters like “Paint Dubs,” “Watercolor,” and “Dry Brush.” You can easily apply them to your image to create a painting effect. The issue here is that you may not get the desired level of realism and detail in your pictures.
Method 2: Oil Paint Filter
The built-in Oil Paint filter brings the look of an oil painting to your photos by adjusting brush stroke style, cleanliness, scale, angle, lighting, and bristle detail. As the name suggests, this method is only limited to applying oil painting style.
Method 3: Using Generative Fill AI
You can also use the Generative Fill AI feature in Photoshop 2024 and newer to apply the paint effect to your photos. However, it may not always produce the effect you want.
Steps To Create Painting Effect in a Photo Using Photoshop
Let’s go through the steps to turning a photograph into a painting using the Filter Gallery method in Photoshop.
Step 1: Import Your Photograph
In the first step, open Photoshop on your computer and click Open on the main screen to launch the Open window. Select your photograph and click Open to import it.
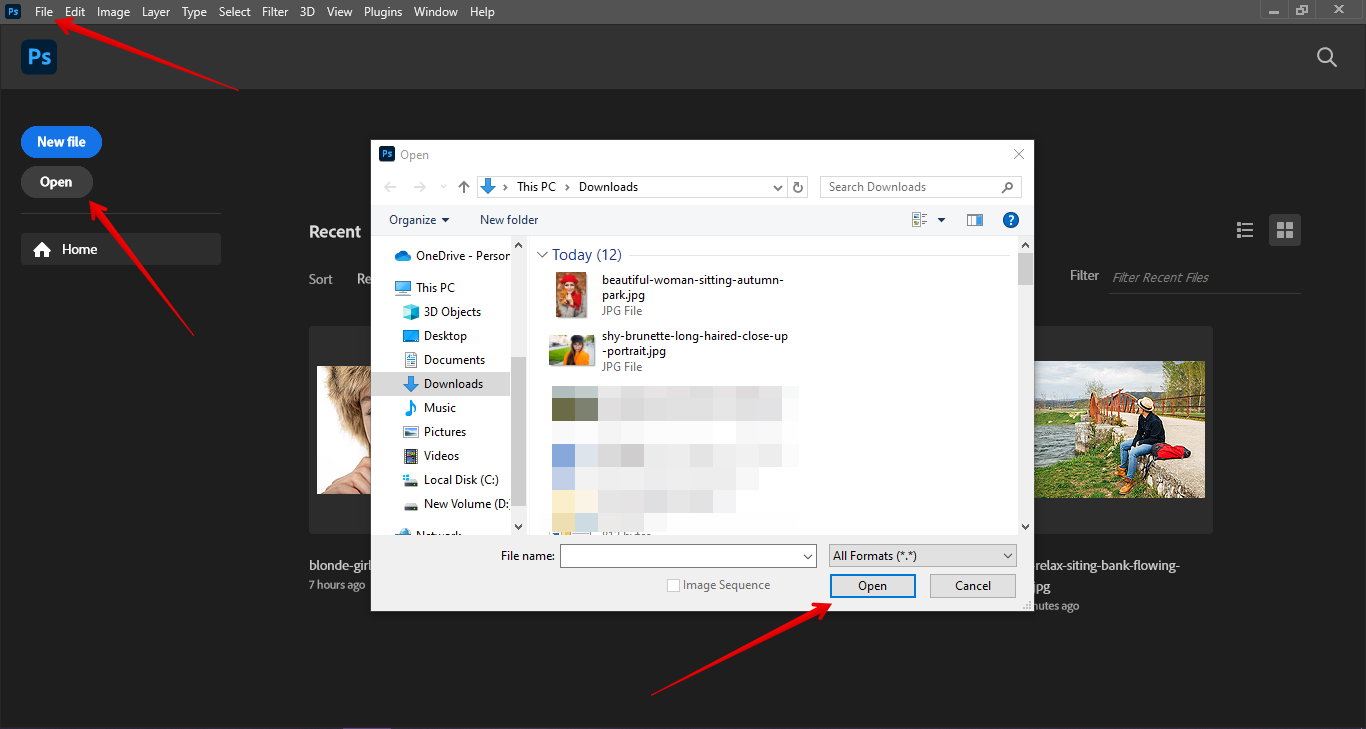
You can also press Ctrl/Cmd+O or click File in the top left corner, choose Open, select your picture, and click Open again.
Step 2: Convert to Smart Object
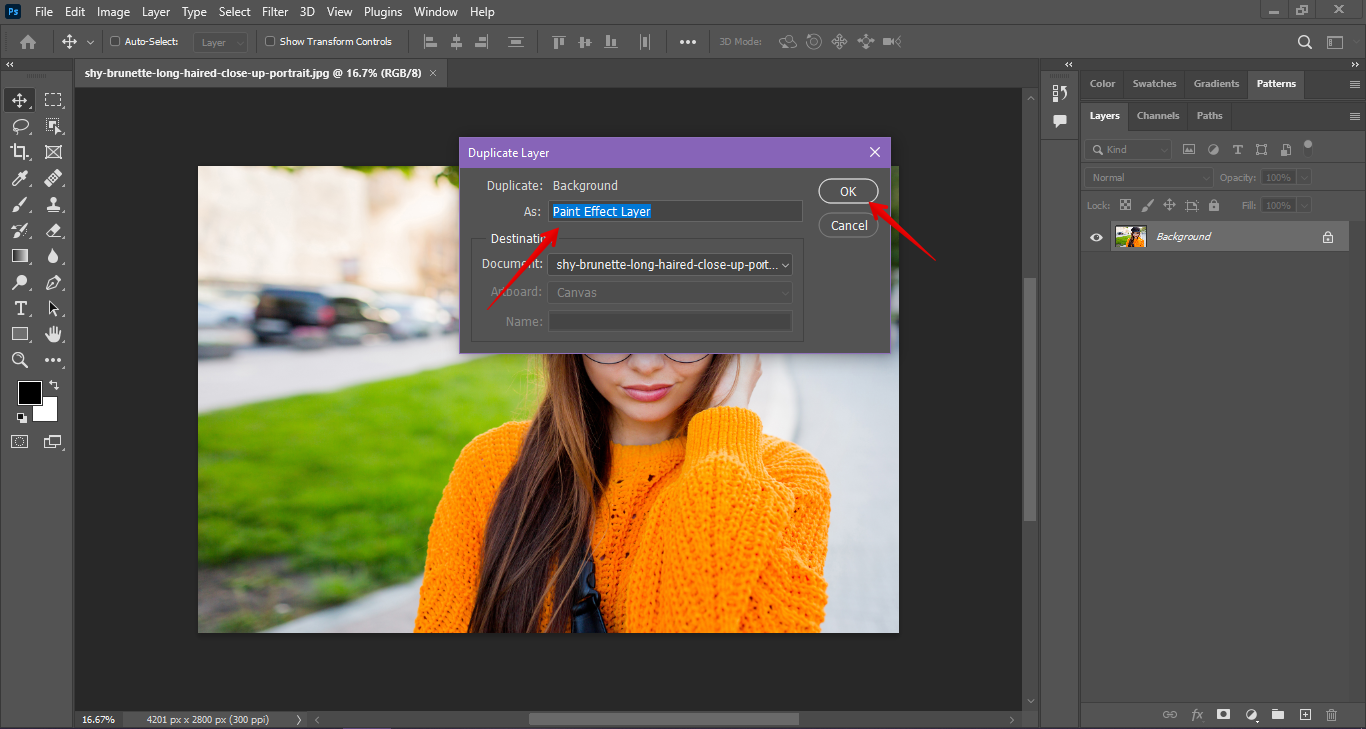
After your picture is imported, go to the Layers panel from the left sidebar, right-click the background layer, and select Duplicate Layer. Alternatively, press Ctrl+J or Cmd+J.

Now, rename the layer as Painting Effect Layer and select OK.
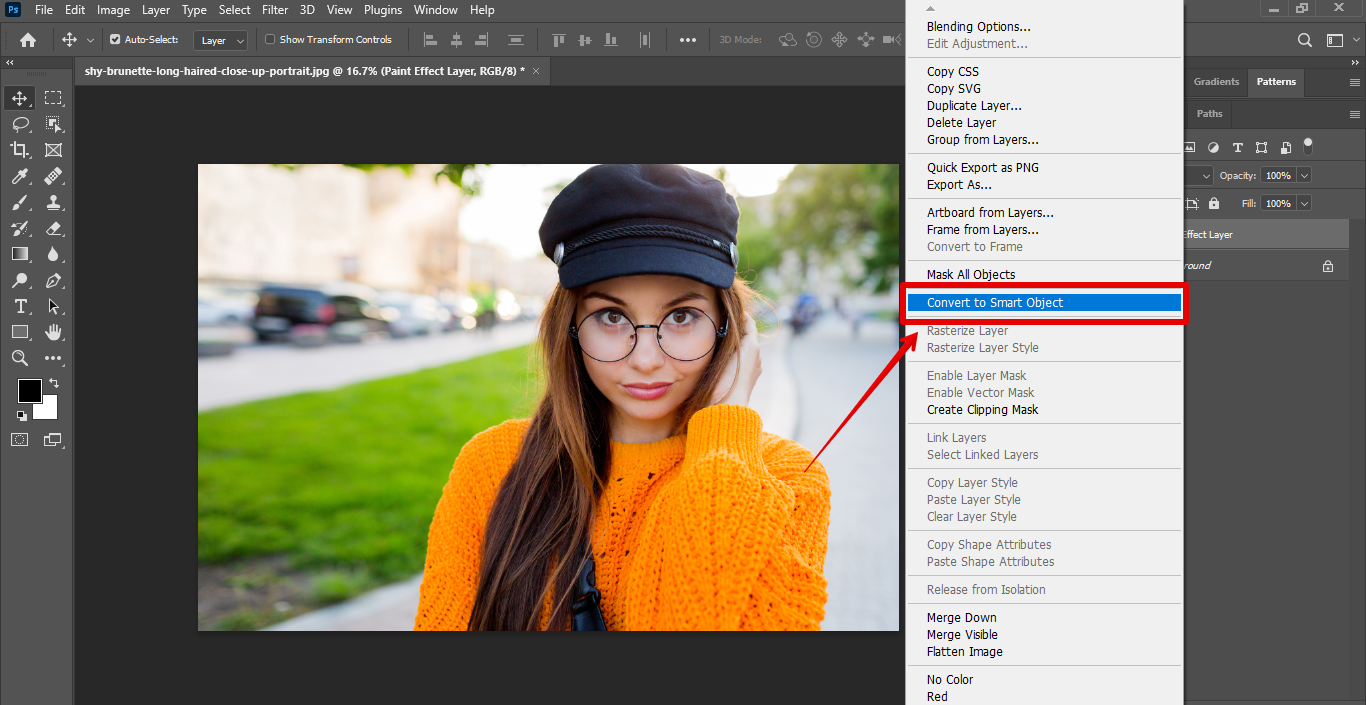
Right-click the Painting Effect Layer in the layers panel and choose Convert to Smart Object.
Step 3: Apply Filter From Filter Gallery
Now, click Filter in the top toolbar and select Filter Gallery from the menu.
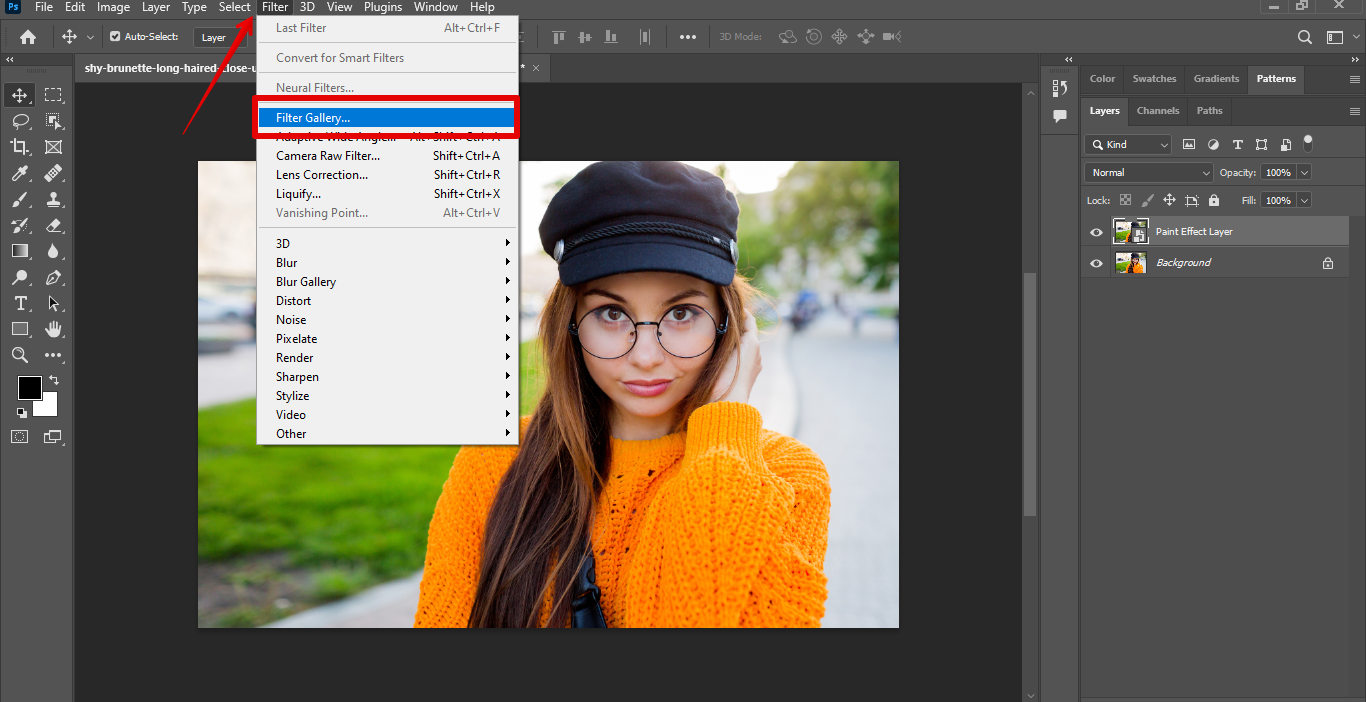
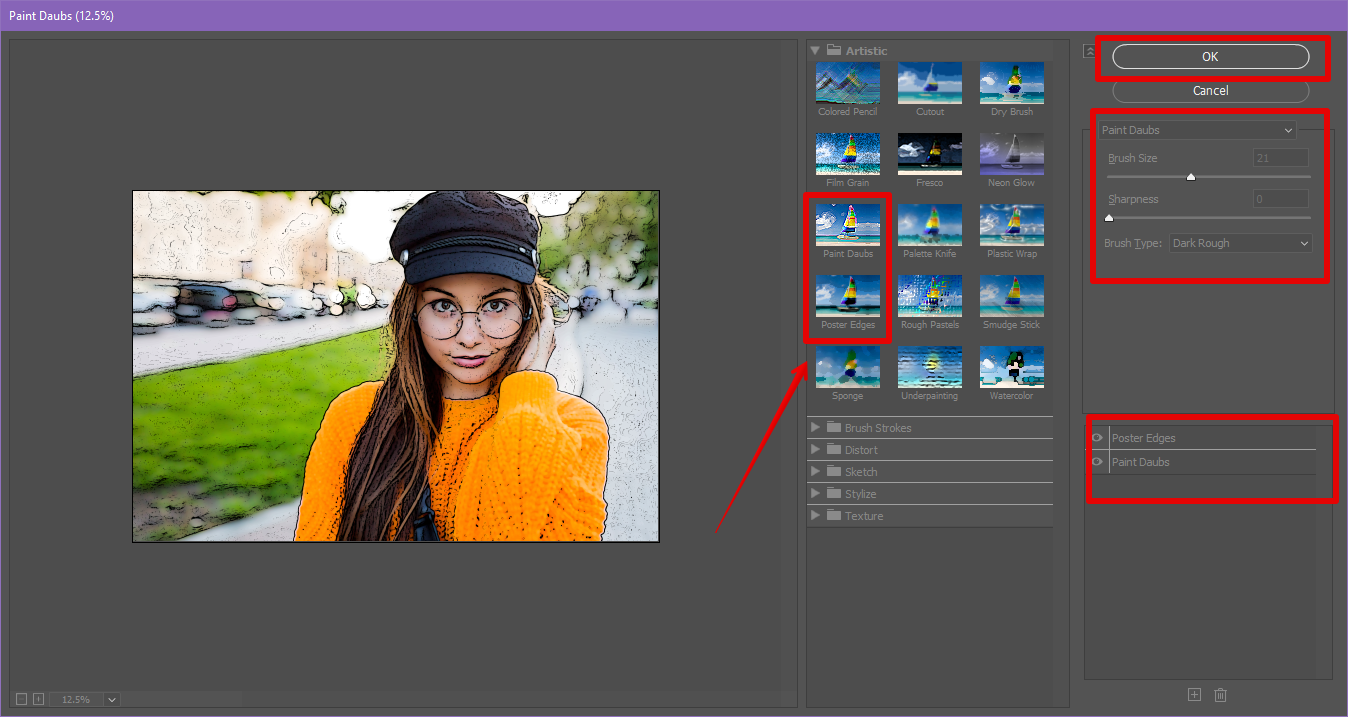
Open the Artistic folder in the Filter Gallery and choose the Poster Edge option. Next, set the edge thickness to 9, edge intensity to 9, and posterization to 5. You can also click + at the bottom right of the window, select the Paint Dubs filter to combine with Poster Edge, set the size and sharpness as you desire, and press OK.
Step 4: Adjust The Color
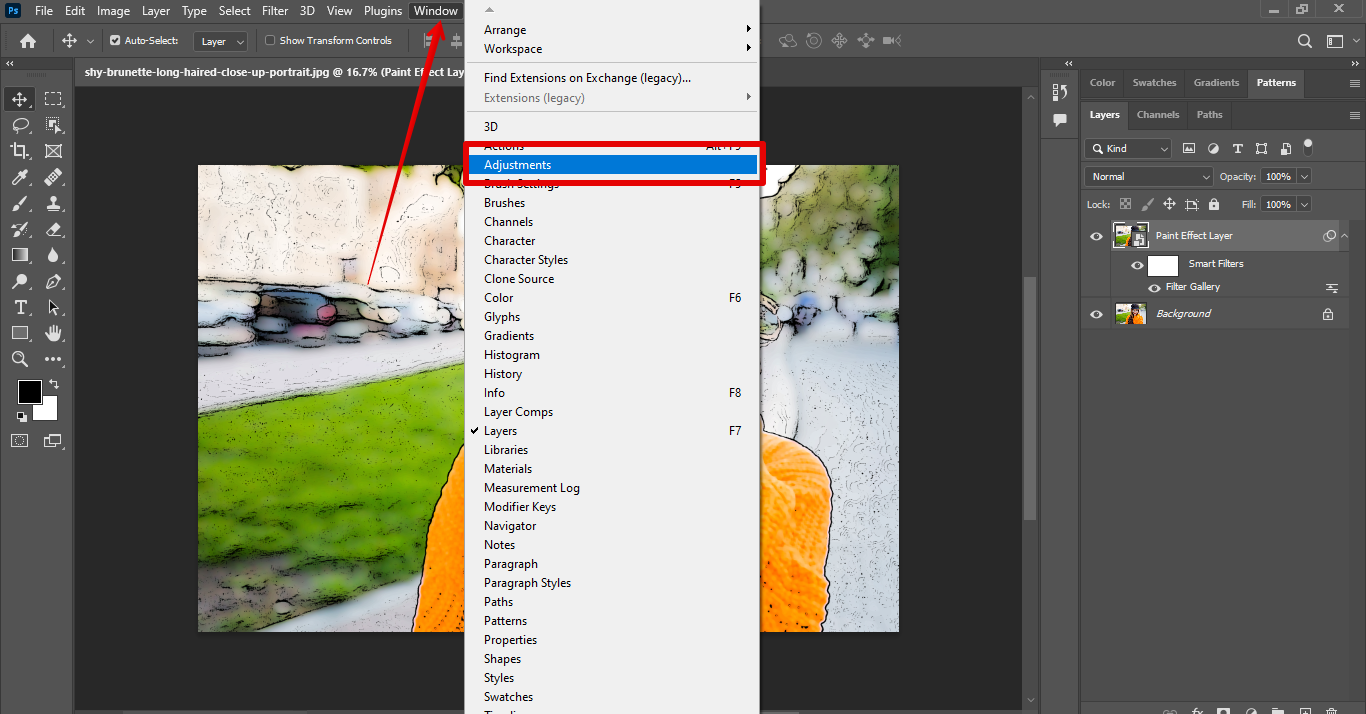
Click Window and select Adjustments to access it in the right panel.
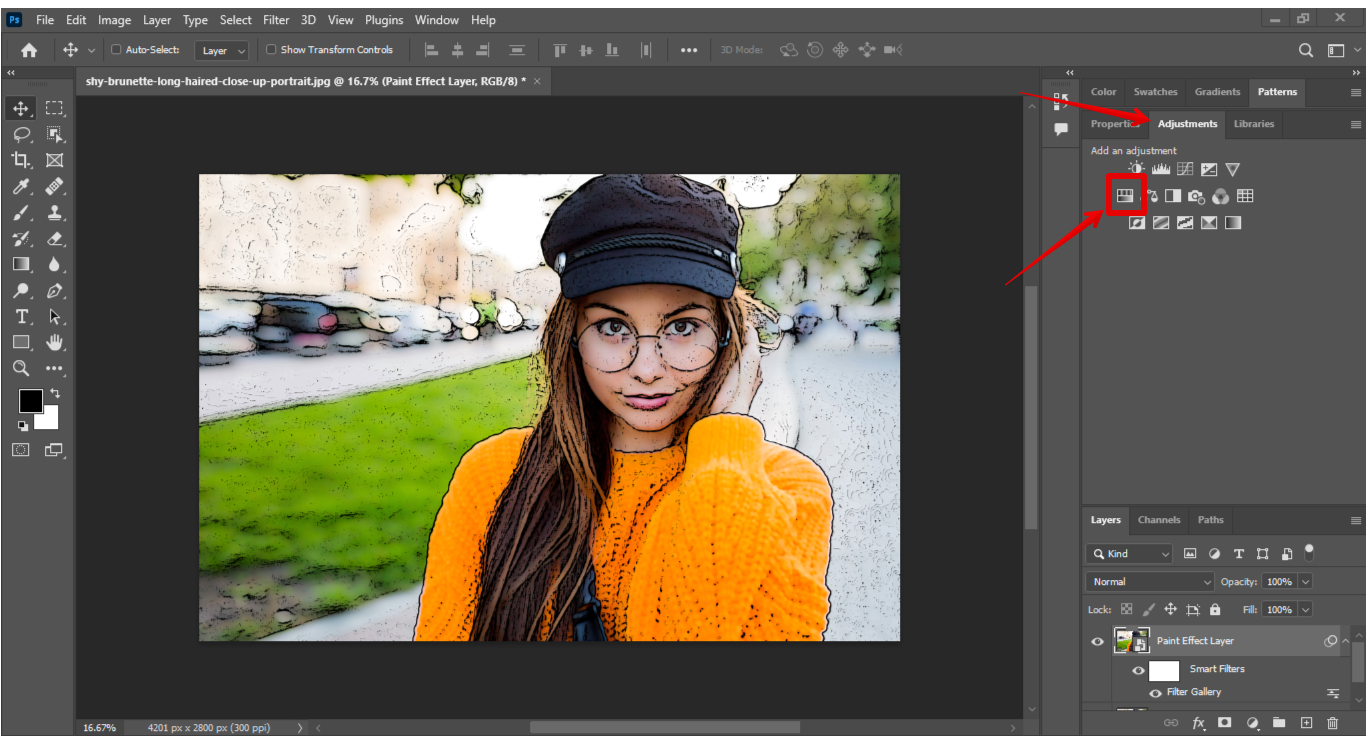
In the Adjustment pane, click Hue/Saturation.
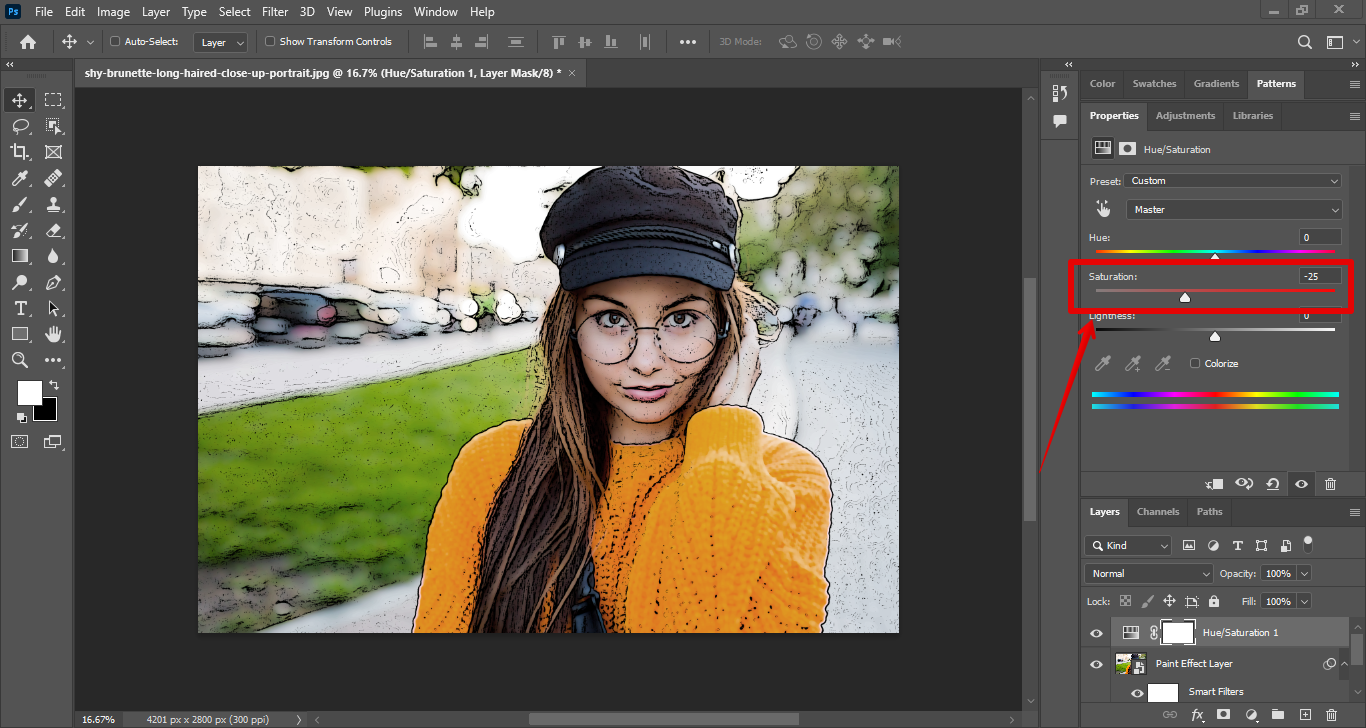
Drag the slider under Saturation to adjust the color of the photograph.
Step 5: Export The Photo
Finally, click File in the top left corner of the screen, choose Export, and select Export As.
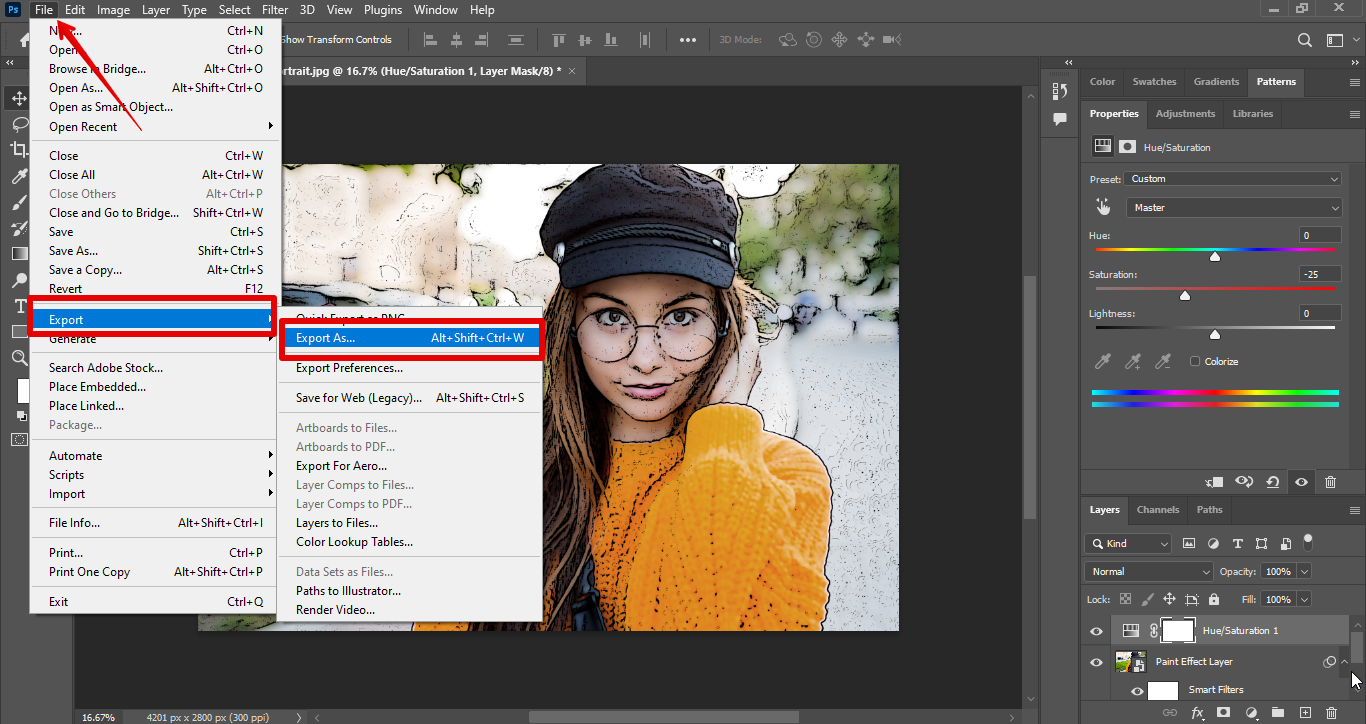
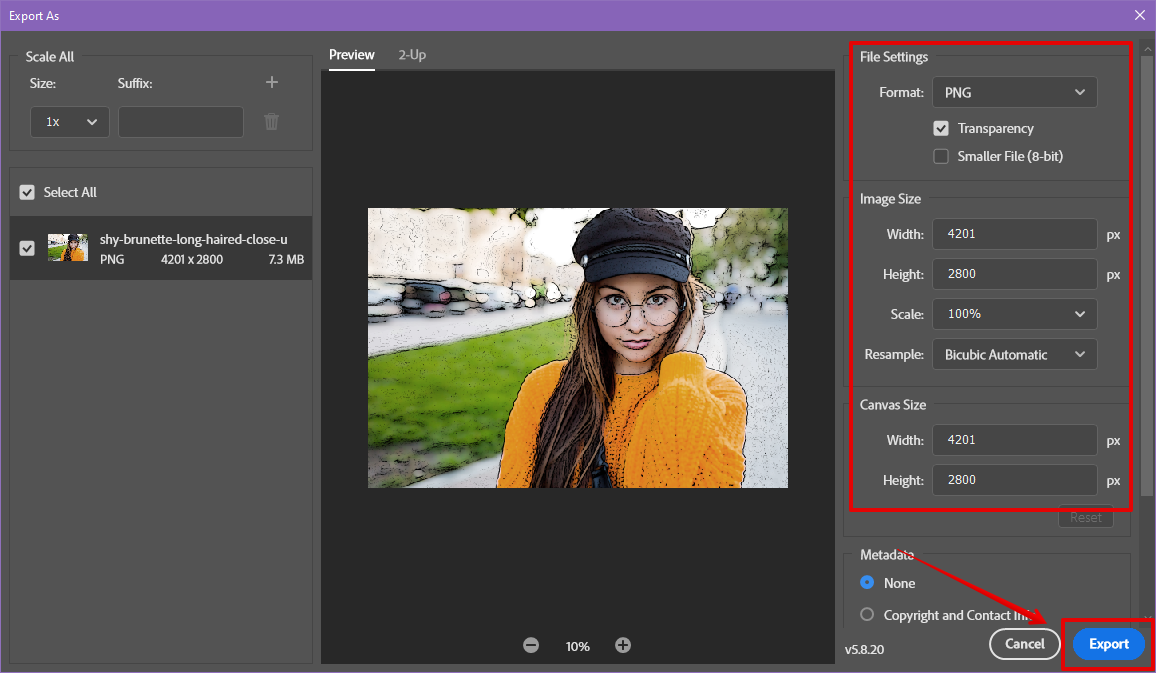
Select the file format, set the rest of the settings, and click Export to save your photograph.
Tips And Tricks
Use Multiple Filters
Try combining multiple effects from the Filter Gallery. For instance, you can also use Rough Pastels with Angled Strokes, Watercolor, and Dry Brush. These filters, when combined, add more depth and details to your pictures and give you a realistic painterly effect.
Experiment With Brush Size and Detail Settings
When using filters like Poster Edges, Dry Brush, or Watercolor, always pay attention to the brush size, details, edge thickness, and other settings and experiment with them to get the desired outcome.
Always Adjust the Color
After applying the filter, make sure to select Master in the Hue/Saturation menu and choose the right Saturation value that brings out the painterly effect in the image. Otherwise, your picture won’t look like a painting.
Common Mistakes To Avoid
Overusing the Filter
Never use the Oil Paint, Paint Dubs, or Watercolor filter at maximum settings. This is because overusing the filters can result in an overly smudged or pixelated look that lacks detail.
Ignoring Image Resolution
Always work with high-resolution images to create painting effects. Otherwise, the brush strokes will be too rough and unclear, especially in detailed areas.
Not Duplicating the Original Layer
If you don’t duplicate the original layer, your editing will be destructive, and you won’t be able to go back to the original image.
FAQs
Is It Possible To Revert the Filter if I Don’t Like the Result?
You can easily revert the filter in Photoshop by pressing CTRL+Z or CMD+Z if you’ve created a duplicate layer of the photograph and converted it into a smart object.
Is There a Way To Preview Different Filters Before Applying Them?
The Filter Gallery window provides a live preview of the filter effect on your image so you can experiment with them and see how each one will look before you commit to the final choice.
Conclusion
As we wrap up, you’ve learned the steps to convert a photo to a painting using the Filter Gallery method in Photoshop.
Now, it’s your turn to play around with different filters and their combinations and bring out your creative vision in your images.
