

Table of Contents
Background with Art Brush in Adobe Illustrator
In today’s tutorial, we will create a Background with Art Brush in Adobe Illustrator. We will use the Ellipse Tool, Direct Section Tool, Brushes Panel, Gradient Panel, and few other tools to create an abstract background. You can use this background while designing a poster or business card.

Launch Adobe Illustratorand create a new document of size 841.89 pt X 595.28 pt.
Now follow the below steps:
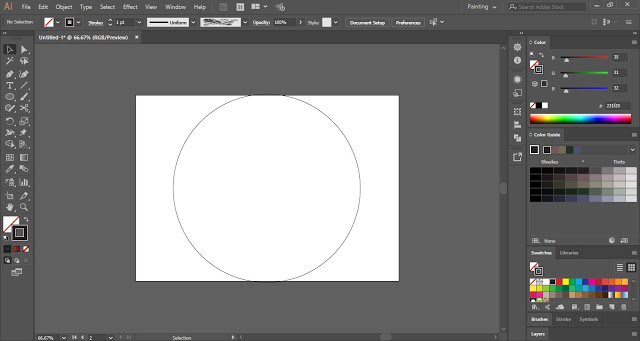
Step 1
Select the Ellipse Tool and draw a circle on the artboard. Turn off the Fill Color for the circle.
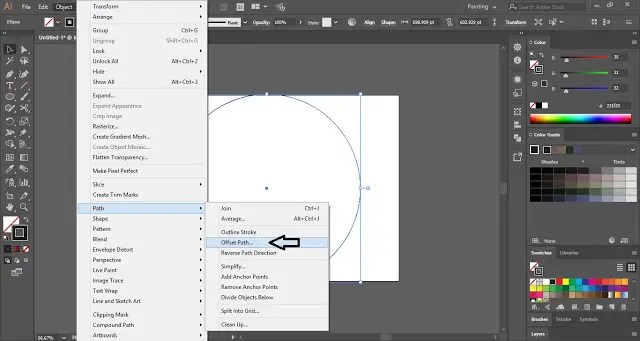
Step 2
Now select the circle drawn in the above step and click on Object in the Menu Bar. Place the cursor on Path and select the Offset Path.
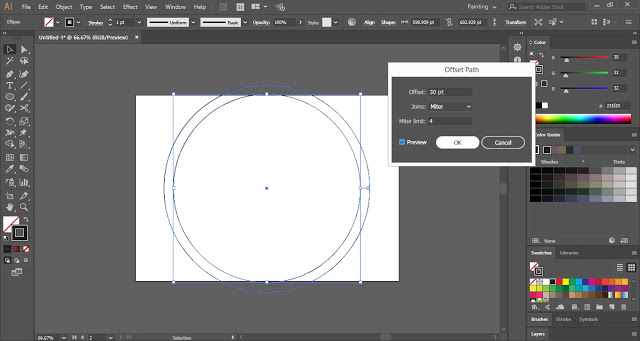
Create an Offset Path of 30 pt.
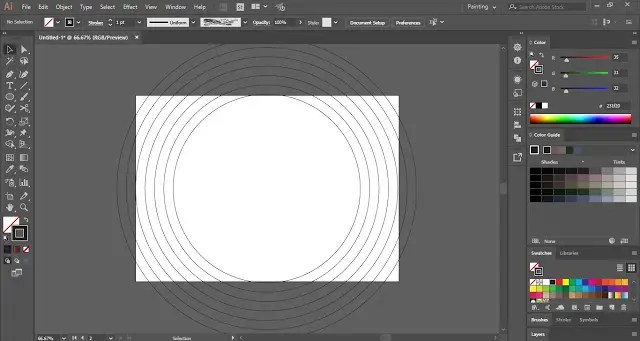
Similarly, create few more Offset Paths.
Step 3
Now select the Direct Selection Tool and click anywhere on the circle. With the help of the Direct Selection Tool, we will remove a few random anchor points.
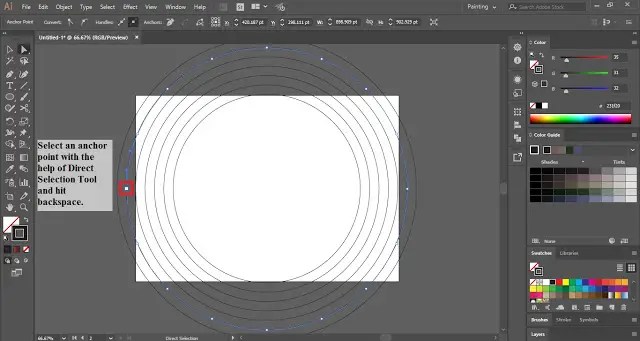
Similarly, we will remove random anchor points from the remaining circles also.

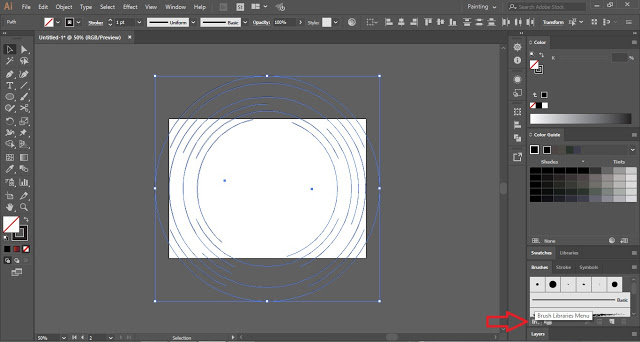
Step 4
Press Ctrl + A to select all the paths. Open the Brushes Panel and click on Brush Libraries Menu.
Then place the cursor on Artistic and select Artistic Paintbrush.
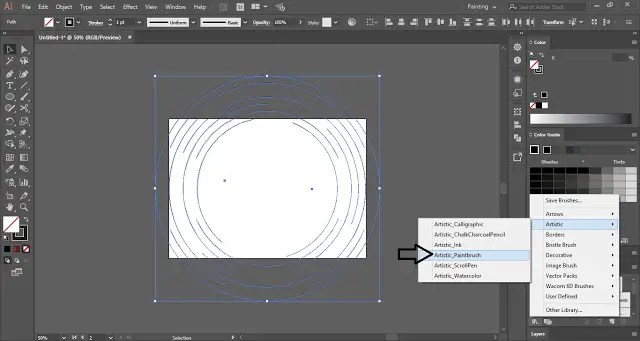
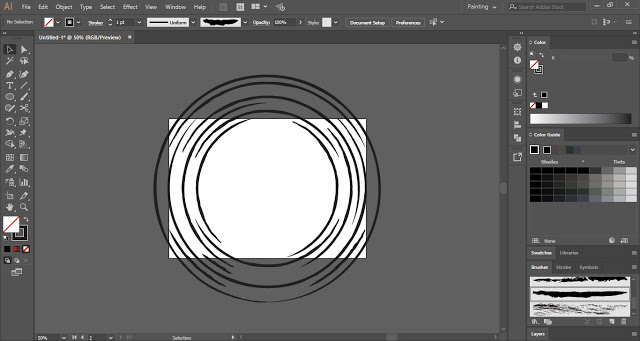
A number of brushes will appear on the artboard. Select any of the brush and apply it on the selected paths.
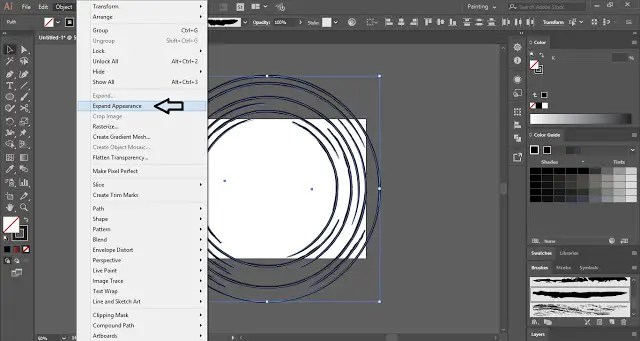
Step 5
Again select all the paths and click on Object in the Menu Bar. Select Expand Appearance and then fill the paths with a gradient.
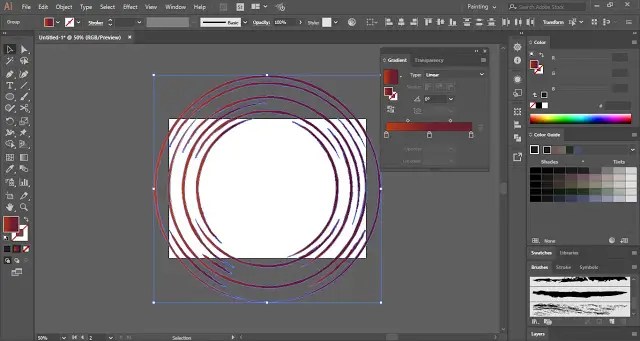
Open the Transparency Panel, and change the opacity to Multiply.
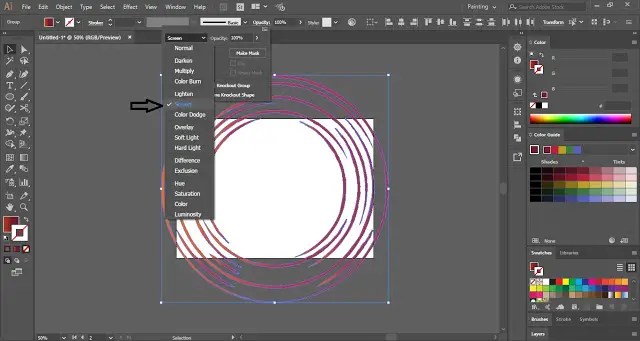
Step 6
Let the paths are selected and press Ctrl + Cand then press Ctrl + F. Now open the Transparency panel and change the blend mode to Screen.
Step 7
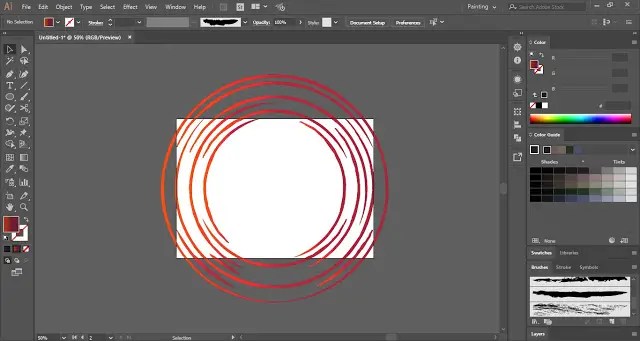
We will again select all the paths and will apply the gradient to the Strokes and also increase the Stroke Width.
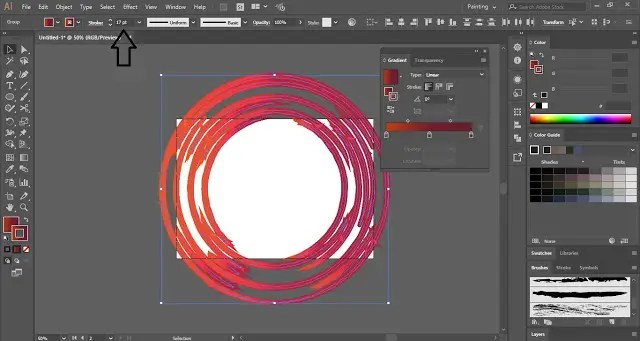
Now select alternate paths and double click on the Gradient Tool in the Tool Panel. In the Gradient Panel, select the stroke and change the direction of the stroke gradient.
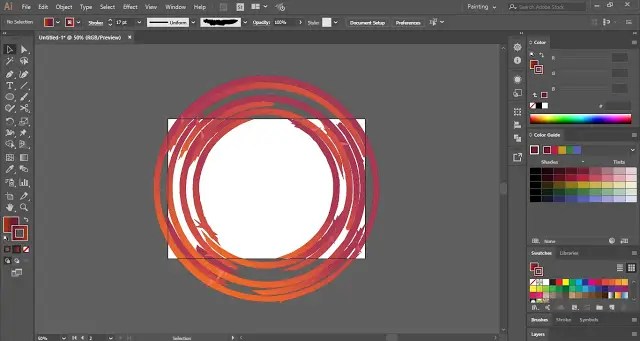
Background with Art Brush in Adobe Illustrator
After doing necessary changes your paths will look like this-
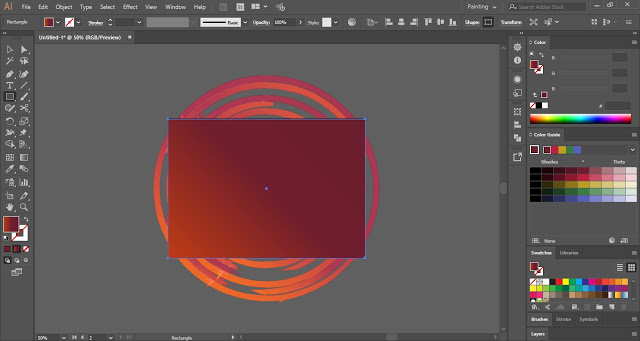
Step 8
Select the Rectangle Tool and draw a rectangle the same as the size of the artboard.
Press Ctrl + A to select all the shapes on the artboard and then press Ctrl + 7 to make a Clipping Mask.
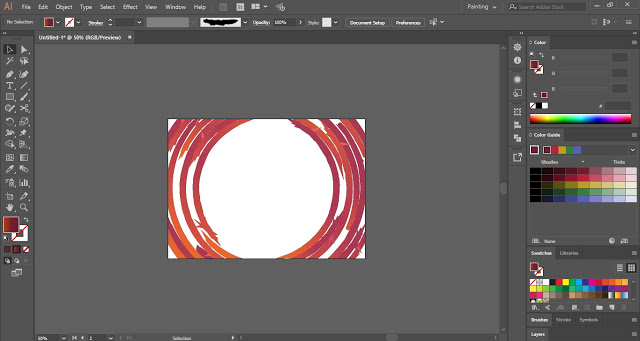
This is how you can create a Background with Art Brush in Adobe Illustrator.

If you enjoyed this tutorial then share your views in the comment section and also, share this tutorial with others.
