

Creating dynamic and visually appealing designs in Photoshop often requires you to fill a shape with an image to add depth and interest. Whatever your skill level, understanding this technique can elevate your design game and open up a world of creative possibilities.
In this tutorial, we’ll explore how to effortlessly blend images into shapes using Adobe Photoshop to master designing graphics for social media, web, or print.
Table of Contents
What Are the Different Ways To Fill a Shape With an Image in Photoshop?
In Photoshop, you can fill a shape with a picture in three ways, which have their advantages and drawbacks.
Method 1: Clipping Mask
The clipping mask in Photoshop is a non-destructive technique that creates a mask over the image layer to limit its visibility only to the shape you’ve selected. However, it does not provide complete control over the image’s appearance in the shape.
Method 2: Magic Wand
Another method is to use the magic wand tool in Photoshop. It offers more control over the scale and blending mode of the image in the shape. However, this technique won’t work for more complex shapes because the tool might not select its area correctly.
Method 3: Vector Mask
The vector mask is an indirect method in Photoshop that selectively reveals or hides image layer portions based on a defined shape. The only drawback is that it requires advanced editing skills in Photoshop.
Steps To Fill a Shape With a Picture in Photoshop
The Clipping mask is Photoshop’s most effective way to fill a shape with an image with these step-by-step instructions:
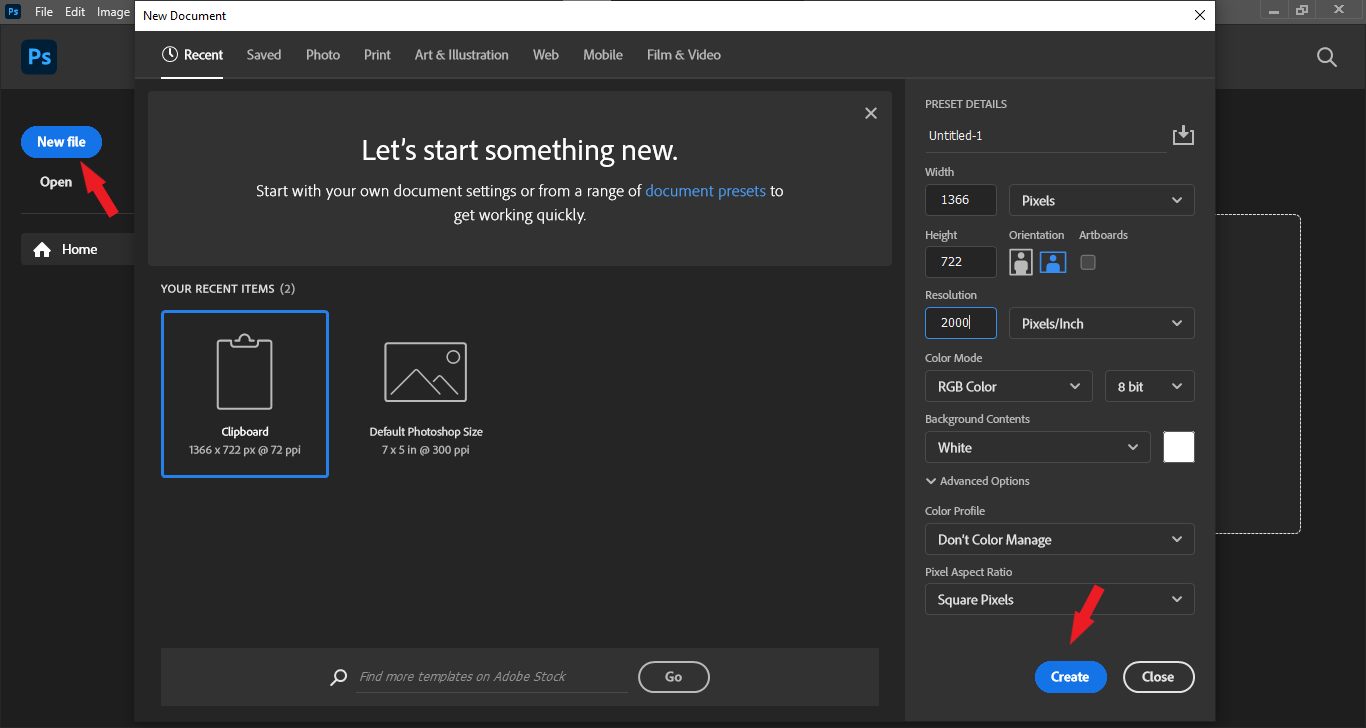
Step 1: Create a New Document In Adobe Photoshop
To start, click New File on the home screen in Photoshop, type in the file’s width, height, and resolution, and select Create to open the new canvas.
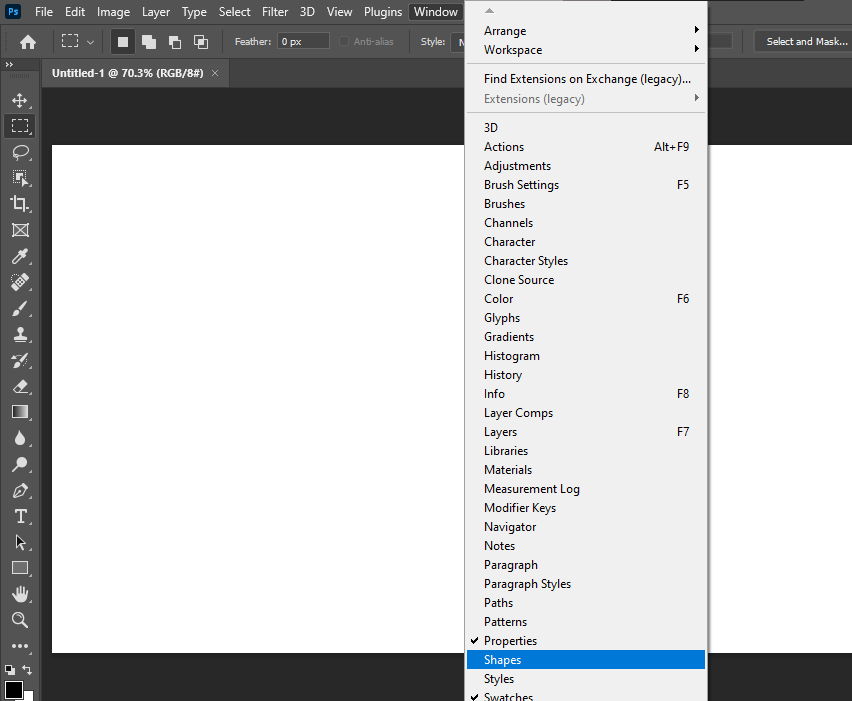
Step 2: Select Shape
Click the Window menu in the upper panel and choose Shapes to open its panel on the right side.
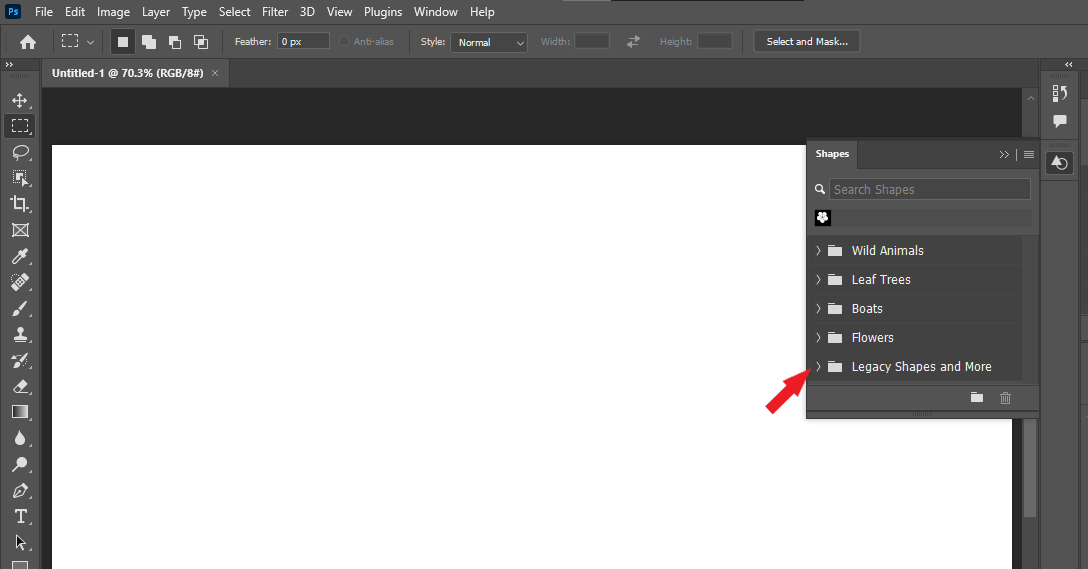
Next, click the arrow next to any folder to find different shapes.
TIP: If you do not want to use the classic shapes, click the Menu icon at the top-right of the panel and select Legacy Shapes and More.
Choose a shape from the folder, and drag and drop its thumbnail from the Shapes panel onto the blank canvas.
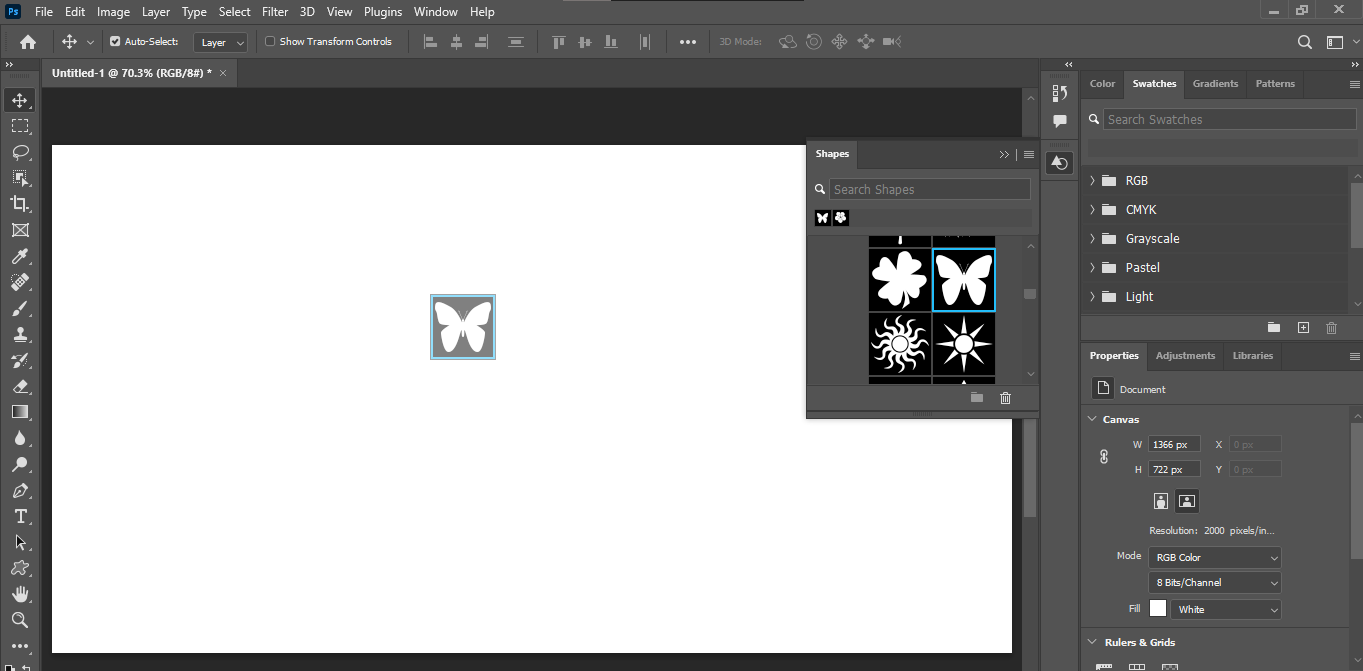
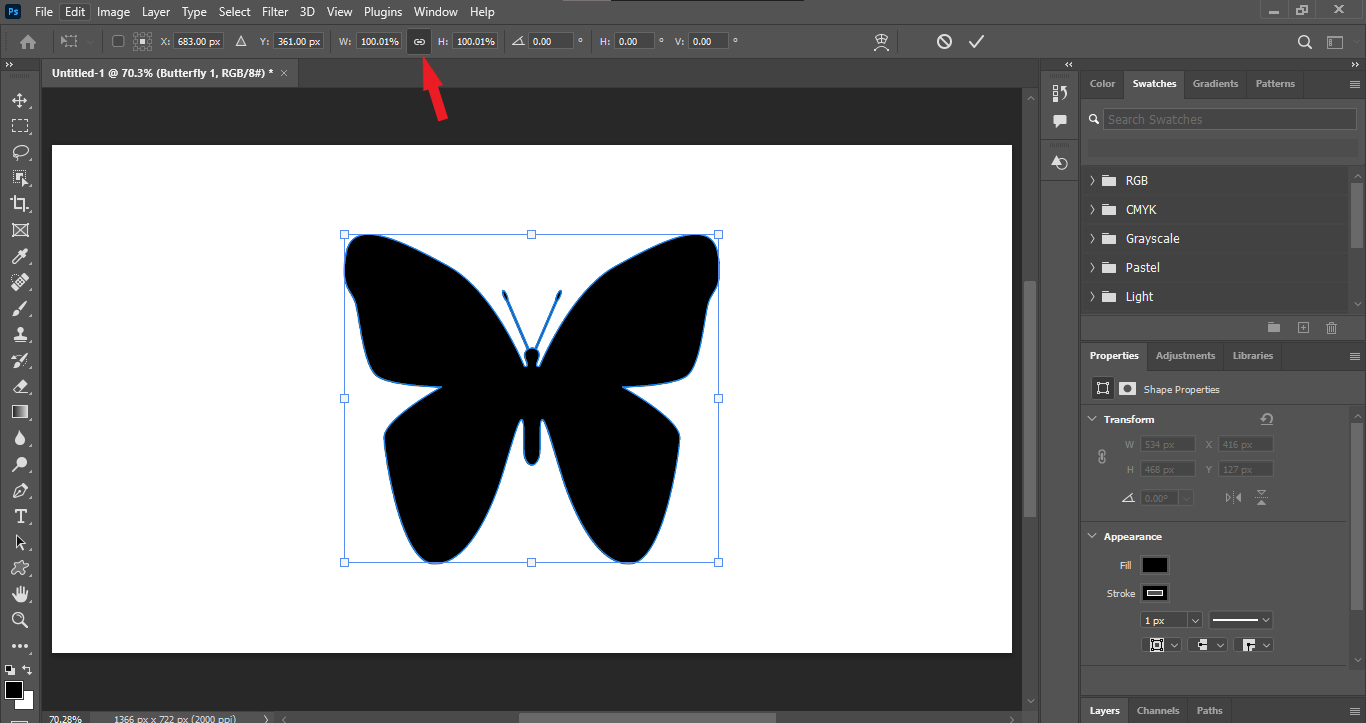
Click the link icon between the shape’s width and height in the Options bar to lock its aspect ratio.
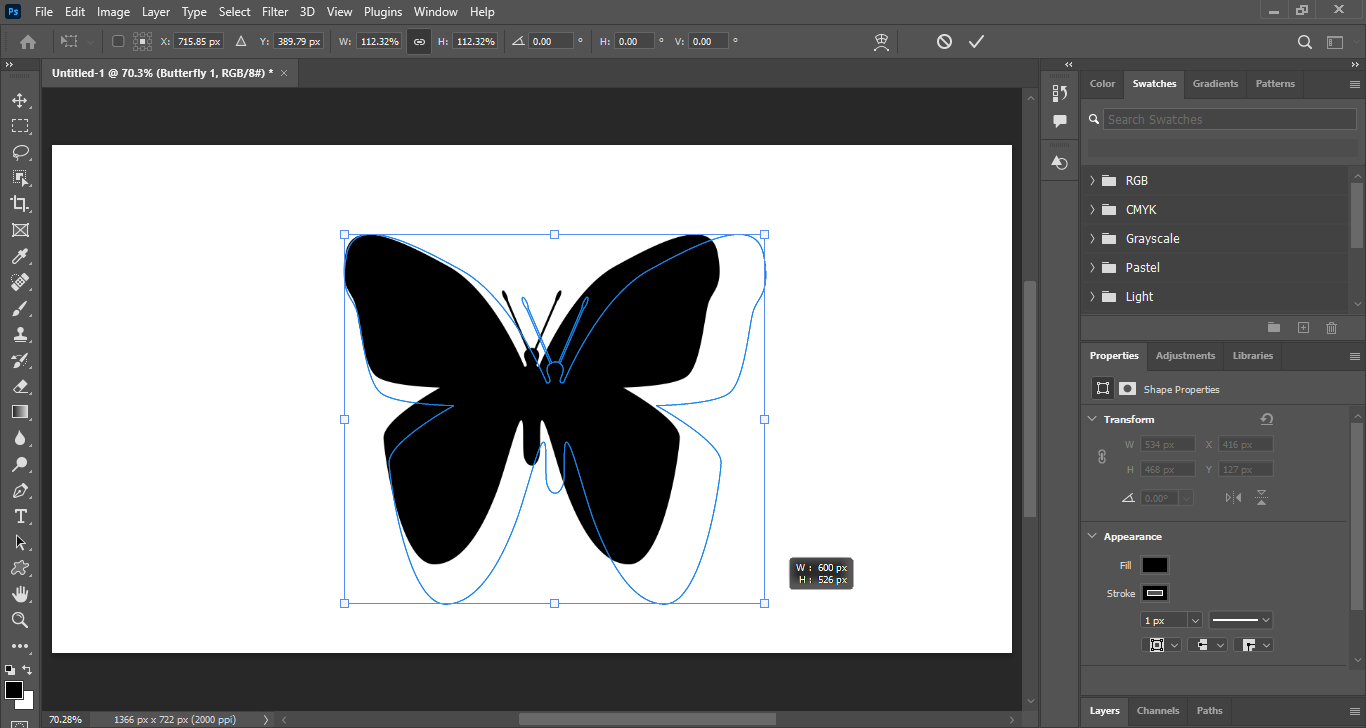
Now, click and drag the transform handles to resize the shape per your requirements.
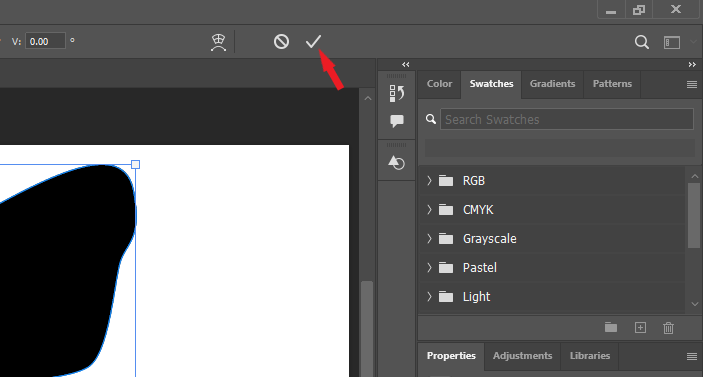
Click the shape, drag it into the center of the canvas (or anywhere you want), and then select the checkmark in the Options bar.
Step 3: Configure the Stroke of the Shape
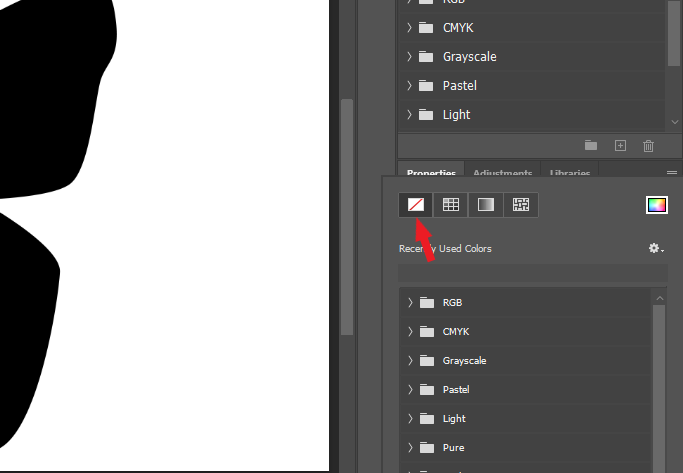
With the Shape layer selected, click the Stroke color swatch in the Properties panel.

Choose the No Color icon in the upper left of the Stroke menu panel and press Enter or Return to close it.
Step 4: Placing Image Into the Document
To place the image into the same document, click File in the top left corner of the editing interface and choose Place Embedded.
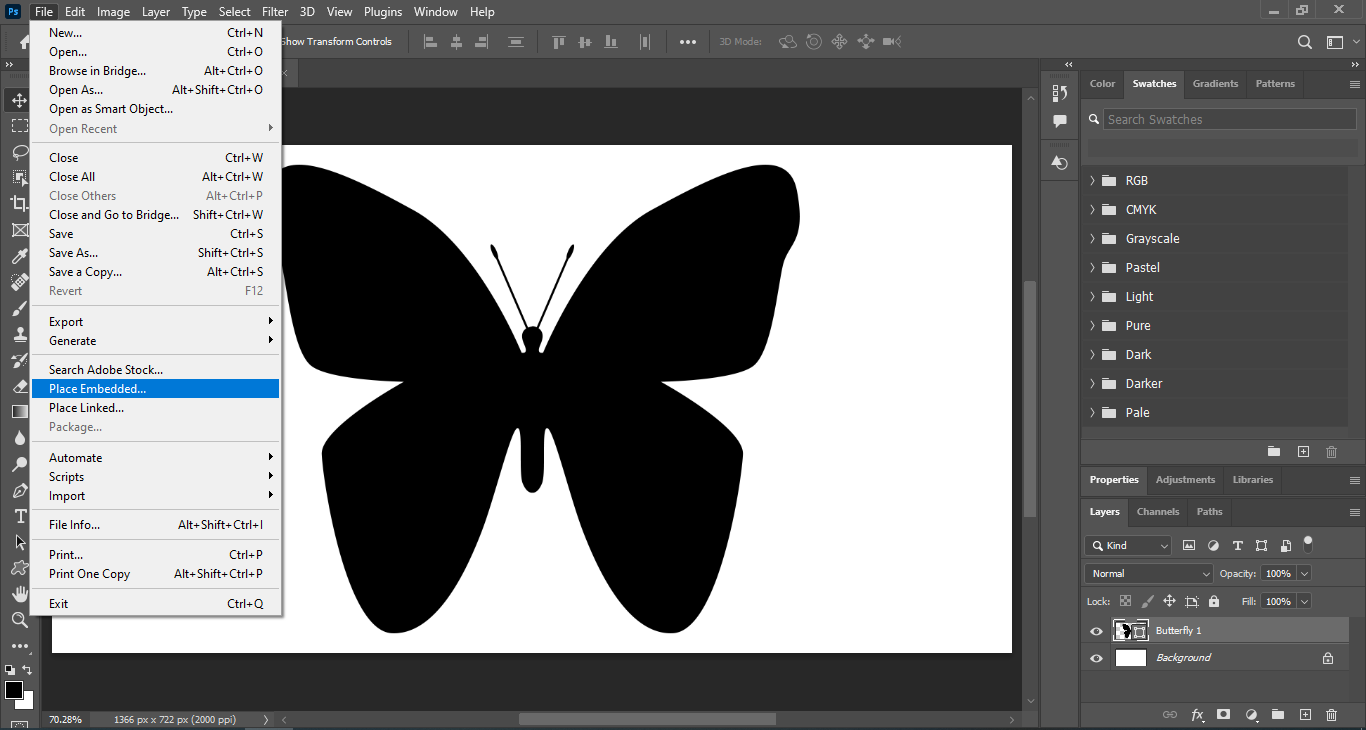
Select the image from your PC’s storage and click Place. Photoshop will place the image in front of the shape and will appear as a new layer in the Layer panel.

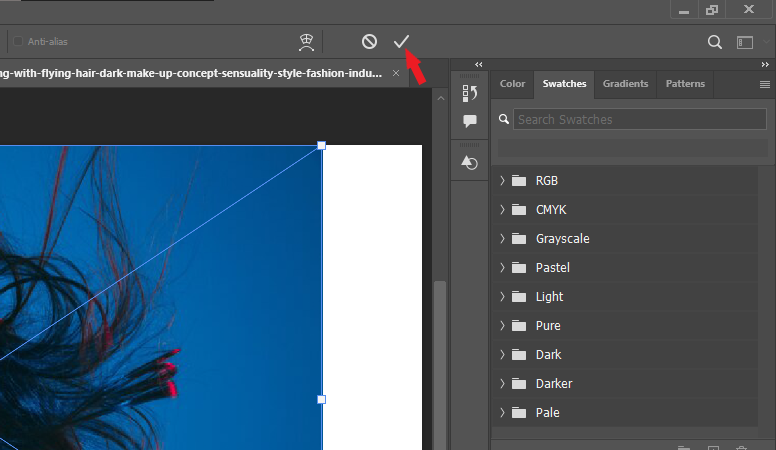
Choose the checkmark in the Options bar to accept the current size of the image.
Step 5: Create Clipping Mask
Click Menu (the hamburger icon) in the top right corner of the Layer Panel and choose Create Clipping Mask.
Step 6: Resize and Position the Image
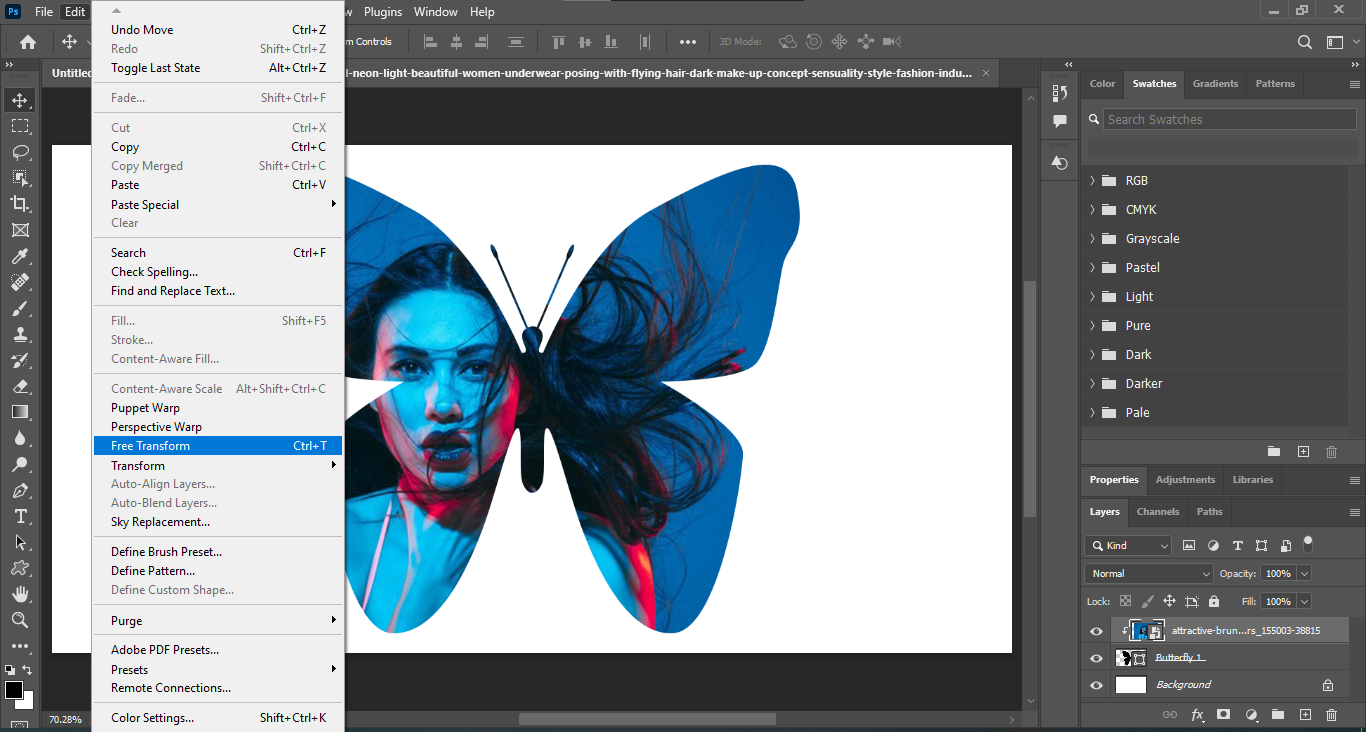
Click Edit in the top left corner of the menu panel and choose Free Transform.
Select the Link icon in the Options bar and then drag any transform handles to resize the image.
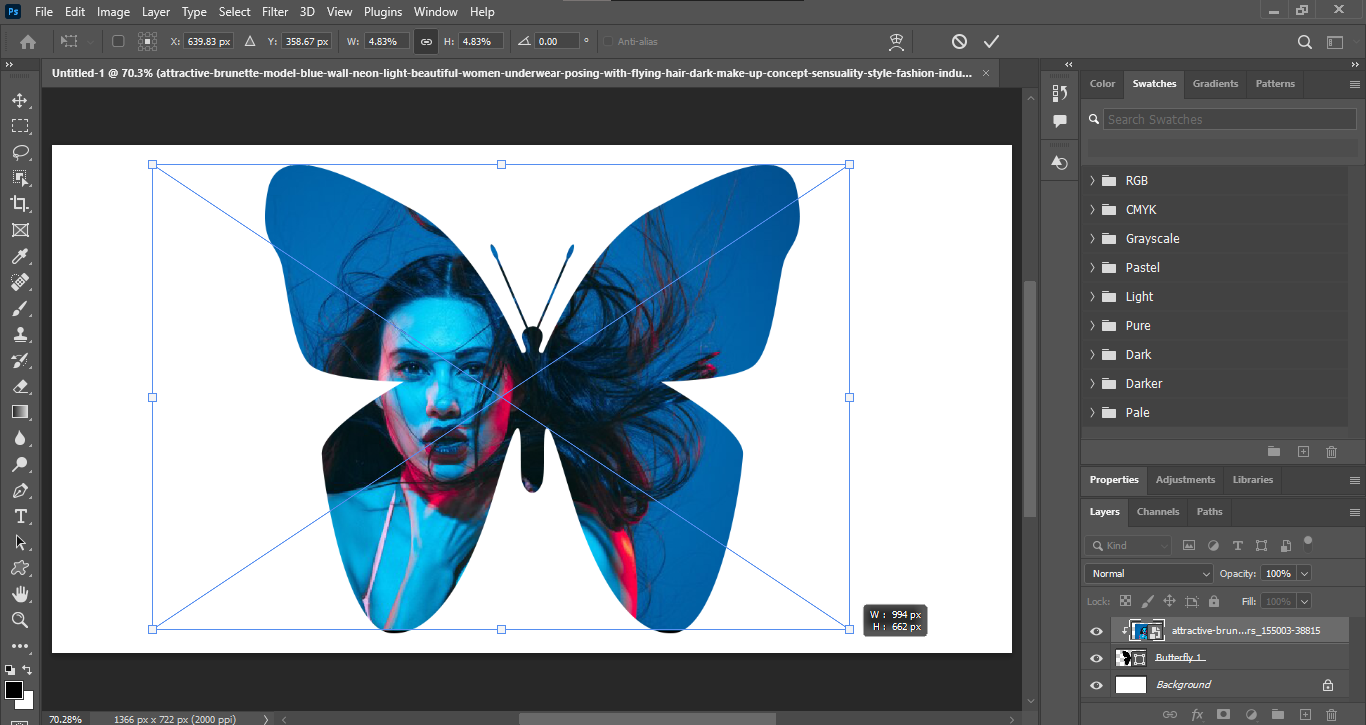
Then, drag the image within the shape to correctly position it and select the checkmark in the Options bar.

Step 7: Export the File
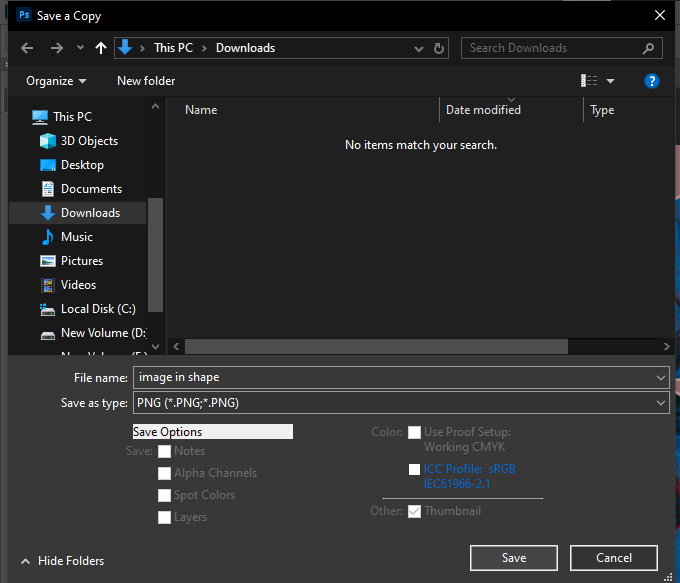
Finally, change the background color of the shape if you want. Then, click File and choose Save a Copy.
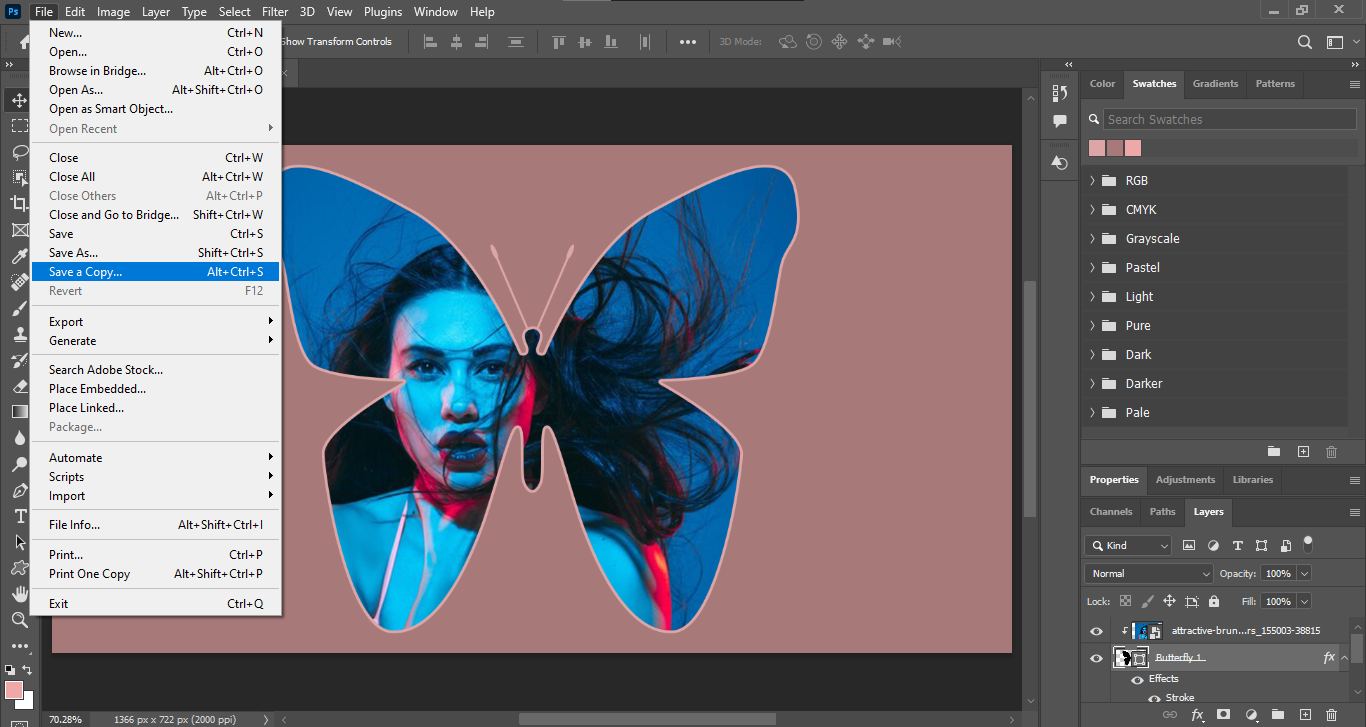
Rename the file, select PNG or JPEG from the drop-down menu next to Save as Type, and click Save.
Tips and Tricks
Use High-Resolution Image
Always use a high-resolution image to ensure clarity and detail while filling a shape. This will particularly help you with scaling the photo during the editing process.
Pay Attention to Image Composition
Position your picture in such a way that it clearly highlights the essential elements or focal points within the shape. You can also adjust the rotation and size of the photo for best visual impact.
Select the Appropriate Shape
Ensure that you choose the correct shape to fill the image in it. For example, if you select a grime vector 1, 2, or 3 shapes for the central element in the picture, like a person, it won’t show it correctly and will crop out.
Common Mistakes to Avoid
Resize the Image According to the Shape
Resize the photo using the transform handles or the width and height option in the Options bar in Photoshop; Otherwise, it won’t fit well within the shape.
Overcomplicating the Shape:
Avoid using overly complex shapes because they may not effectively showcase the images or could make it difficult to discern the content. Go for simpler shapes that complement the image and maintain visual clarity.
FAQs
Can I fill any shape with an image using Photoshop?
Yes, you can fill any complex, classic, or geometrical shape with an image using Photoshop.
Can I change the image within the shape without redoing the clipping mask?
You can change the image within the selected shape without redoing the clipping mask in Photoshop. Simply right-click the image layer, choose “Replace Content,” and select the picture you want to add to the shape.
How do I remove the clipping mask from the image?
To remove the clipping mask from the image in Photoshop, right-click its layer in the Layer panel and select Release Clipping Mask.
Conclusion
As we conclude this guide, we’ve explored the steps to fill a shape with an image using Adobe Photoshop. The clipping mask method we discussed here is the most convenient and straightforward way to get the best outcome and communicate your ideas with precision and flair.
Remember, practice and experimentation will refine your skills to embed image-filled shapes in your projects.
