Table of Contents
Rainbow Text Effect in Adobe Illustrator
Rainbow effects in Adobe Illustrator can add vibrant and colorful elements to your designs, giving them a lively and eye-catching appearance. With Illustrator’s versatile tools and features, you can create stunning rainbow text effects, brushes, and more.
One way to achieve a rainbow text effect in Illustrator is by using gradient fills. By applying a gradient that transitions through different colors of the rainbow, you can create a dynamic and vibrant appearance for your text. Experimenting with different gradient types, angles, and color stops can help you achieve the desired rainbow effect.
Another option is to use the Blend tool in Illustrator. By creating a series of objects or shapes with different colors and then blending them together, you can create a smooth transition of colors resembling a rainbow. This technique works well for creating curved or flowing rainbow shapes.
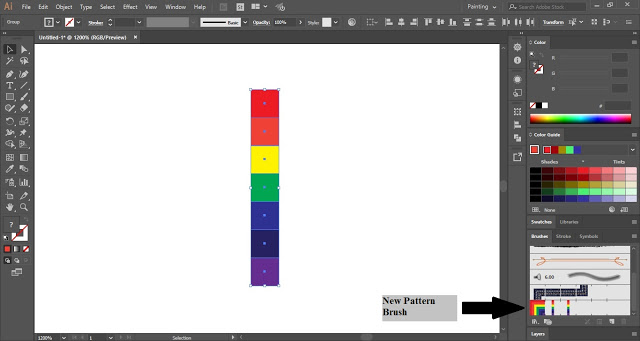
Illustrator also provides a variety of brushes, including the ability to create custom brushes. By applying a rainbow-colored brush stroke to your artwork, you can add a colorful and whimsical touch. Whether you want to create a brush stroke that follows a specific path or scatter rainbow-colored shapes along your artwork, Illustrator offers the flexibility to achieve various rainbow brush effects.
Exploring Illustrator’s transparency and blending modes can further enhance your rainbow effects. By adjusting the opacity and blending modes of rainbow elements, you can create interesting overlays, gradients, and blending effects, giving your designs a unique and mesmerizing appearance.
Tutorials, resources, and online communities provide valuable guidance and inspiration for creating rainbow effects in Adobe Illustrator. They cover topics such as rainbow typography, advanced gradient techniques, custom brushes, and creative applications of rainbow effects.
Adobe Illustrator offers a range of tools and techniques to create captivating rainbow effects. Whether you’re working with rainbow text, brushes, gradients, or other design elements, Illustrator’s versatility empowers you to bring vibrant and colorful visuals to your artwork. With experimentation and exploration, you can unlock the full potential of rainbow effects in Illustrator.


