
Table of Contents
Christmas Bells Icon in Adobe Illustrator
In the previous tutorial, you had learned to create Christmas Greeting Card and today, you will learn to draw Christmas Bells Icon in Adobe Illustrator.

Launch Adobe Illustrator and create a new document in RGB color mode. Now follow the below steps:
Step 1
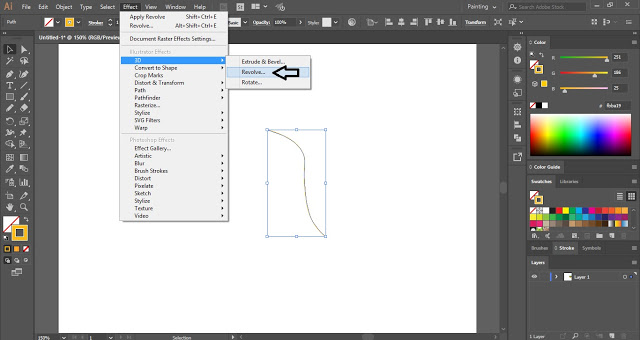
Select the Pen Tool and draw the shape as shown in the below image. The Stroke color is #fbba19.

Step 2
Now select the shape created and click on Effect in the Menu Bar. Now place the cursor on 3D and select Revolve.
3D Revolve Options dialogue box will appear on the artboard. In that dialogue box, put the check-mark on Preview and set the axis to rotate the shape.
X-axis – 23o
Y-axis – -21o
Z-axis – 6o
Now click on the More Options button and change the Shading Color to #6b3b13.
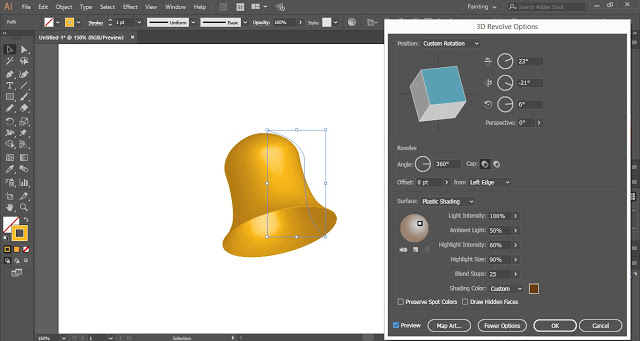
Click OK.
Step 3
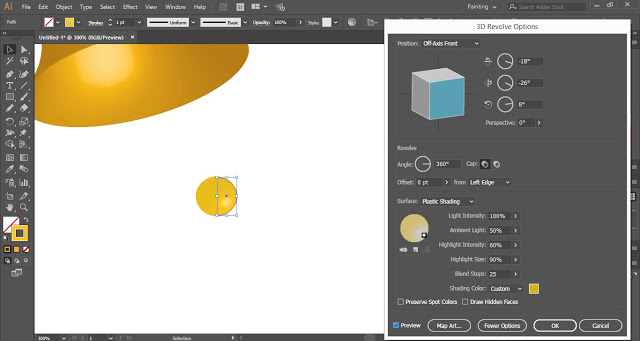
Now select the Ellipse Tool and draw a small circle. With the help of the Scissor Tool convert the circle into a half-circle and apply the 3D Revolve Effect to it. The Stroke color of the circle is #fbc419.
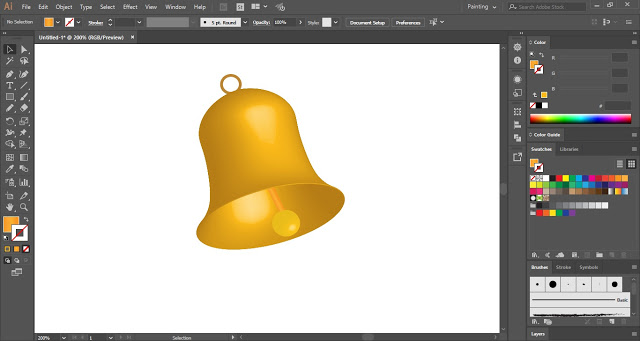
Use Rectangle Tool and Ellipse Tool to draw other shapes of the Christmas Bell.
Step 4
Select all the shapes by pressing Ctrl + A and create a duplicate copy with the help of the Alt Key. Now select the duplicate copy and go to the Appearance Panel.
Window > Appearance
In the Appearance Panel, select the 3D Revolve layer. 3D Revolve Options dialogue box will appear on the artboard. Now change the position of the duplicate copy of the Christmas Bell.

After making the required changes click OK.
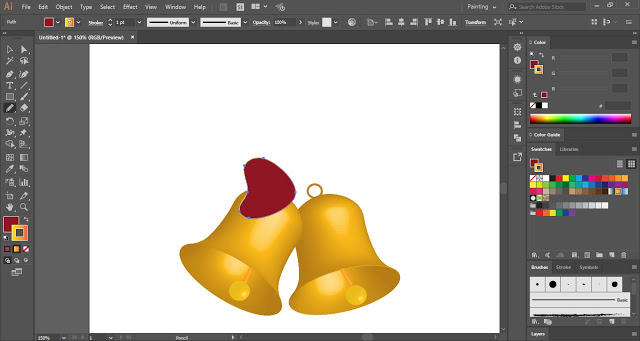
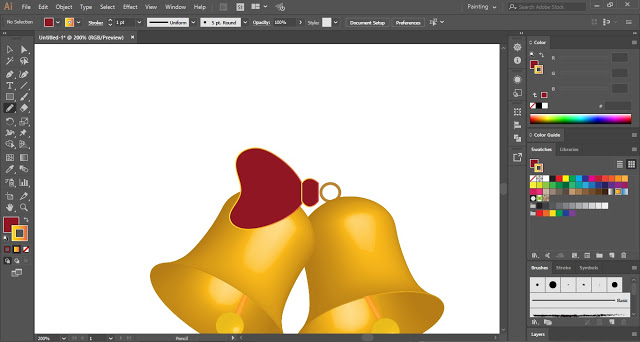
Step 5
Now we will draw a ribbon with the help of the Pencil Tool. The Fill color is #8f1622and Stroke color is the Orange Yellow Gradient present in the Swatches Panel.
.
.
.
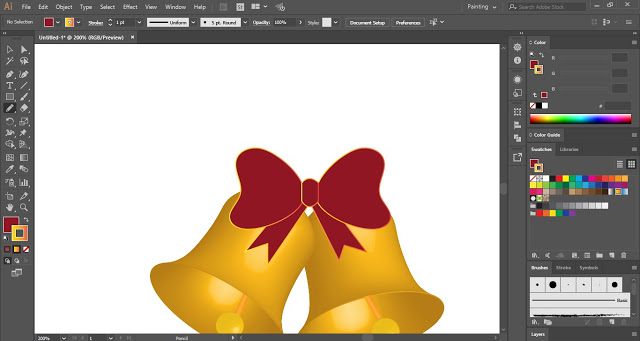
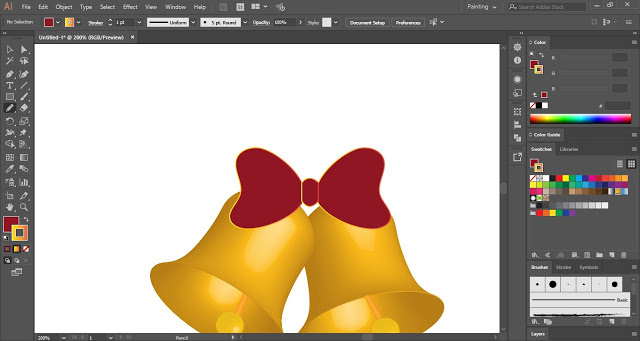
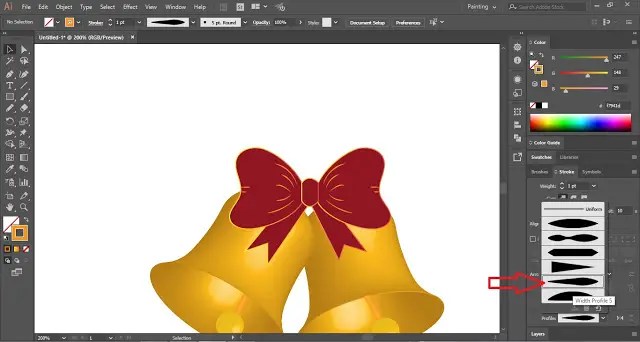
Now we will do some detailing on the ribbon. We will change the stroke profile for the detailing. (See the below image)
Step 6
Now draw some leaves in the background and your Christmas Bells Icon in Adobe Illustrator is ready.
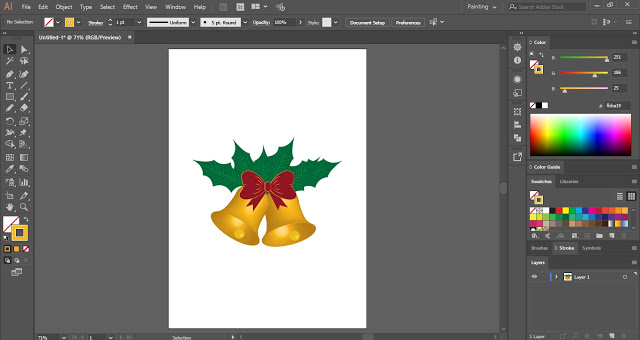
This is how you can draw Christmas Bells Icon in Adobe Illustrator. Now practice this tutorial and share your views in the comment section.
Also, share this tutorial with others.
