

Mastering a way to design a business card is crucial for effectively communicating your brand image and leaving an everlasting impression on your potential customers. Luckily, Adobe Illustrator provides several tools to help you achieve this goal.
In this step-by-step tutorial, we’ll equip you with everything you need to know to create a standout business card that truly represents your trade name with style and professionalism.
Table of Contents
Methods To Design a Business Card in Illustrator
With Adobe Illustrator, you can make a unique design for your business card in 2 simple ways. Each one has its own benefits and limitations.
Method 1: Custom Design from Scratch
You can design a card for your brand in Illustrator from scratch with greater flexibility in layout, typography, and other visual elements like shapes, etc. But this method requires you to have a good understanding of design principles and Illustrator tools.
Method 2: Using a Business Card Template
Pre-designed templates in Adobe Illustrator allow you to create a business card with ease and give it a professional and standardized look, thus saving you time and effort. The downside is that you may face originality issues by making too common of a design used by other designers.
Steps To Make a Professional Business Card in Illustrator
Below are the steps for a unique design while creating a business card from scratch to maintain the originality and versatility of your brand name:
Step 1: Set Up The Document
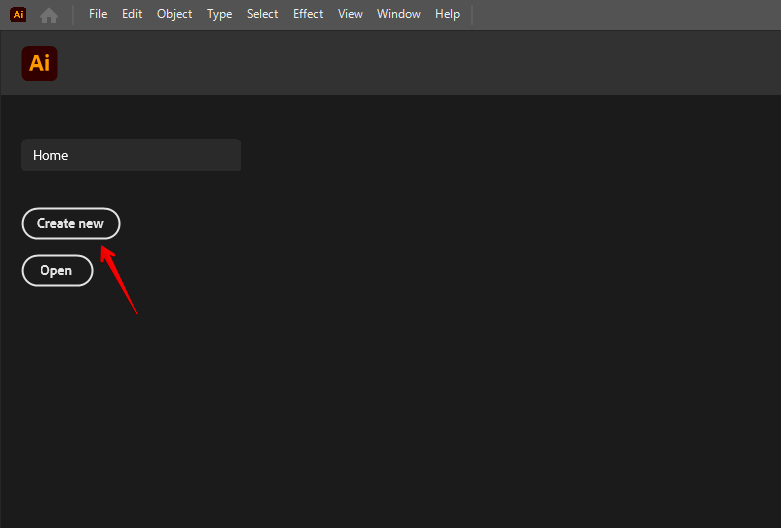
First, open Adobe Illustrator on your PC and click Create New.
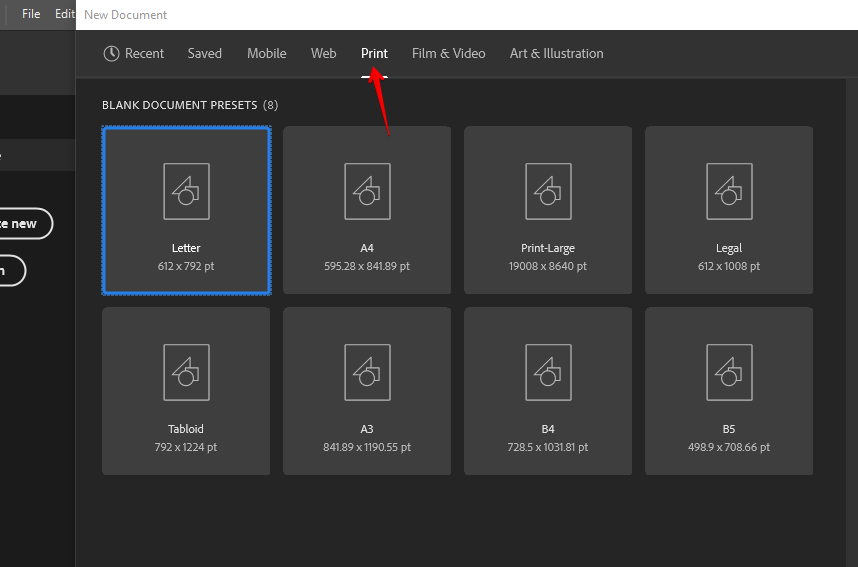
Select Print from the pop-up window.
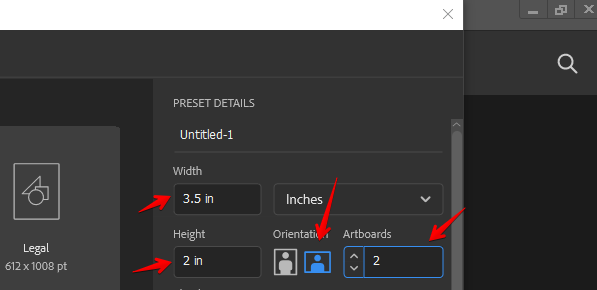
Now, set the Width and Height to 3.5 x 2 inches (or 88.9 x 50.8 mm), configure Orientation to landscape, and enter 2 next to Artboards.
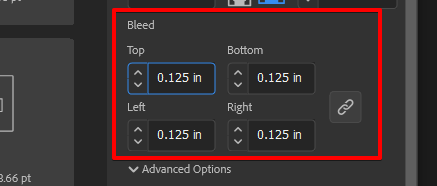
Adjust the bleed to 0.125 inches (3 mm) on all sides. This is especially helpful if you plan to have design elements extend to the edges of the card.
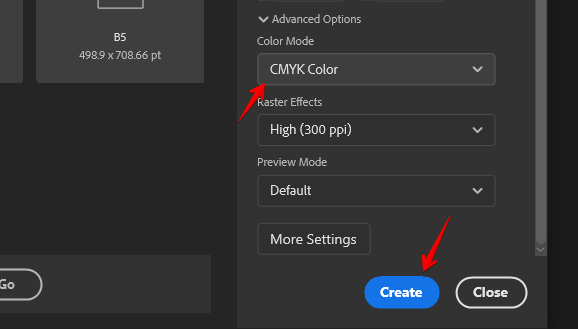
Next, set the color modes to CMYK for printing purposes and click Create.
Step 2: Fill The Bleed Zone and Create a Safe Zone
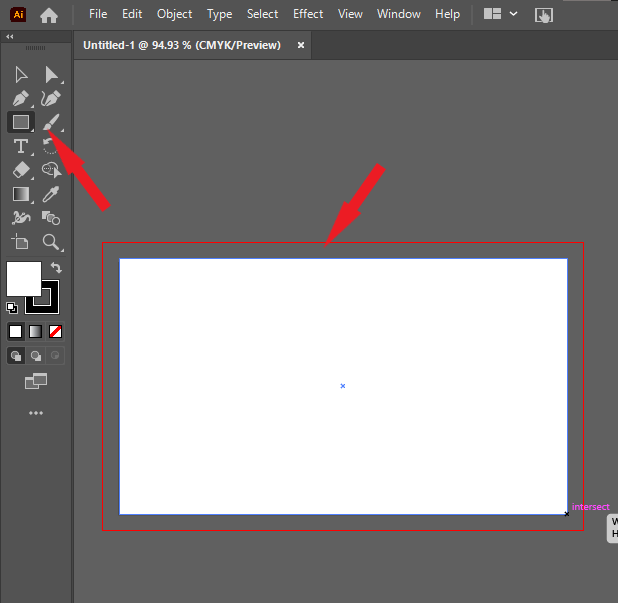
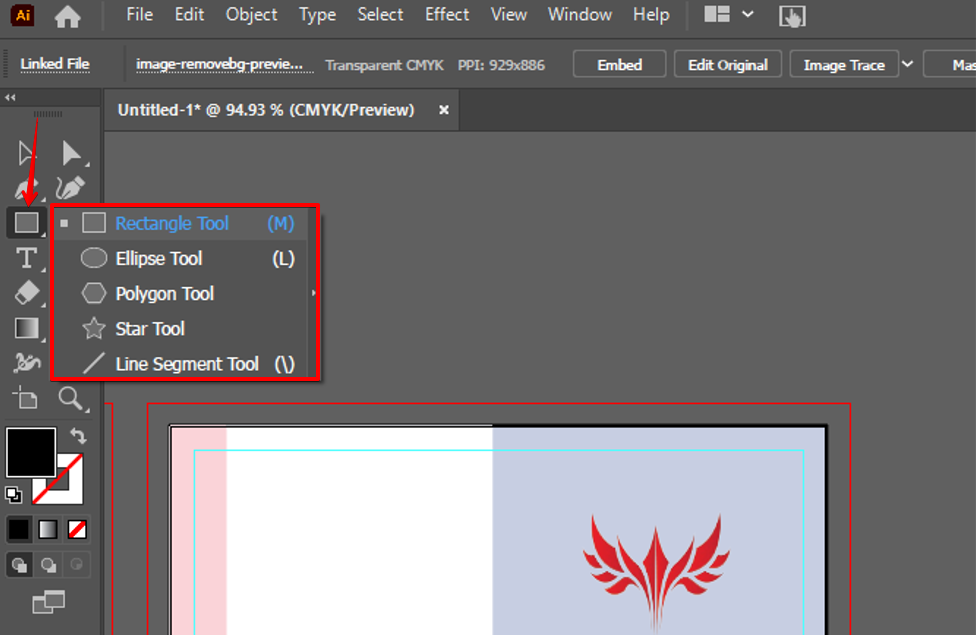
Click the Rectangle Tool (M) from the left menu and draw a rectangle with the same dimensions as the actual card size to represent the Safe Zone.
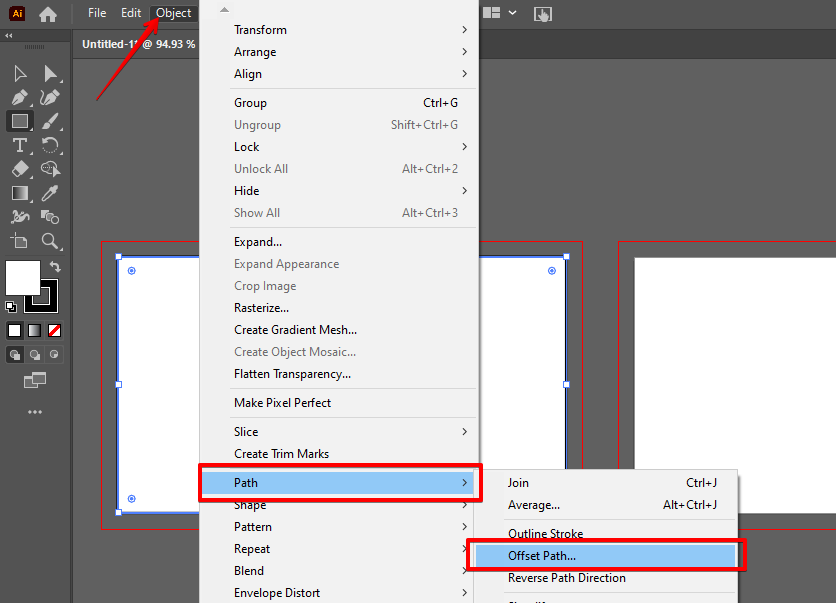
Now, go to Object > Path > Offset Path.
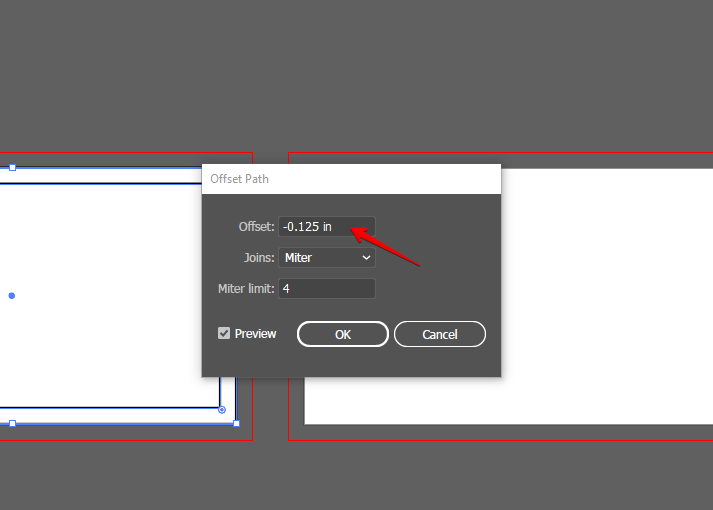
Set the Offset value to -0.125 and select OK.
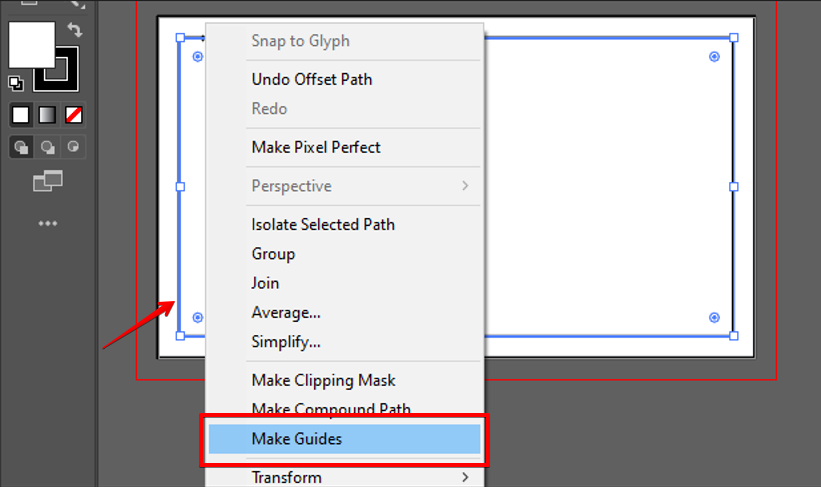
Right-click the path and choose Make Guides. Do the same for the second artboard.
Step 3: Design The Business Card Layout
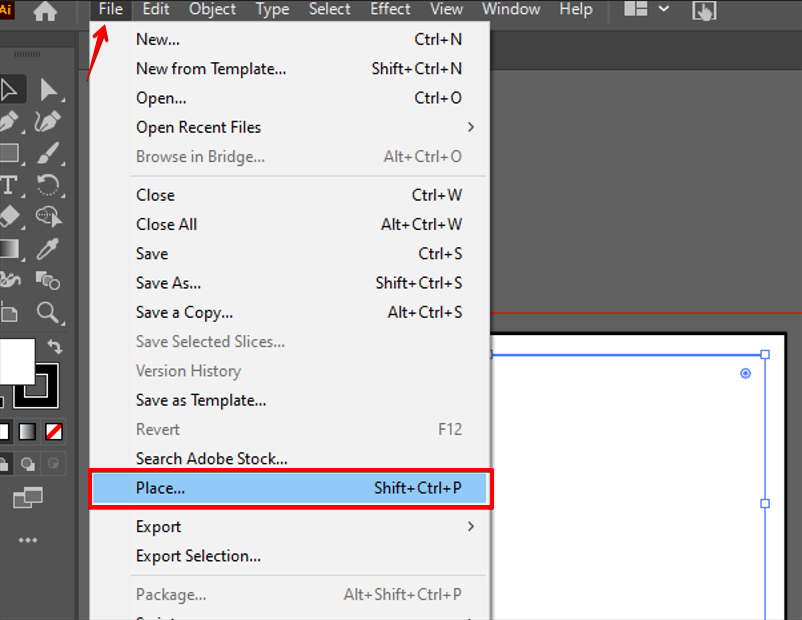
Click File and choose Place to import your logo and other communicative elements, like Phone, Website, or WhatsApp icon.
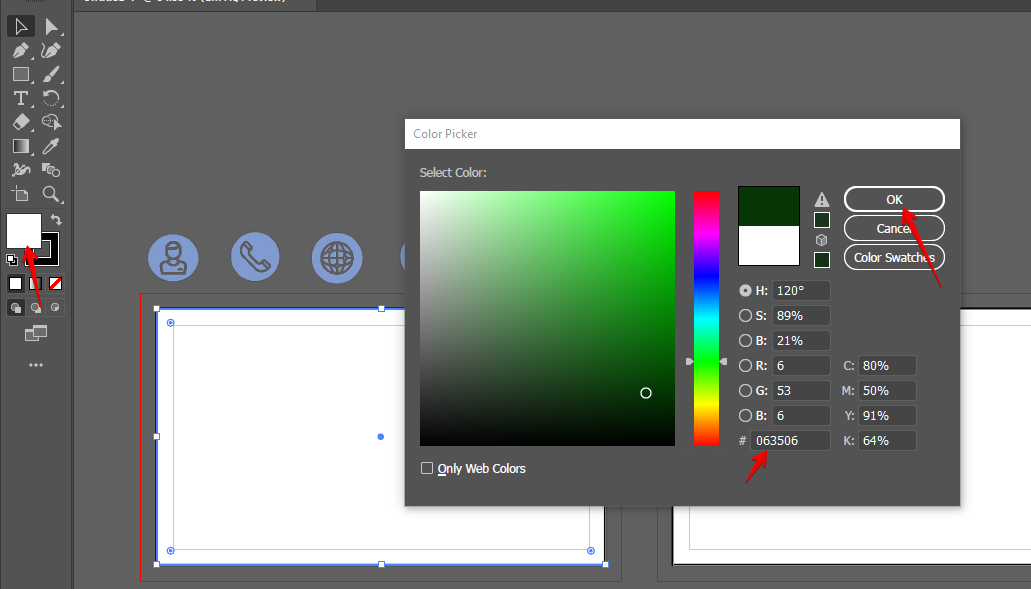
Select the artboard, click Fill in the left menu, select a color or add its HEX code, and choose OK to apply it to the canvas.
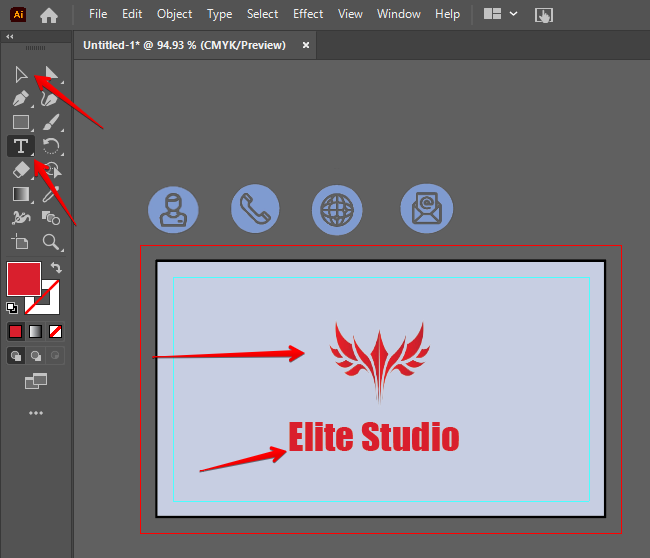
Now, use the Selection Tool (V) to position your logo on one artboard and click Type Tool to add your business name or other details.
On the second artboard, draw a rectangle that is half the actual card size and place it on the left side.
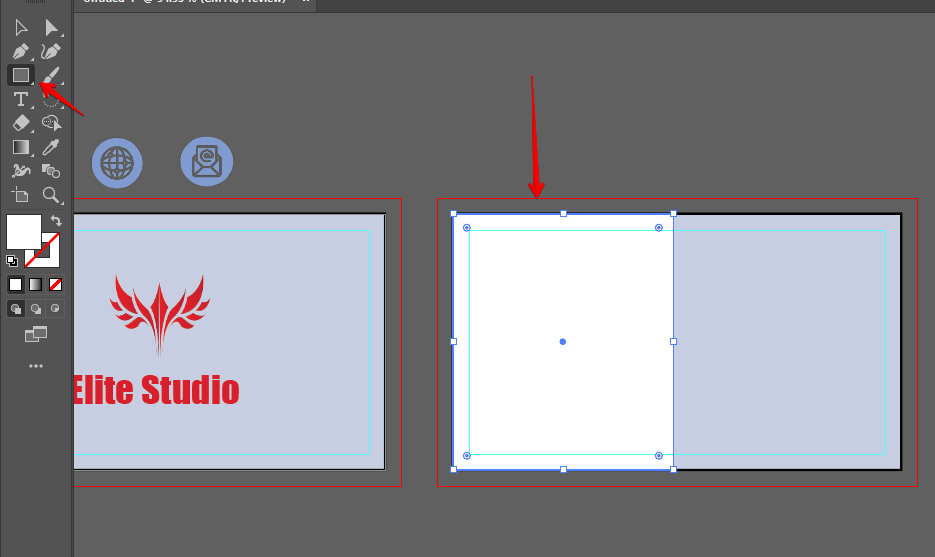
Next, use the Shape Tools (Rectangle, Ellipse, Line Segment, etc.) to add visual interest and position the phone, website, WhatsApp, and email icons on the left side of the canvas.
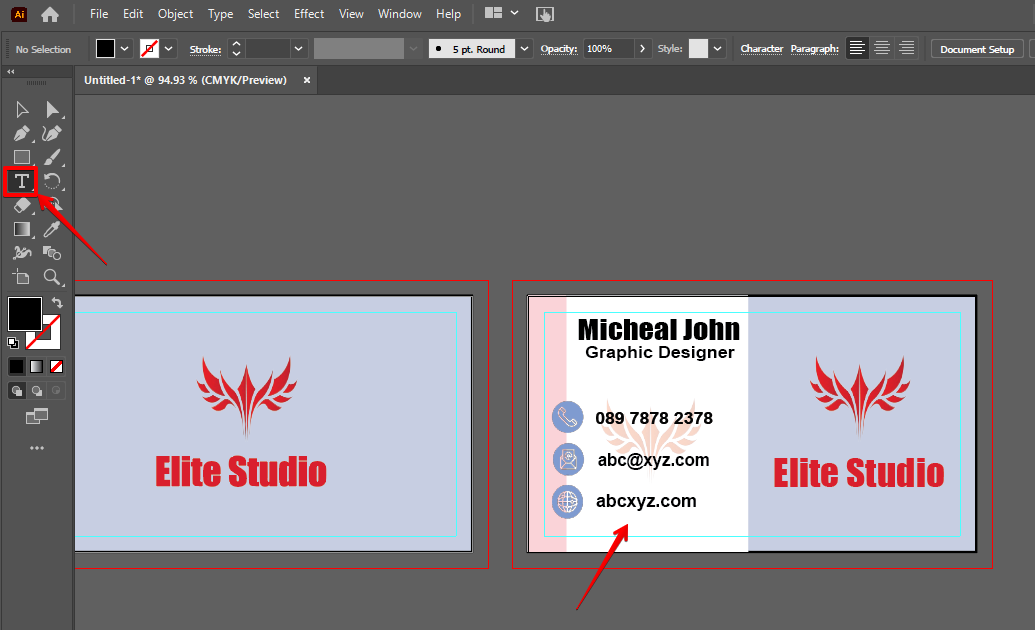
Use the Type Tool to add your name, phone number, website links, WhatsApp number, and email address next to their respective icons. You can also add your logo to the second artboard (back side of the card).
Step 4: Finalize The Design
Finally, proofread the text to make sure there are no spelling mistakes and double-check that the elements are within the Safe Zone. Right-click the text on the artboards one by one and choose Create Outlines.

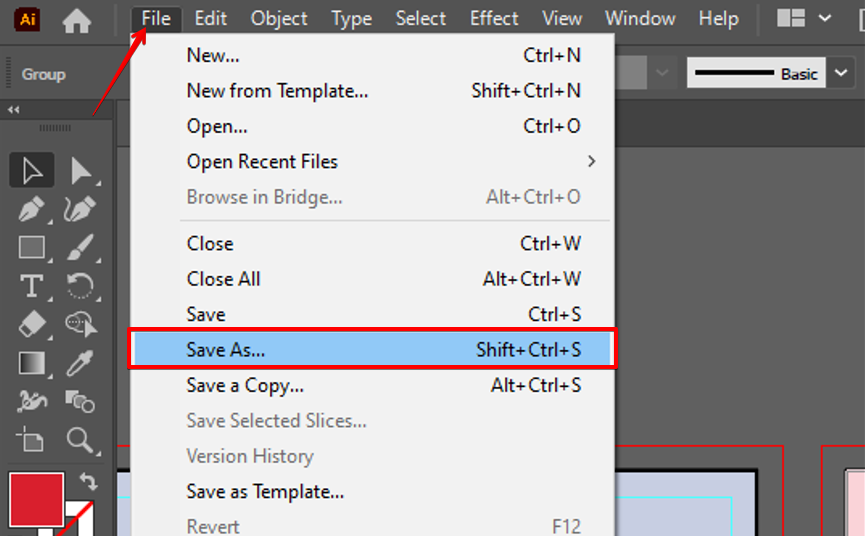
After that, click File > Save As, and select PDF file to save your business card for printing.
Tips and Tricks
Use High-Quality Graphic Elements
Always use vector graphics for your business or brand logos and icons. Otherwise, they may lose their quality and get pixelated when you print them.
Apply The Right Color Contrast
Add enough contrast between the background and text to improve readability, especially for contact details. For example, you can use dark text on a light background and vice versa.
Common Mistakes To Avoid
Overcrowding The Card With Information
Do not add too much information to your business card. Stick to important details and maintain a clean, uncluttered design.
Using Too Many Fonts
Mixing multiple fonts can make your business card design look unprofessional and chaotic. We suggest using only one or two text styles that complement each other.
Not Converting Text To Outlines
Not converting your text to outlines before saving the file can lead to font issues if the printer does not support it.
FAQs
Why is Setting Up Bleed And Safe Zones Important?
Bleed Zone lets your design extend beyond the card’s edges and prevents any white borders after cutting. The Safe Zone keeps important information away from the edges and ensures they are not accidentally cut off during trimming.
What Format is Best For Saving Business Cards From Illustrator For Printing?
PDF, AI (Adobe Illustrator), TIFF, PSD, and EPS are commonly accepted file formats for printing your business card for optimal results.
How Do I Align Elements Precisely In Illustrator?
You can use Illustrator’s alignment tools (Window > Align) to align the graphic elements evenly in Illustrator.
Conclusion
As we wrap up, you’ve learned the detailed steps to design a business card from scratch in Adobe Illustrator.
With the techniques and tools in this method, you can now create an identity that can speak for your brand with professionalism and sophistication when you introduce yourself to your potential clients.
