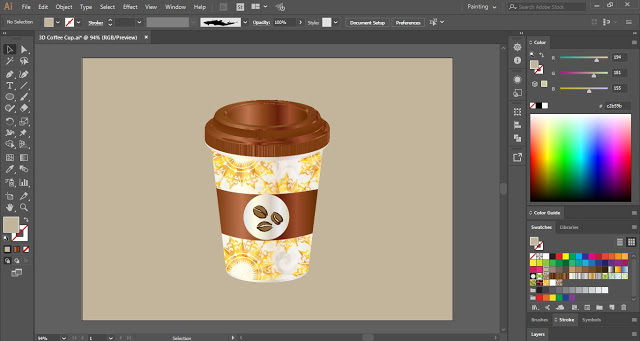
3D Coffee Cup in Adobe Illustrator
In today’s Illustrator tutorial, you will learn to create a 3D Coffee Cup in Adobe Illustrator. We will make this 3D coffee cup with the help of the 3D Revolve Effect.
Launch Adobe Illustrator and create a new document with RGB color mode. Now follow the below-mentioned easy to draw steps:
Step 1
Select the Pen Tool and turn off the Fill color. Then draw the stroke lines as shown in the below image.
Step 2
Now select the stroke line drawn and click on Effect in the Menu Bar. Place the cursor on 3D and select Revolve.
When you will click on Revolve, the 3D Revolve Options dialogue box will appear on the artboard. In that dialogue box, put a checkmark on Preview and set the Shading Color to None.

Step 3
If you want you can also increase the Blend Steps and set the Light. You can also manually set the position of your 3D Coffee Cup. After making the required changes, click OK.
Now select the Direct Selection Tool and round some anchor points of the 3D Coffee Cup.
.
This is how you can make a 3D Coffee Cup in Adobe Illustrator.
Now you can Expand the Appearance, Ungroup the paths, and fill color in your 3D Coffee Cup.
Now practice this adobe illustrator tutorial and make your own 3D Coffee Cup in Adobe Illustrator.
Share this 3D Coffee Cup Illustrator tutorial with others and also share your views in the comment section.


Thank you so much….Please is there a way I can be receiving Ai tutorials via my mail?
You need to click on follow tab and then you will receive updates as soon as tutorial is posted.