

Table of Contents
Geometric Abstract Background in Adobe Illustrator
Today we will create Geometric Abstract Background in Adobe Illustrator with the help of the Rectangle Tool.

Open Adobe Illustrator and create a new document. Now follow the step by step:
Step 1
Select the Rectangle Tool and draw a rectangle the same as the size of the artboard. Now fill that rectangle with any gradient.

Select the rectangle drawn and press Ctrl + 2 to lock the background.
Step 2
Again select the Rectangle Tool and draw a square on the artboard. Turn off the Fill color for the square shape and select White as the Stroke color.

With the help of the Selection Tool, select the square shape and rotate it to 450 angles.

Step 3
Now draw two more square shapes of small size and place them inside the larger shape. Then with the help of Pen Tool, join the corners of the inner two square shapes. (See the image below)

Select all the shapes and press Ctrl + G to group them. Now select the group created and press and hold the Alt key then drag the selection to create a duplicate copy of it.
Similarly, create few more duplicate copies and place them as shown in the below image.

Select all the groups of the square shapes and press Ctrl + G to create another group.
After creating the group, select it, and then press and hold the Alt key. Drag the selection and create a duplicate copy of it. Place the duplicate copy aside.

Step 4
Select the Rectangle Tool and turn off the Fill and Stroke color. Now draw a rectangle the same as the size of the artboard.

With the help of the Selection Tool and Shift key, select the new layer of the rectangle and the group of square shapes. Now press Ctrl + 7 to create a Clipping Mask.


Step 5
Select the Clipping Mask created in the above step and change its blending mode to Overlay.

Now select the group of square shapes which we had kept aside. Drag and place it on the artboard and rotate it to change its angle.

Select the Rectangle Tool and draw a rectangle on the artboard. Then select the group of square shapes and the rectangle and press Ctrl + 7 to create a Clipping Mask.
Change the blending mode of the Clipping Mask to Overlay.
You can also reduce the Opacity of both the Clipping Masks.
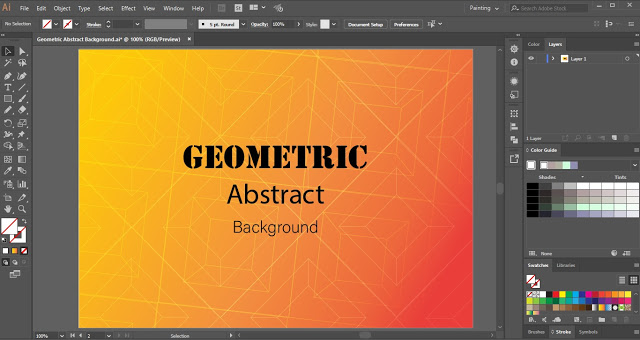
This is how you can create Geometric Abstract Background in Adobe Illustrator.
Practice this tutorial and share your views in the comment section. Also, share this tutorial with others.
